Introduction
I have a confession; I have thing for jeeps. I would love to own an actual Willis Jeep some day but until then I love making the various adaptations of the jeep used in WWII. So far I have made the SAS version used in the desert; a medical evacuation version used in Normandy and an airfield marshal jeep used in UK in WWII. I'll include the links to each of these at the end of this introduction. When Meng announced that they were going to sell an obscure adaptation of the jeep in the form a "Hobarts funny" flamethrower version; I just had to get it! As I am writing this I have a few ideas on how to display it but I'm not yet finalised on the finished dio. I've also decided to write this in a more detailed format to include the tools and methods of construction that I use as I realise this isn't something that I don't very often in these write ups and it may be a welcome change of pace.
SAS Jeep
airfield jeep
medic jeep
The model build
The quality of the model is nothing short of excellent. This I think is the third Meng kit that I have built and I have nothing but good things to say about the quality. The instructions however are something that I really do want to talk about; they are excellent in terms of illustration and colour. It will feel like such a shame to throw them away once I've finished building the jeep. There is as always work to be done in terms of ease of understanding but I suppose this is industry wide at this point and half the fun of building a kit!
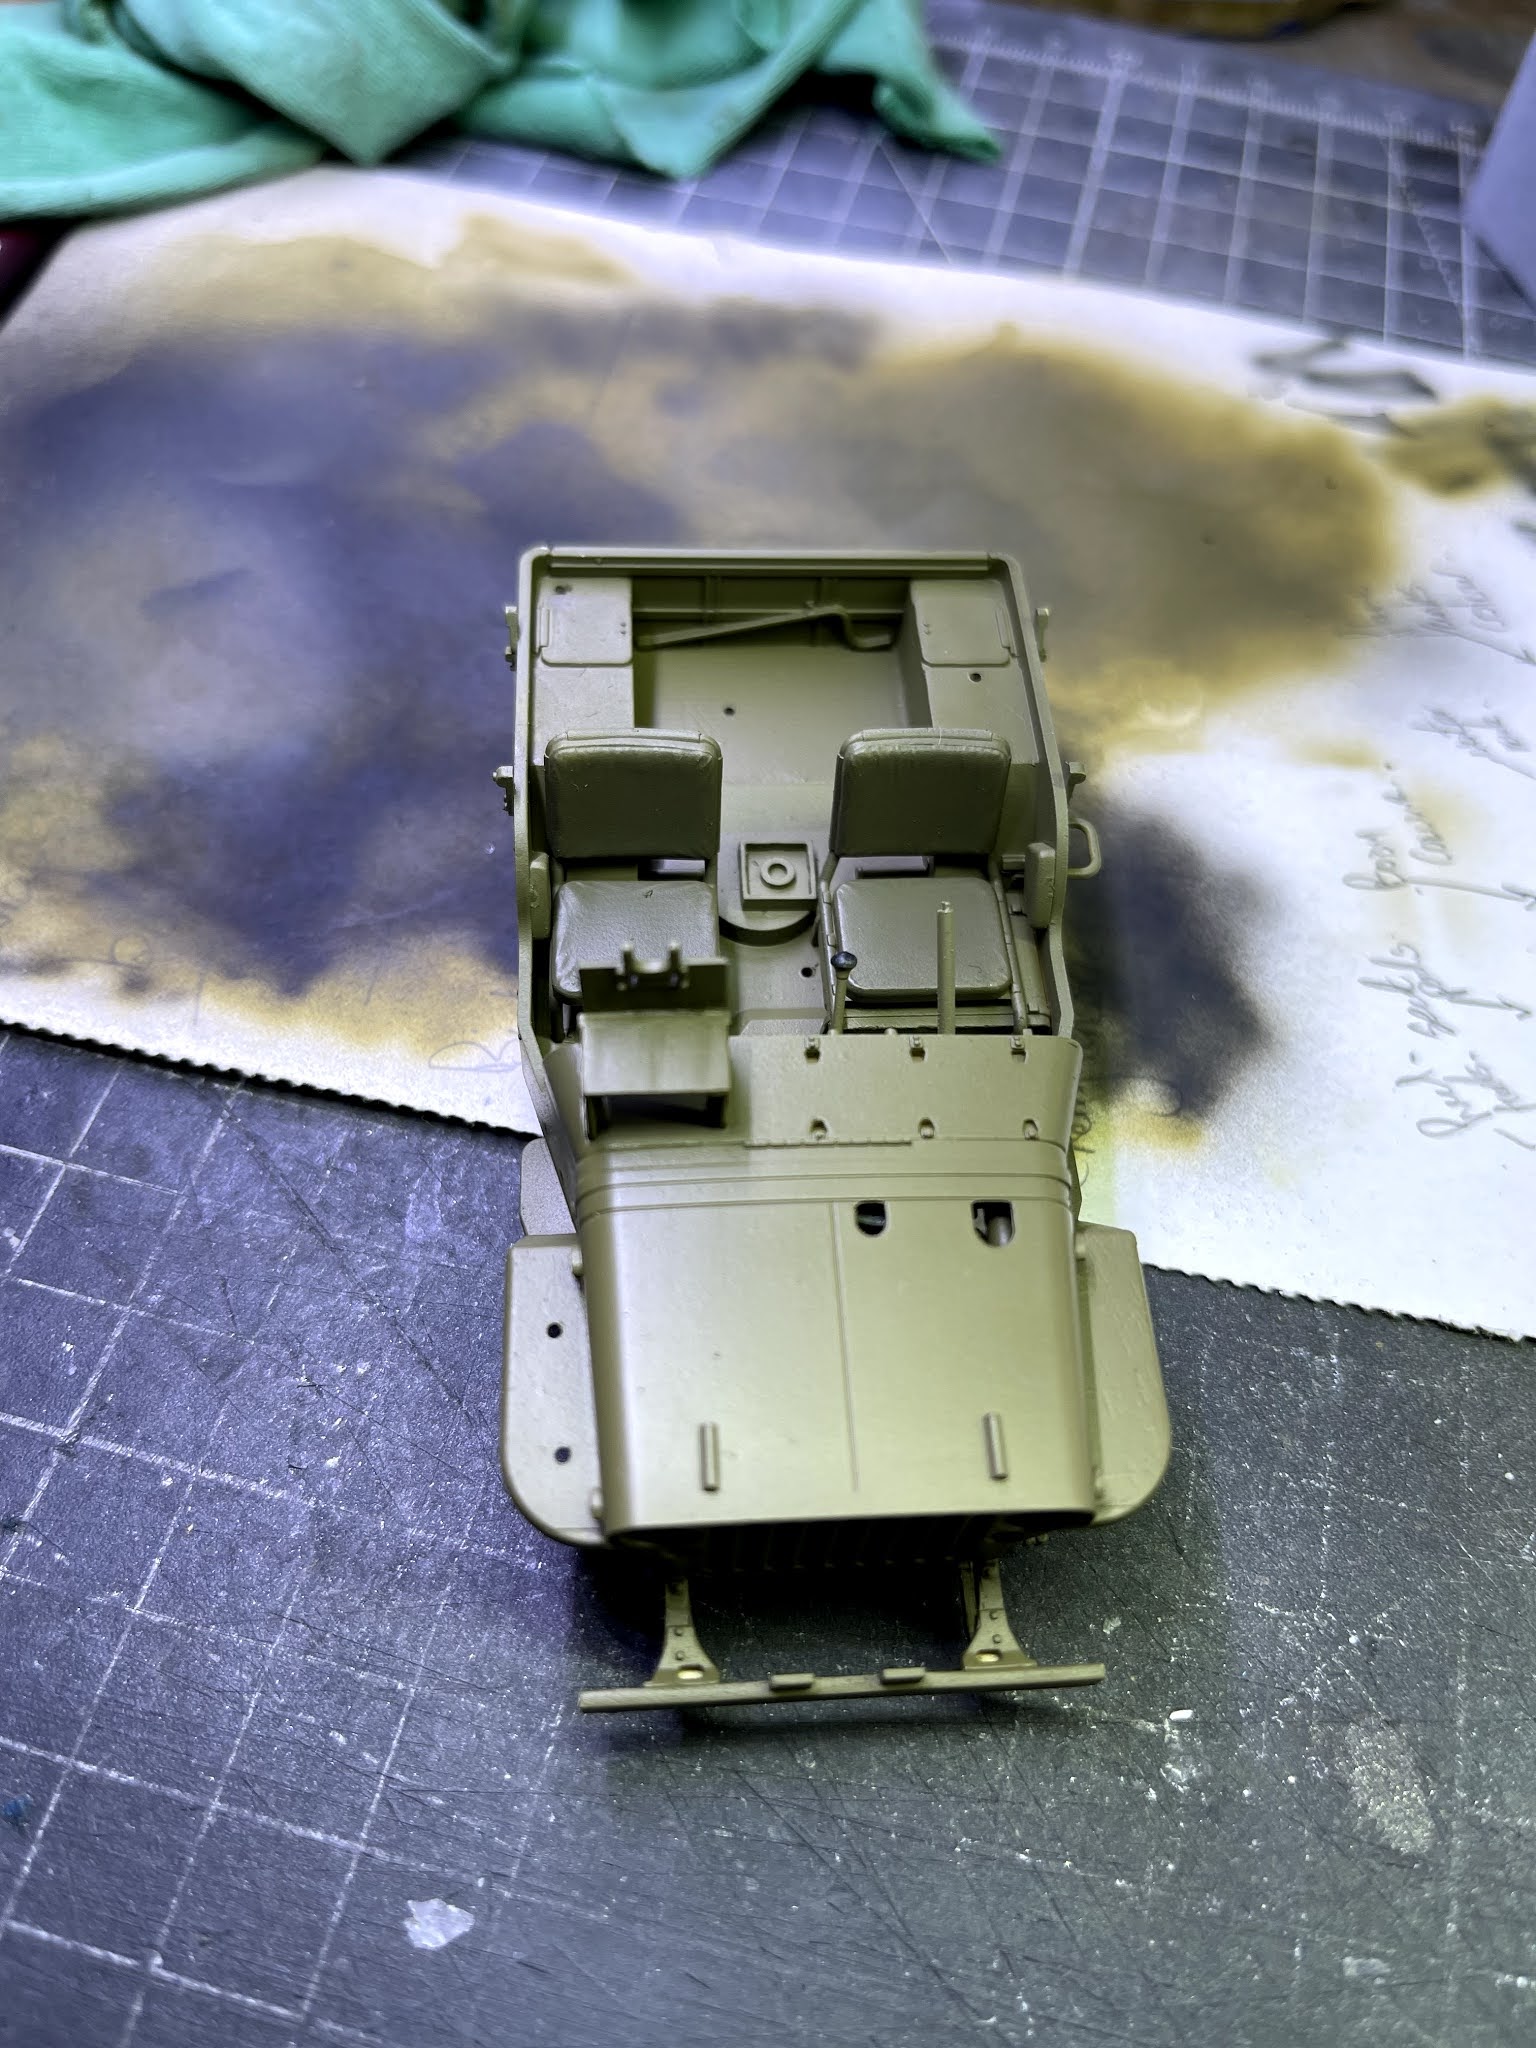
When I build a vehicle I prefer to build in sub assemblies first, prime and then assemble/paint in roughly the order that the instructions call for. This way does have some inherent problems such as missing parts or assembling out of order resulting in parts not being able to be fitted. To avoid this I dry assemble the sub assemblies quite a few times and mark off each completed section on the instruction sheet so I know exactly what parts need completing. I have also decided to opt for Vallejo's coloured primer rather than my usual car primer rattle can. I must say the quality of this primer is great and sprayed beautifully right out of the bottle. If the paint adherence is good as I progress the build I may switch to this full time. Below are some images of the sub assemblies being built along with some of the tools that I use for clean up prior to priming/painting:
There are quite a few alterations required right from the sprues such as the removal of the standard rear steps and filling of some of the holes. There is also a need to drill out several mounting holes on the body. When it comes to drilling small diameter holes I usually prefer using a small Archimedes drill rather than my electric drill. I find I can achieve far greater accuracy and control using this drill. I can assume from these required alterations that Meng intend on releasing some more (possibly obscure) versions of the Willis jeep in the near future.
The rest of the assembly in terms building up the chassis and addition of parts was more than easy in terms of model building and as such I refrained from taking lots of photographs as the internet is awash with jeep model builds so the addition of one more chassis and body build up is redundant at this point. Here are a few shots of the assembly process. I did add some missing body strengthening panels and a foot rest (
seen in white). It is a crying shame that the beautifully detailed engine won't be seen after assembly as the bonnet along with its cut-outs are intended on being glued shut. This isn't to say that it could be displayed open and I am sure that an enterprising model maker at some point will do this. Some of the parts you will notice have already had their first coat of primer:
To continue on in a change from my normal write up, I thought I would share with you how I paint my wheels/tyres using an airbrush. This technique is by no means a trade secret and I am definitely not going to try and claim this as my idea. I read about this trick in a long forgotten article somewhere and have used it ever since. What you need is a drafts mans circle template. I bought one off E-bay for a few pounds. The beauty of this template is the variety of diameter holes that almost always match that of the diameter of 1/35 road wheels. The wheel is first sprayed in tyre black (in this case Vallejo grey/black). Once dried the wheel is then held up against the rear of the template circle that matches the diameter of the wheel and then carefully using the airbrush; spray the wheel hub colour through the template. Its an easy thing to do and always yields good results.
The scene
As you are probably aware by now if you follow this website; whenever I make a 1/35 scale vehicle I prefer to display it with a few figures. This not only "sells" the vehicle but in my humble opinion adds to the overall effect that the vehicle has on the viewer. We are after all a visual species so context and familiar settings tell a story as well as (hopefully) admiring a built and complete vehicle. I had considered displaying this jeep having the wasp spitting flames. Aside from not being able to find any suitable reference photographs to establish how far this thing could actually fire; the size of the parts on the jeep would make it extremely difficult (not impossible) to add the required wires, LED's and smoke to achieve the effect. I did however in my search for reference photographs find a picture of the wasp being used in a field (I later found out was in Italy). The image was quite charming and shows Nick Hubbard (left) and Popski (of Popski's private army fame) having a conversation over the jeep. A quick rummage through my figure stash and I identified two Miniart figures that I think will fit the bill. Here's the image that I found:

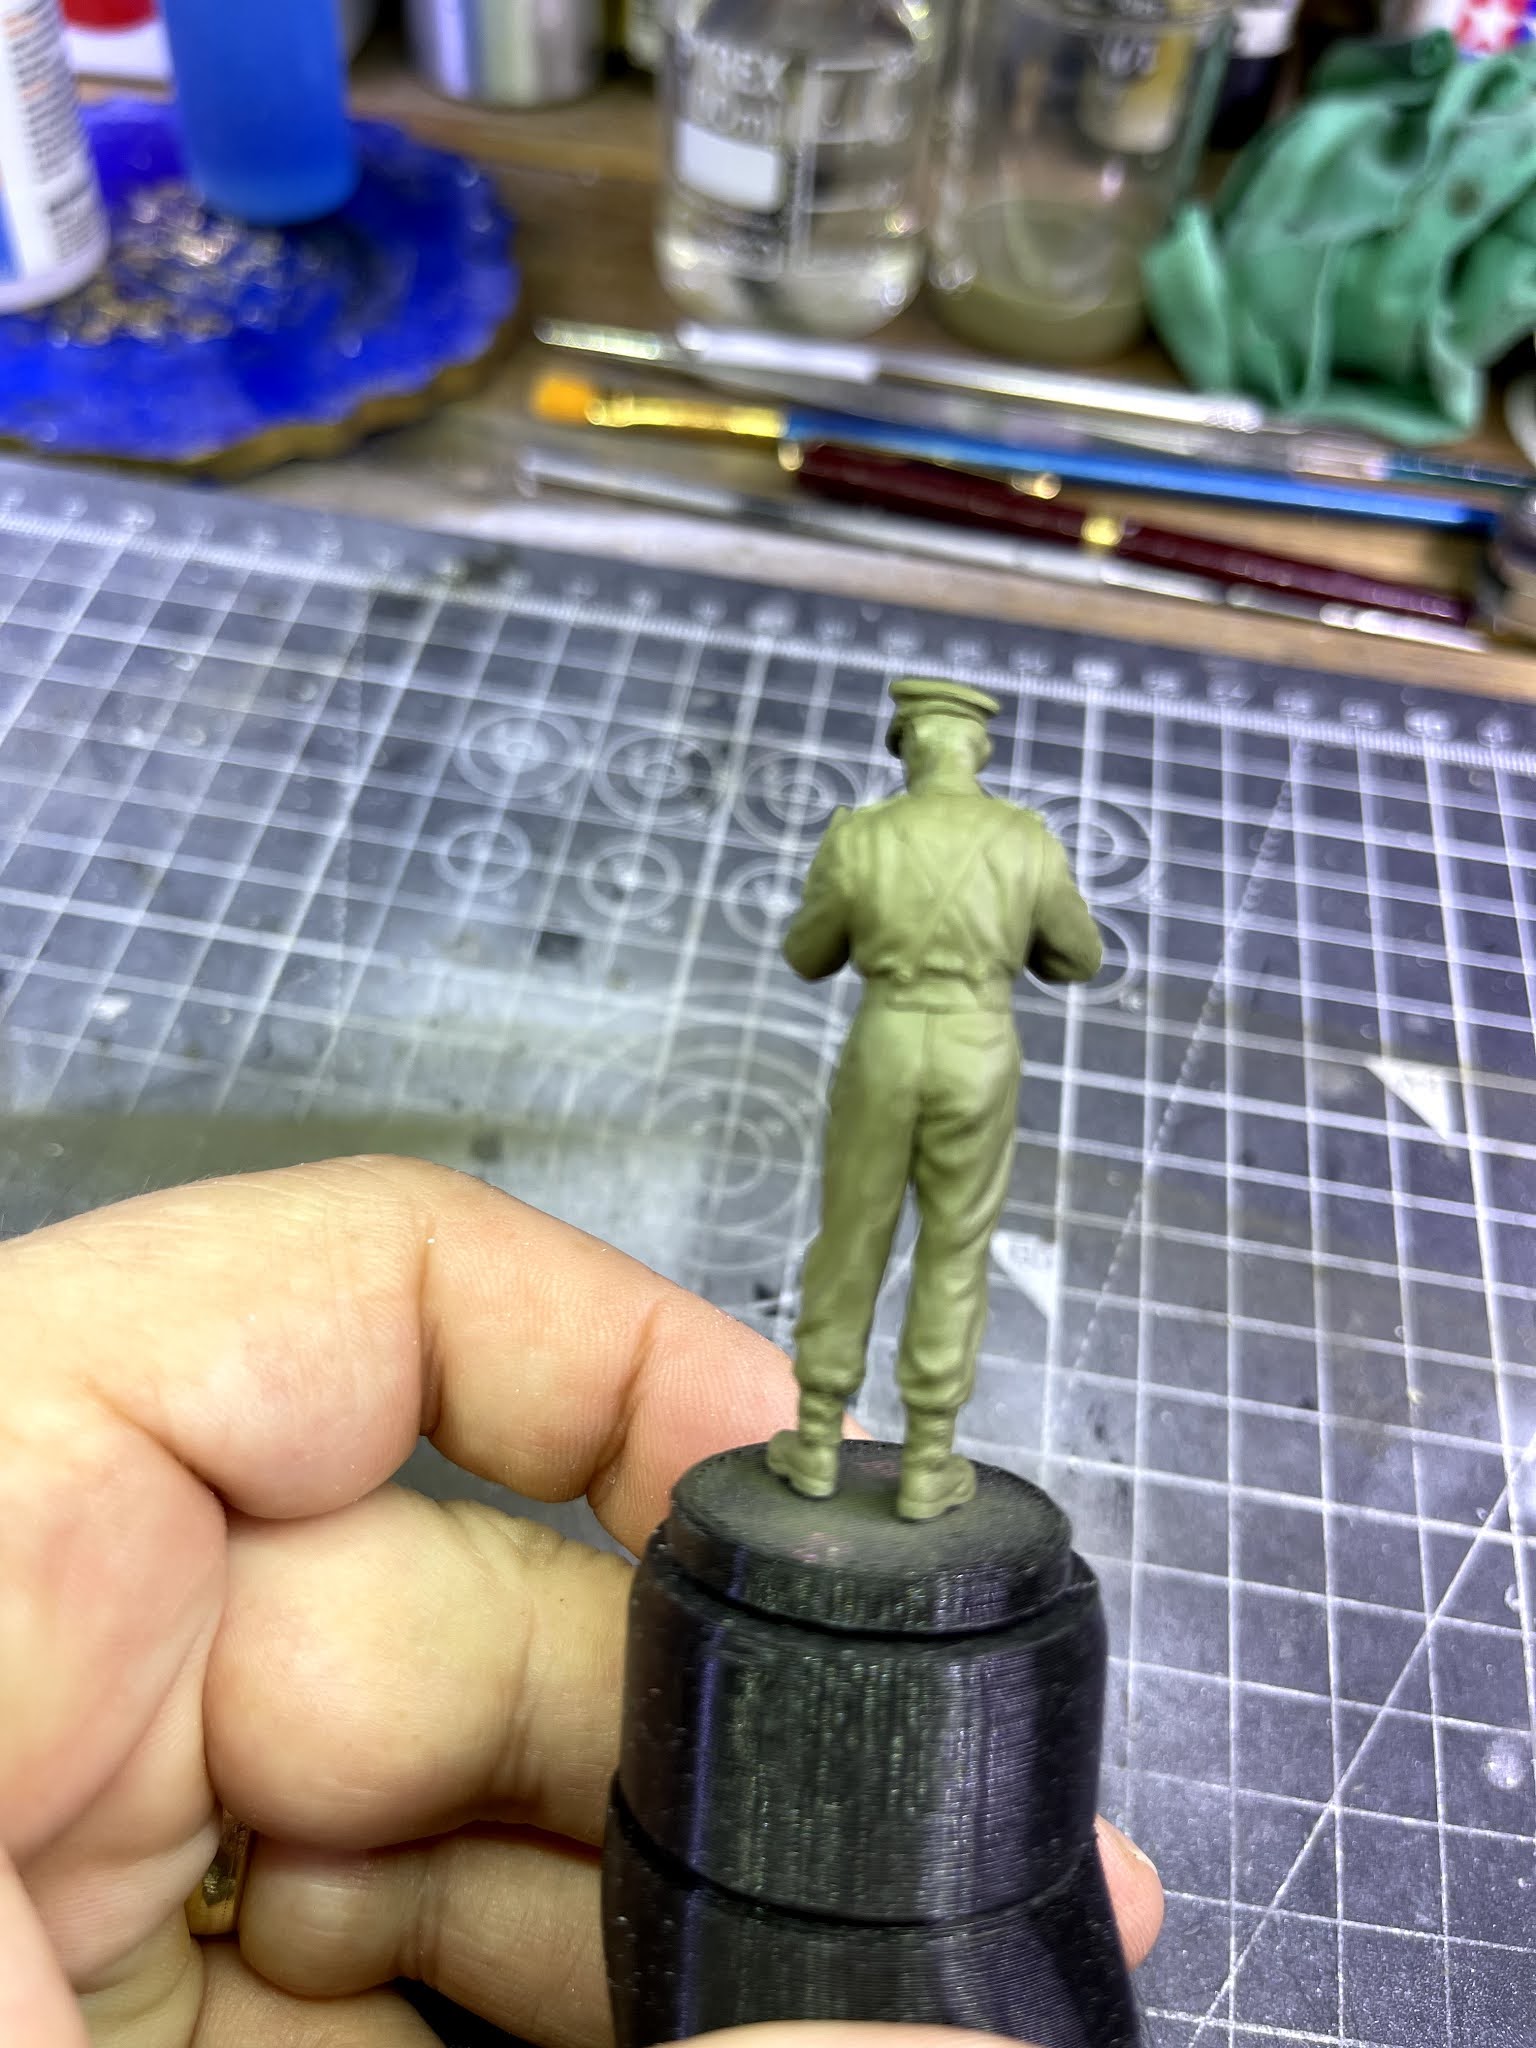
The figures that I intend on using are suitable, however not exact copies of the ones in the image. I have also decided to replace Popski who is standing by the side of jeep with his hands on his hips with a rather "stiff" officer who is holding a folder open, about to write in it. I liked the idea of this figure as this jeep was only a prototype and not produced in any numbers. I think that its a fair assumption that a great many "officer types" stood around this jeep making notes on its suitability. In addition; whenever replicating a person of "fame" you really need a figure that resembles them. In this instance I could not find a 1/35 figure of the legendary Popski. The second figure (Nick Hubbard) that I have is almost exactly dressed in the same attire however is set in a completely different pose. This provides me with another opportunity to discuss and show how I modify 1/35 scale figures to suit my needs.
The first step is always to assemble the figure in its original pose. Once the glue has hardened I then begin the process of cutting away the limbs that need to be adjusted into a new pose. In this case both the arms need to be removed and one of the legs. This figure is a little more extreme than some of the figures that I have done in the past as I also have to cut the limbs at the joints as well to achieve the desired pose. For re-assembly I first file away the joint as a means of ensuring that they will "sit" in their new position. I then drill small holes in the limb and the body and superglue in some fine copper wire. This achieves two things; It provides strength to a new joint and also allows some re-adjustment to the exact position that I am after. When I am happy with the newly finished pose I then use a small amount of Tamiya epoxy putty (you can use any epoxy putty for this; I just prefer Tamiya) and over fill each joint and allow 24 hrs to fully harden. I then begin to file away the excess putty from the body while cutting in some rudimentary crease's in the clothes.
It is sometimes necessary to file away some of the original plastic from the limbs that you have adjusted so that they suit the new pose better. I will also add that in this particular figure I replaced the head with a Hornet resin head that seemed to suit the figure a lot better and match the image as well. A thin coat of primer is then applied to both of the figures as the even colour coat will help identify any errors, tool marks, imperfections, etc in the figure. I can then use some soft filler to correct these marks and then the figure is ready for final paint:
With the figures decided upon and now happily hardening for 24 hrs, I can turn my attention back to the jeep. I have a few more small parts to add and then its on to the detail work such as brass and steel connections to be painted, red handles, etc. I also have to cut and fit the excellent PVC hoses that have been supplied for the wasp gun/cannon/flamethrower? I have also noted from the plethora of available images of the actual Jeep and an exact copy of the jeep that's around today; that there are a lot more pipes on the jeep that are supplied by Meng. The additional pipes were added using some thin, back insulated wire and some plain copper wire painted black. These were routed around the jeep into the various tanks/pipes from the reference images.

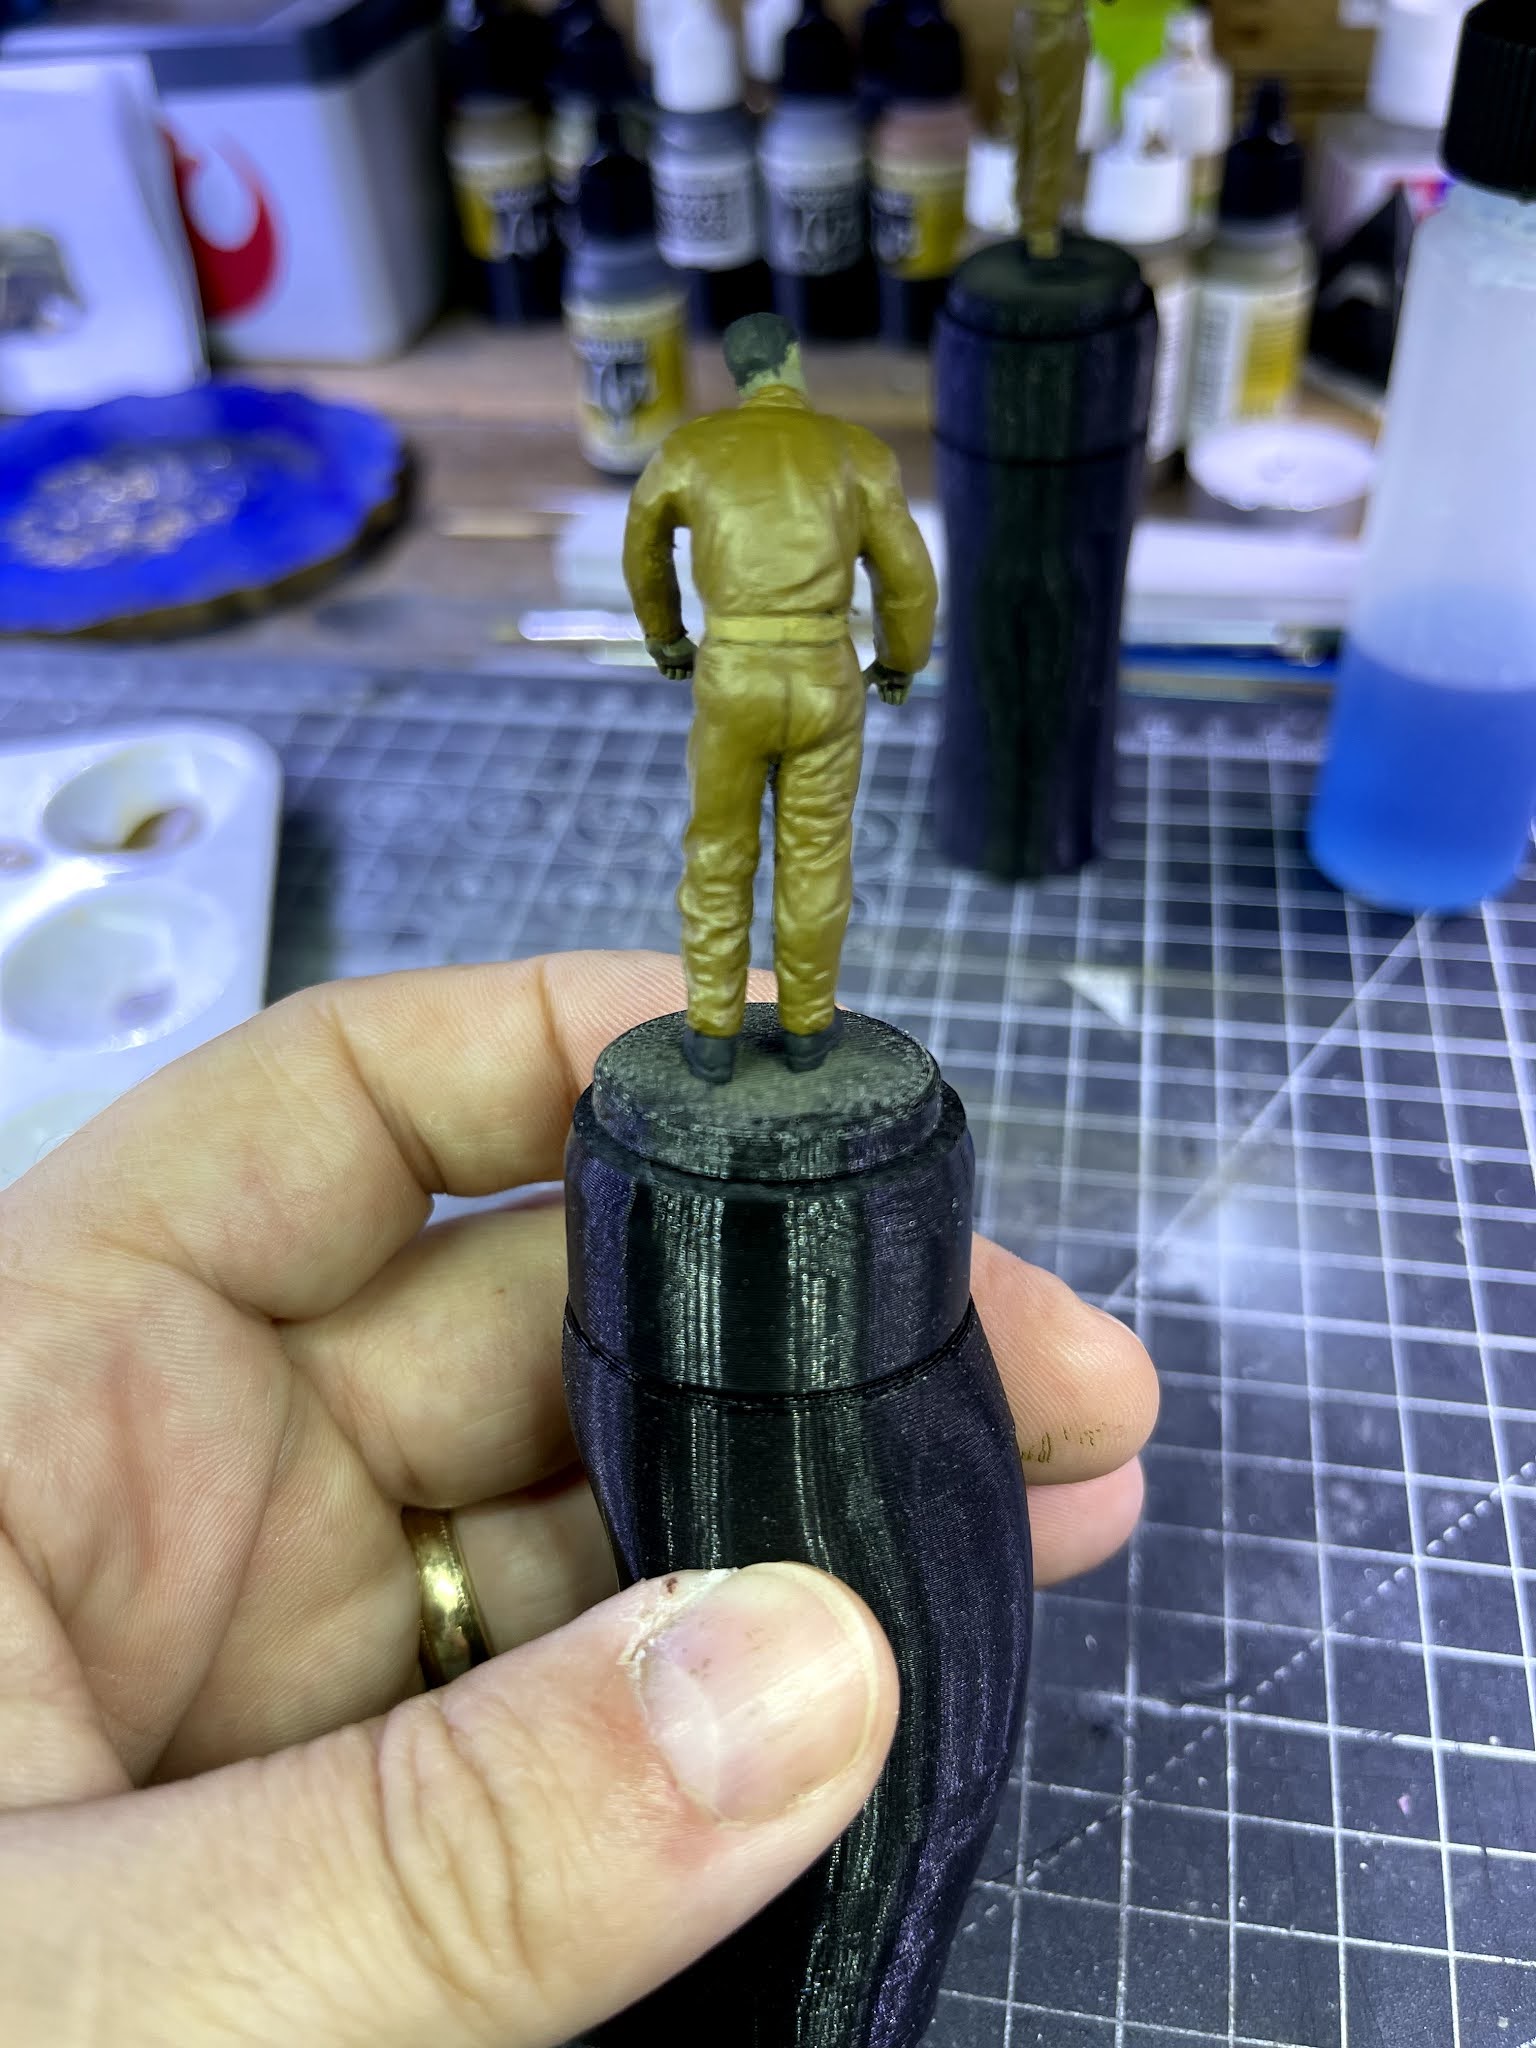
To continue with this build diary to show how I make the complete diorama or vignette in this instance; I then applied the general base coat colours to the figures after mounting them on some 3D printed bases that have been uploaded to Thingiverse. These bases are then fixed to my figure holders (
also 3D printed from Thingiverse).


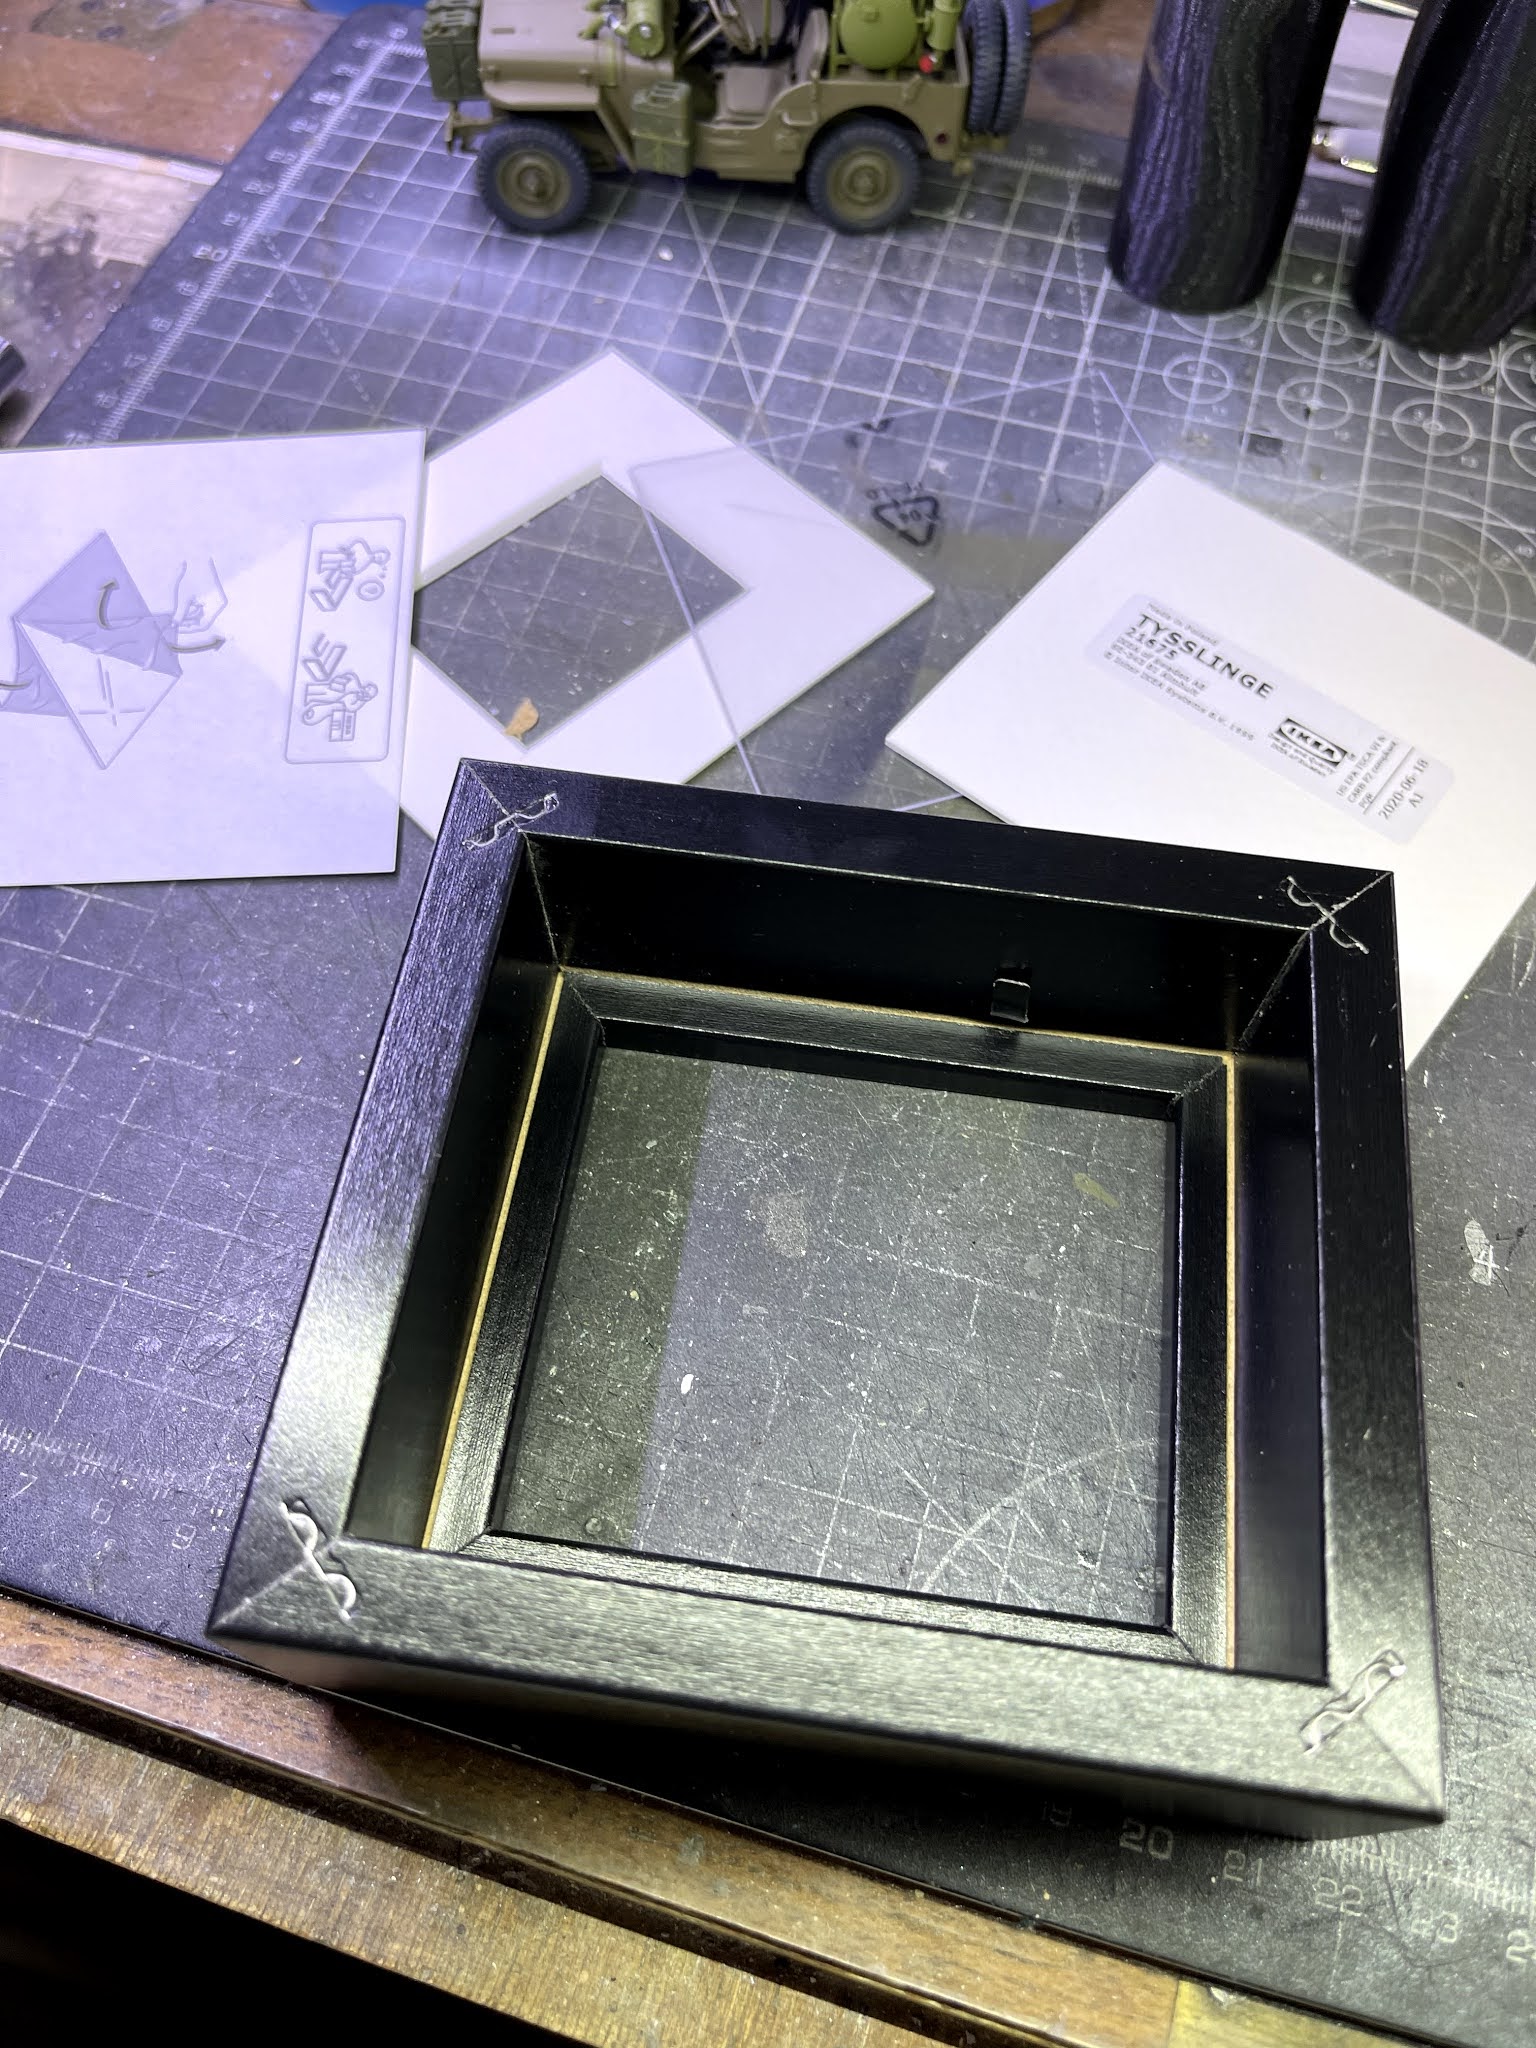
For the base I have a number of options available to me in terms of its size and content. The biggest determining factor for me is always the size. I originally wanted to have a larger base to include a lot of the filed and the bushes in the background. In terms of the display area that I have for my completed models however I have to think about future projects of mine which include at least two tanks. Instead I have chosen the smallest base possible. For the base I turn to Ikea. Every time I visit I take a wander around their clearance section which almost always has a selection of frames on sale. The frame that I have chosen is a Tysslinge frame reduced from £1.50 to £1 (I bought quit a few!). To turn a frame into a base I use roughly the same steps every time. I won't provide a complete written description as a the pictures are probably self explanatory. I will however list the materials that I use to complete the base:
- Frame
- 5 minute epoxy adhesive
- UHU general purpose adhesive
- superglue
- blue insulation foam
- ready mixed wall filer
With the initial structure of the base complete I can then determine what I want to show in the diorama base. In this instance I am going to opt for a simple grass base to display the jeep and figures. The first stage is roughly spreading some cheap pre-mixed filler onto the base and allowing it to dry (
before it drys completely I place the vehicle onto the filler and gently press down to settle all four wheels onto it. I've circled the indentations the jeep made in red). Once dry; the sides are masked and I apply a coat of acrylic primer followed by a solid coat of light brown followed by a mist coat of darker brown. I then add some static grass using my home made static grass applicator (
here's how to make one of your own if your interested: Link ). For some additional interest I added a few flowers and the base is complete.

Happy with how the base is looking; I turn my attention to my rather neat and pristine Jeep. In order to weather this I usually apply a two thin coats of Vallejo matt varnish. This allows me to have a stable surface that I can use watered down acrylics on as well as retaining the option to lightly wash off any effect that I apply and that I am not happy with. I will be honest and say that I do prefer oil paints to weather a vehicle but I do want to improve upon my abilities to use acrylics for a model from start to finish. The first wash that I apply is the body colour mixed with some white and 50% dilution of water. This is then followed by a wash of dark brown (80% dilution). and then pin washed with diluted black. I then start to pick out details such as the horrible mess that a wasp flamethrower will leave on the bonnet (hood if your American). This was achieved by slowly building up a lower brown layer (burnt umber) and then dry brushing/stippling some NATO black over that. The final touch to weathering was adding some dry dirt build up in the wheel wells using some of my home made earth pigment (it's not really home made; its a waste product from earth experimentation at the university that I work).
For the figures I use the same technique to add some depth to their uniform; darker shades of uniform for the base of the creases and lighter base for the peaks. The boots are dipped and then brushed off with the same earth pigment to tie the figures to the vehicle and that's it! The jeep is fixed to the base with extra thick superglue, as is the figures. I really love how this little jeep looks and the fact that only one was ever produced in real life makes this even more special to me. Inspired by this project I will be buying another basic jeep kit and extending it rearwards to create a 6x6 jeep. This like the wasp never saw active service but the mere fact that it existed is enough of an excuse for me to make yet another jeep in the future.
I hope that you have enjoyed this build and as always I would love to hear your comments.
More model's coming soon!


Another great build. 😊
ReplyDelete