Introduction
This is a project that was not only selected by my wonderful wife; but also planned. We had visited a new large scale shopping centre that sold a selection of scale models and my wife spotted the Medic Jeep and loved it. She suggested that I buy it and then became very enthusiastic when she spotted the perfect figures and building to make it a complete dio! I will admit that even though I wasn't sold on the idea to begin with; I was not about to turn down the opportunity to buy some more kits with "wife permission".
These are the purchased kits that I will be using to complete the dio:


I will be completely honest here and state that I am not Italeri's biggest fan. I can't explain it; I just don't usually ike their kits, however I did like the jeep kit. I may be biased as I am a big fan of jeeps and I have built a few of them in different configurations. The church door would take a lot of work to get it to look realistic but if making models was easy then it would cease to be hobby in my book!
The jeep
The jeep is well cast in good quality plastic and fits together rather well. There are a few injection marks that are visible once assembled so care was taken to fill and sand these away, The frame for the stretchers was terrible to position and fix, but some patience and masking tape strips took care of it in the end. This is also an adaptation of the standard jeep so there are plenty of spares left over for a scratch building project some point in the future. I also remembered that I had a trailer in said box from another jeep kit that would be perfect for this dio.


The build and painting of the jeep are relatively straight forward and covered at least twice on other projects on my website so I wont waste your time with another build log of the jeep so on to the next part:
The Church and dio base
The church is well cast and provides different options for construction. I am sure that additional component pieces can also be purchased to provide a larger construction as well (not bad Italeri). I opted for the corner section of a building for my dio to provide a little interest. The base is an Ikea frame bought from their clearance section for very little. The entire base was painted in course artists medium which is basically a mix of thick acrylic paint with small pieces of plastic suspended in it, I assume that this is to provide texture in artwork but it works brilliantly as a starting point for small dio work like this. Once dry the whole base was painted in brown acrylic and once I'd settled on the final positioning of everything I glued down the pre-primed church and added a small dirt track and bedded in the church by over laying smooth filler. I also quickly glued up some balsa frames to make some additional blocks from the excess filler.


While the ground work was in various stages of drying I continued to add layers of colour to the church structure by dry brushing and streaking in areas to show the age of the dilapidated structure. I also broke up and added some of the plaster blocks that I had made and painted them exactly the same as the structure. D Day took place in the height of summer so static grass was added along with some flowers and various climbing plants to add some texture to the landscape that the jeep and figures would be positioned in:


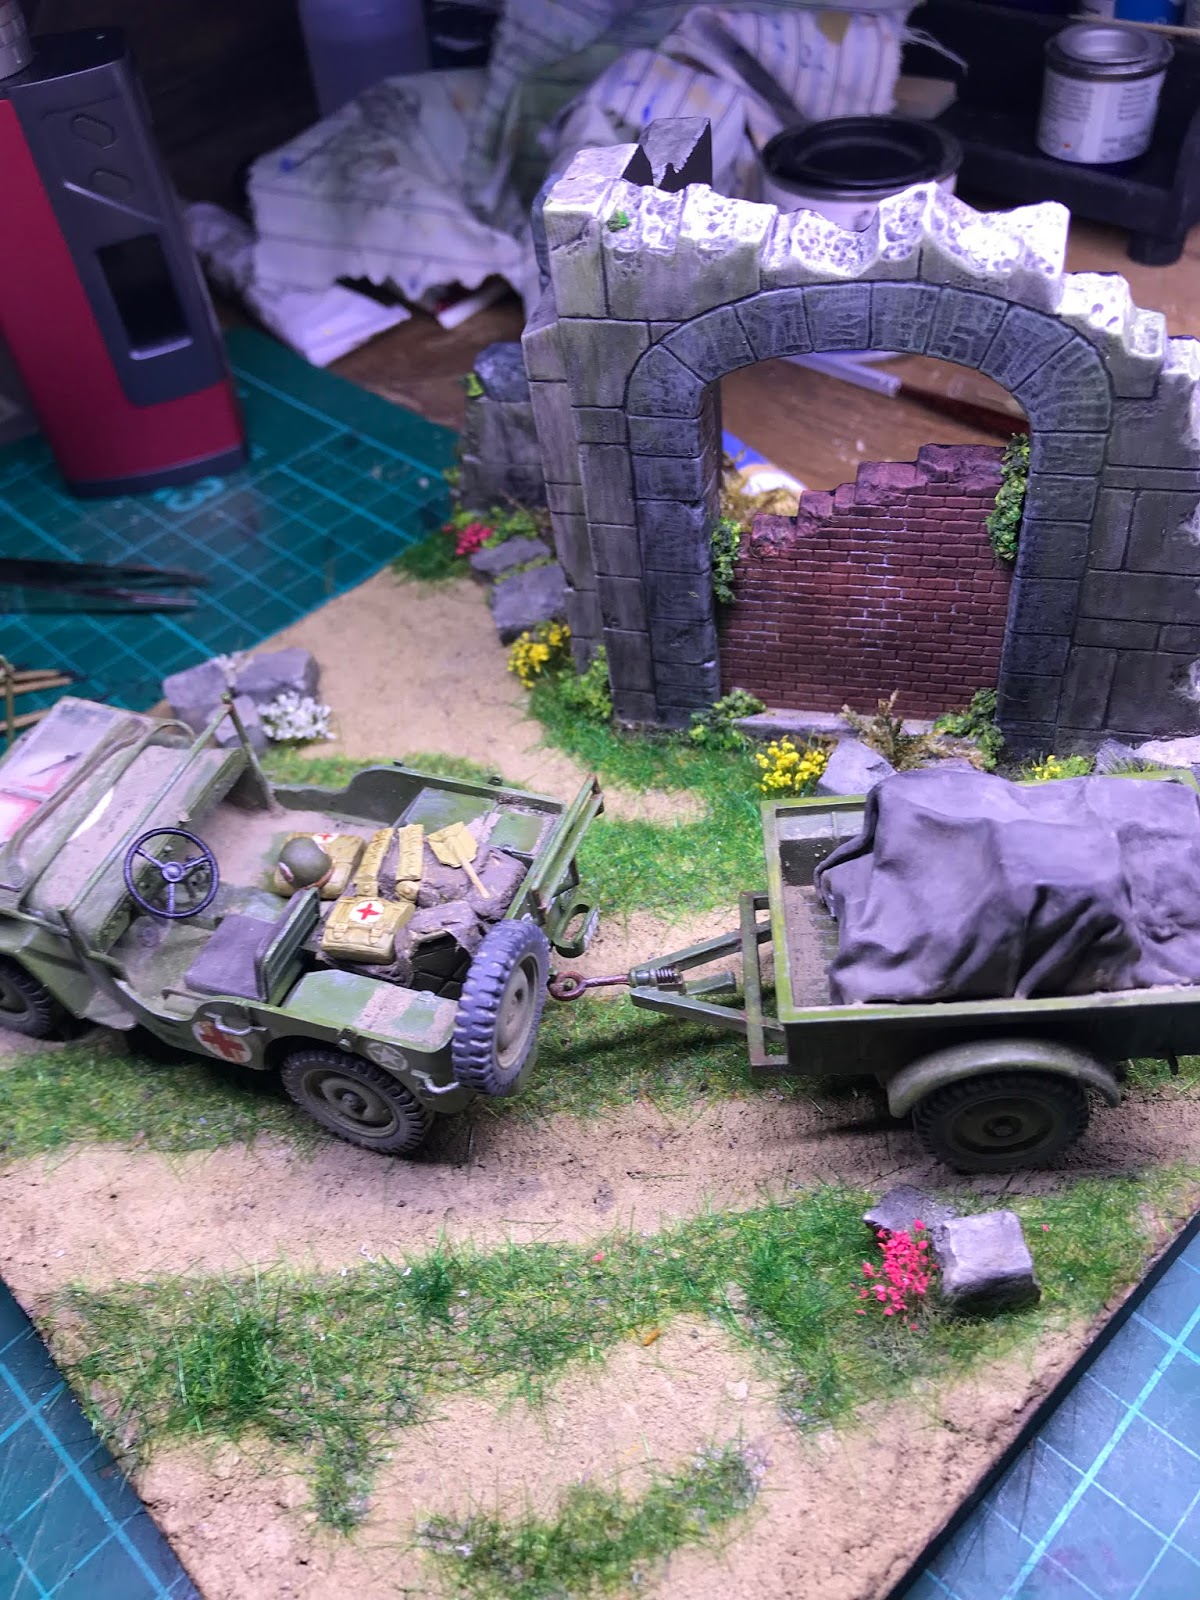
Finishing the dio
The first of the final stages was a re-positioning of all of the component pieces onto the dio base. The figures has been assembled out of the box with no alterations as they just fitted so beautifully with the scene (full credit to Wifey). The jeep was suitably covered in the same dried earth as the dio base to show the heavy use that it would have had in the first days following the landing and the spares box was raided for additional boxes, bags etc to fill the jeep. I also used the same blue foam and tarp trick on a smaller scale to ensure that the jeep was a fully laden as the trailer.


The soldiers as previously mentioned were assembled and painted straight out of the box. The medical symbols on their helmets were hand painted on as I remember reading an article that said the majority of helmets at the start of the D Day landings were hand painted as the medical corps was expanded and actual medical helmets were in short supply. I had also originally planned to remove the material section of the stretchers and replace it with lead foil. This would have allowed me to "sag" the stretchers that I placed the soldiers on; however I had used up my supply with the tarp and the lead time to get more delivered being more than 3 months; I opted to leave them as standard!
The finished Dio


No comments:
Post a Comment