Introduction
I've seen a few variations of this type of mono-bike or one wheel over the last few years and always had it in the back of my mind to scratch build one in the future. A month or so ago while scrolling through the model pages of Ali-express I came across this 1/35 version of the one wheel depicted with a WWI British soldier riding it. I couldn't resist the idea of actually building one (and not having to scratch build it) and a few minutes later I had the model along with three other 1/35 WWI era British figures in my basket and then patiently waited the three weeks for them to be delivered.
The models.
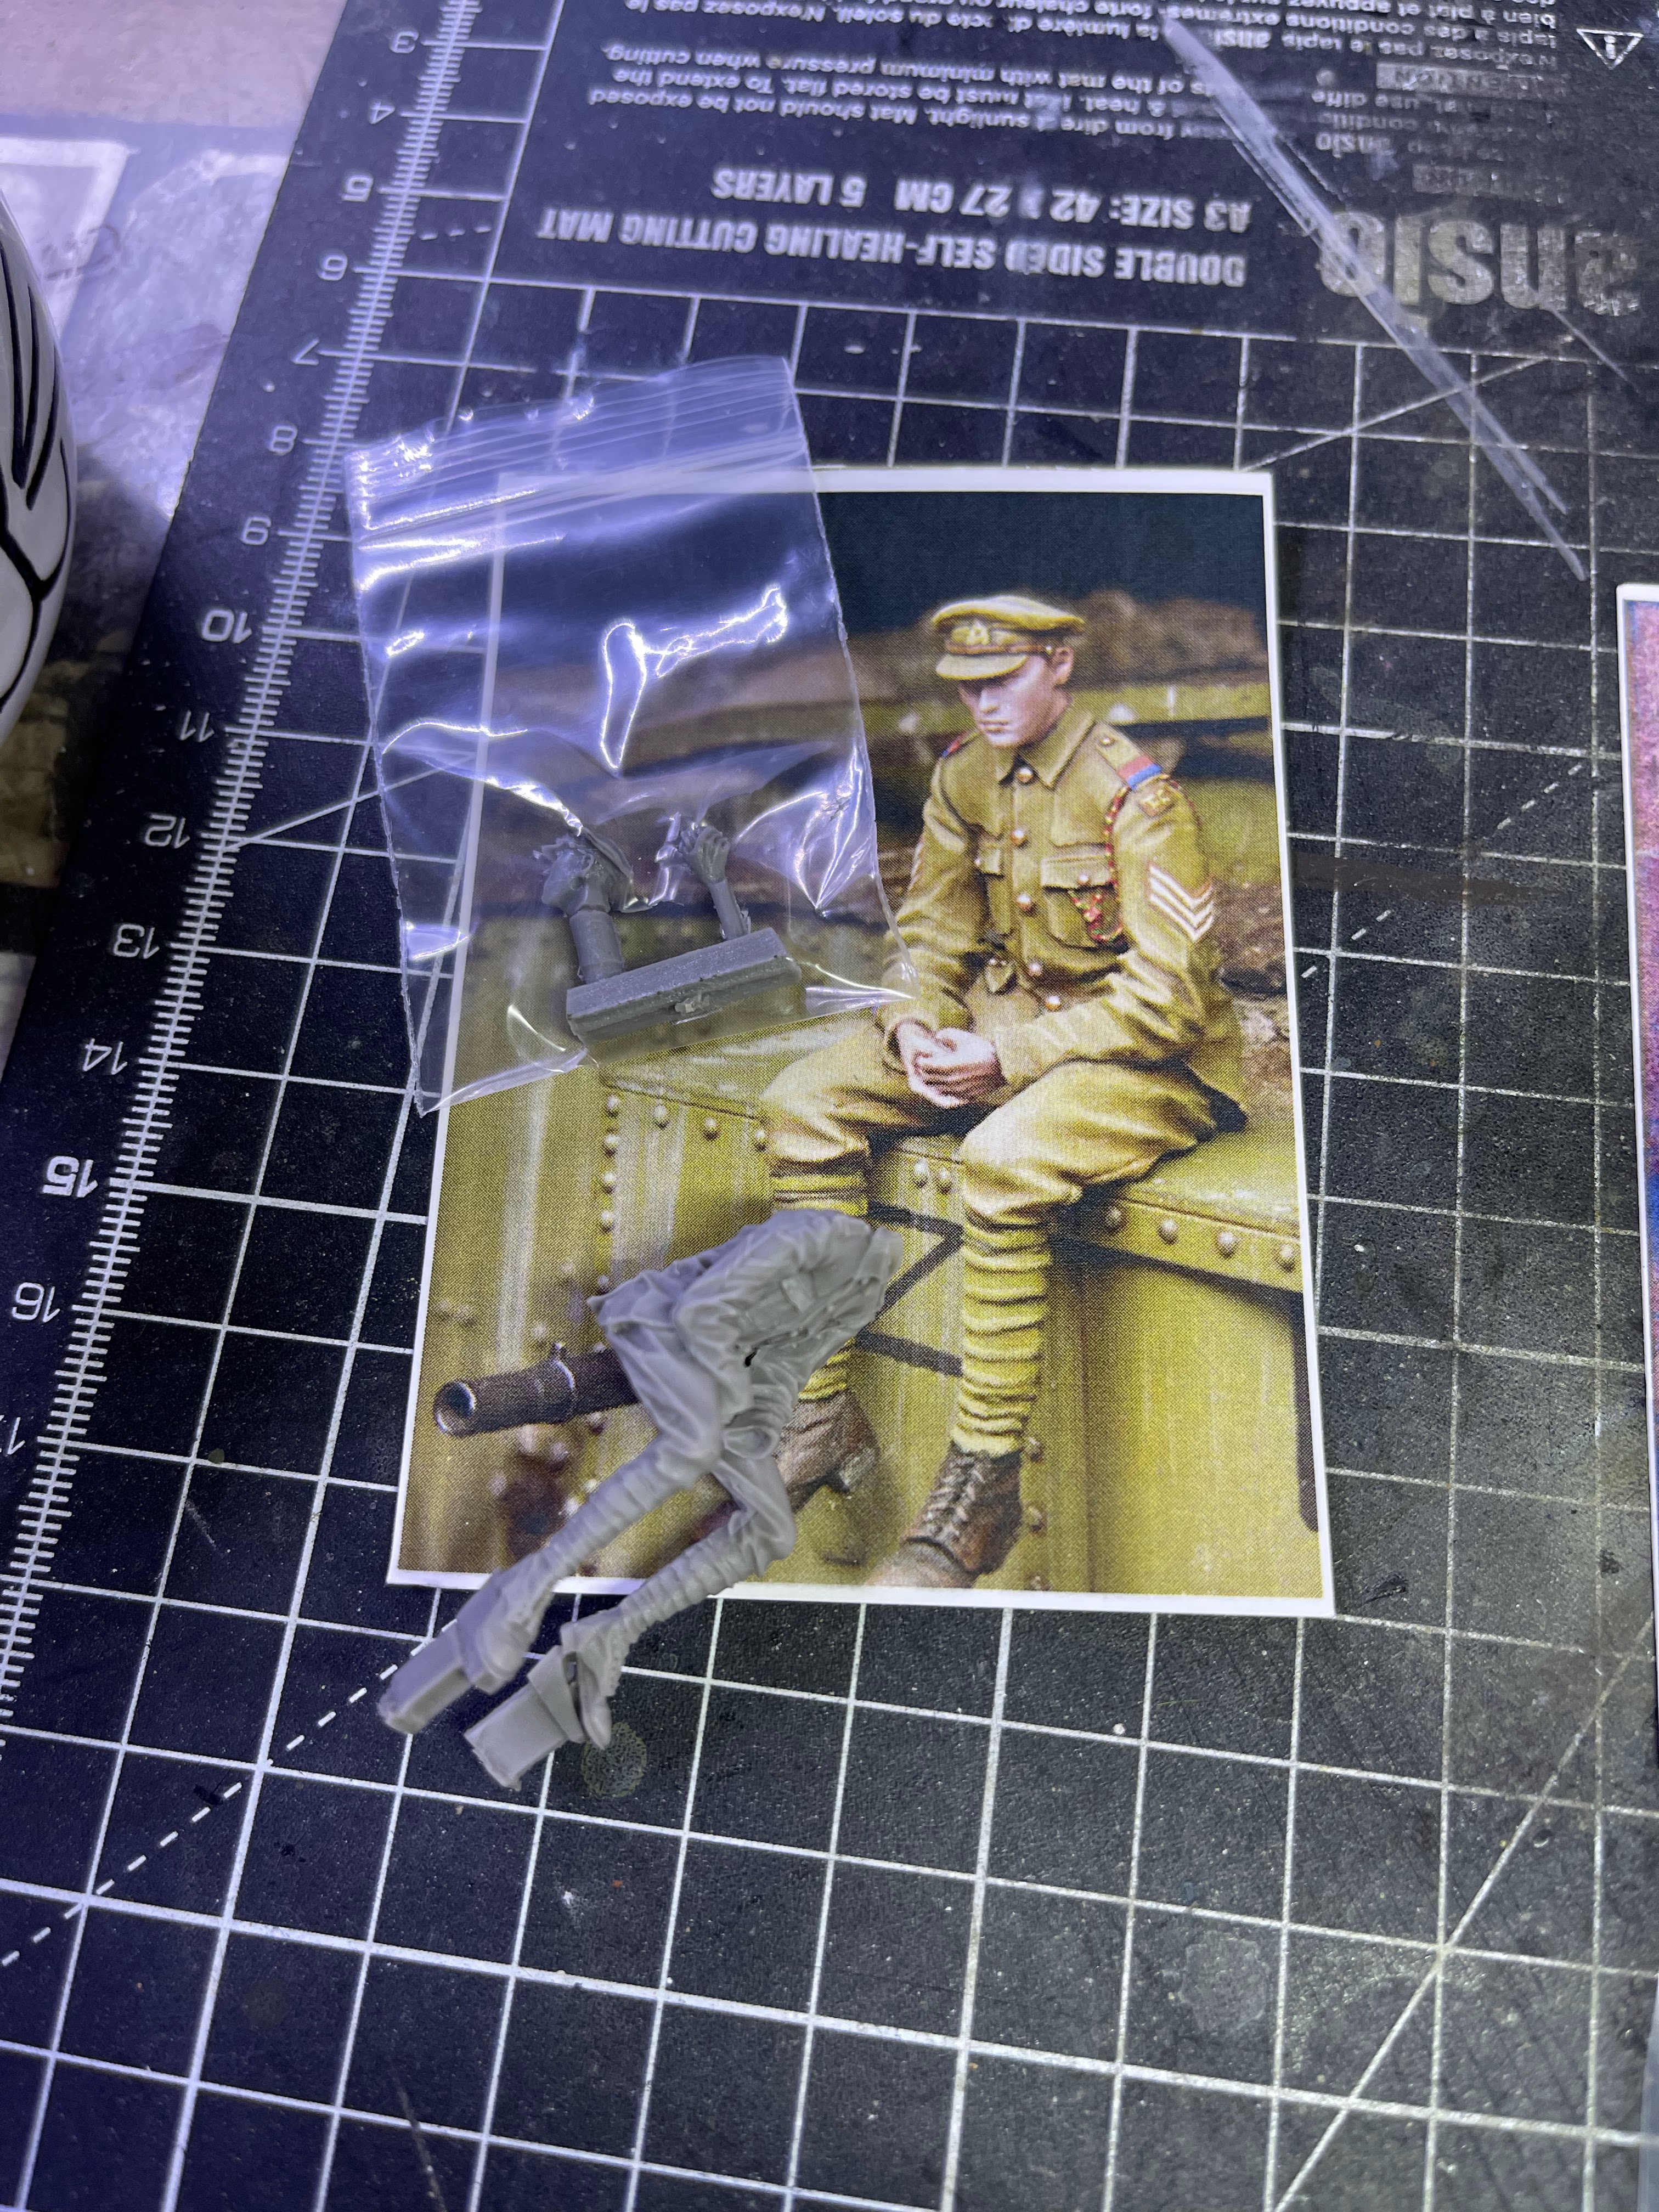
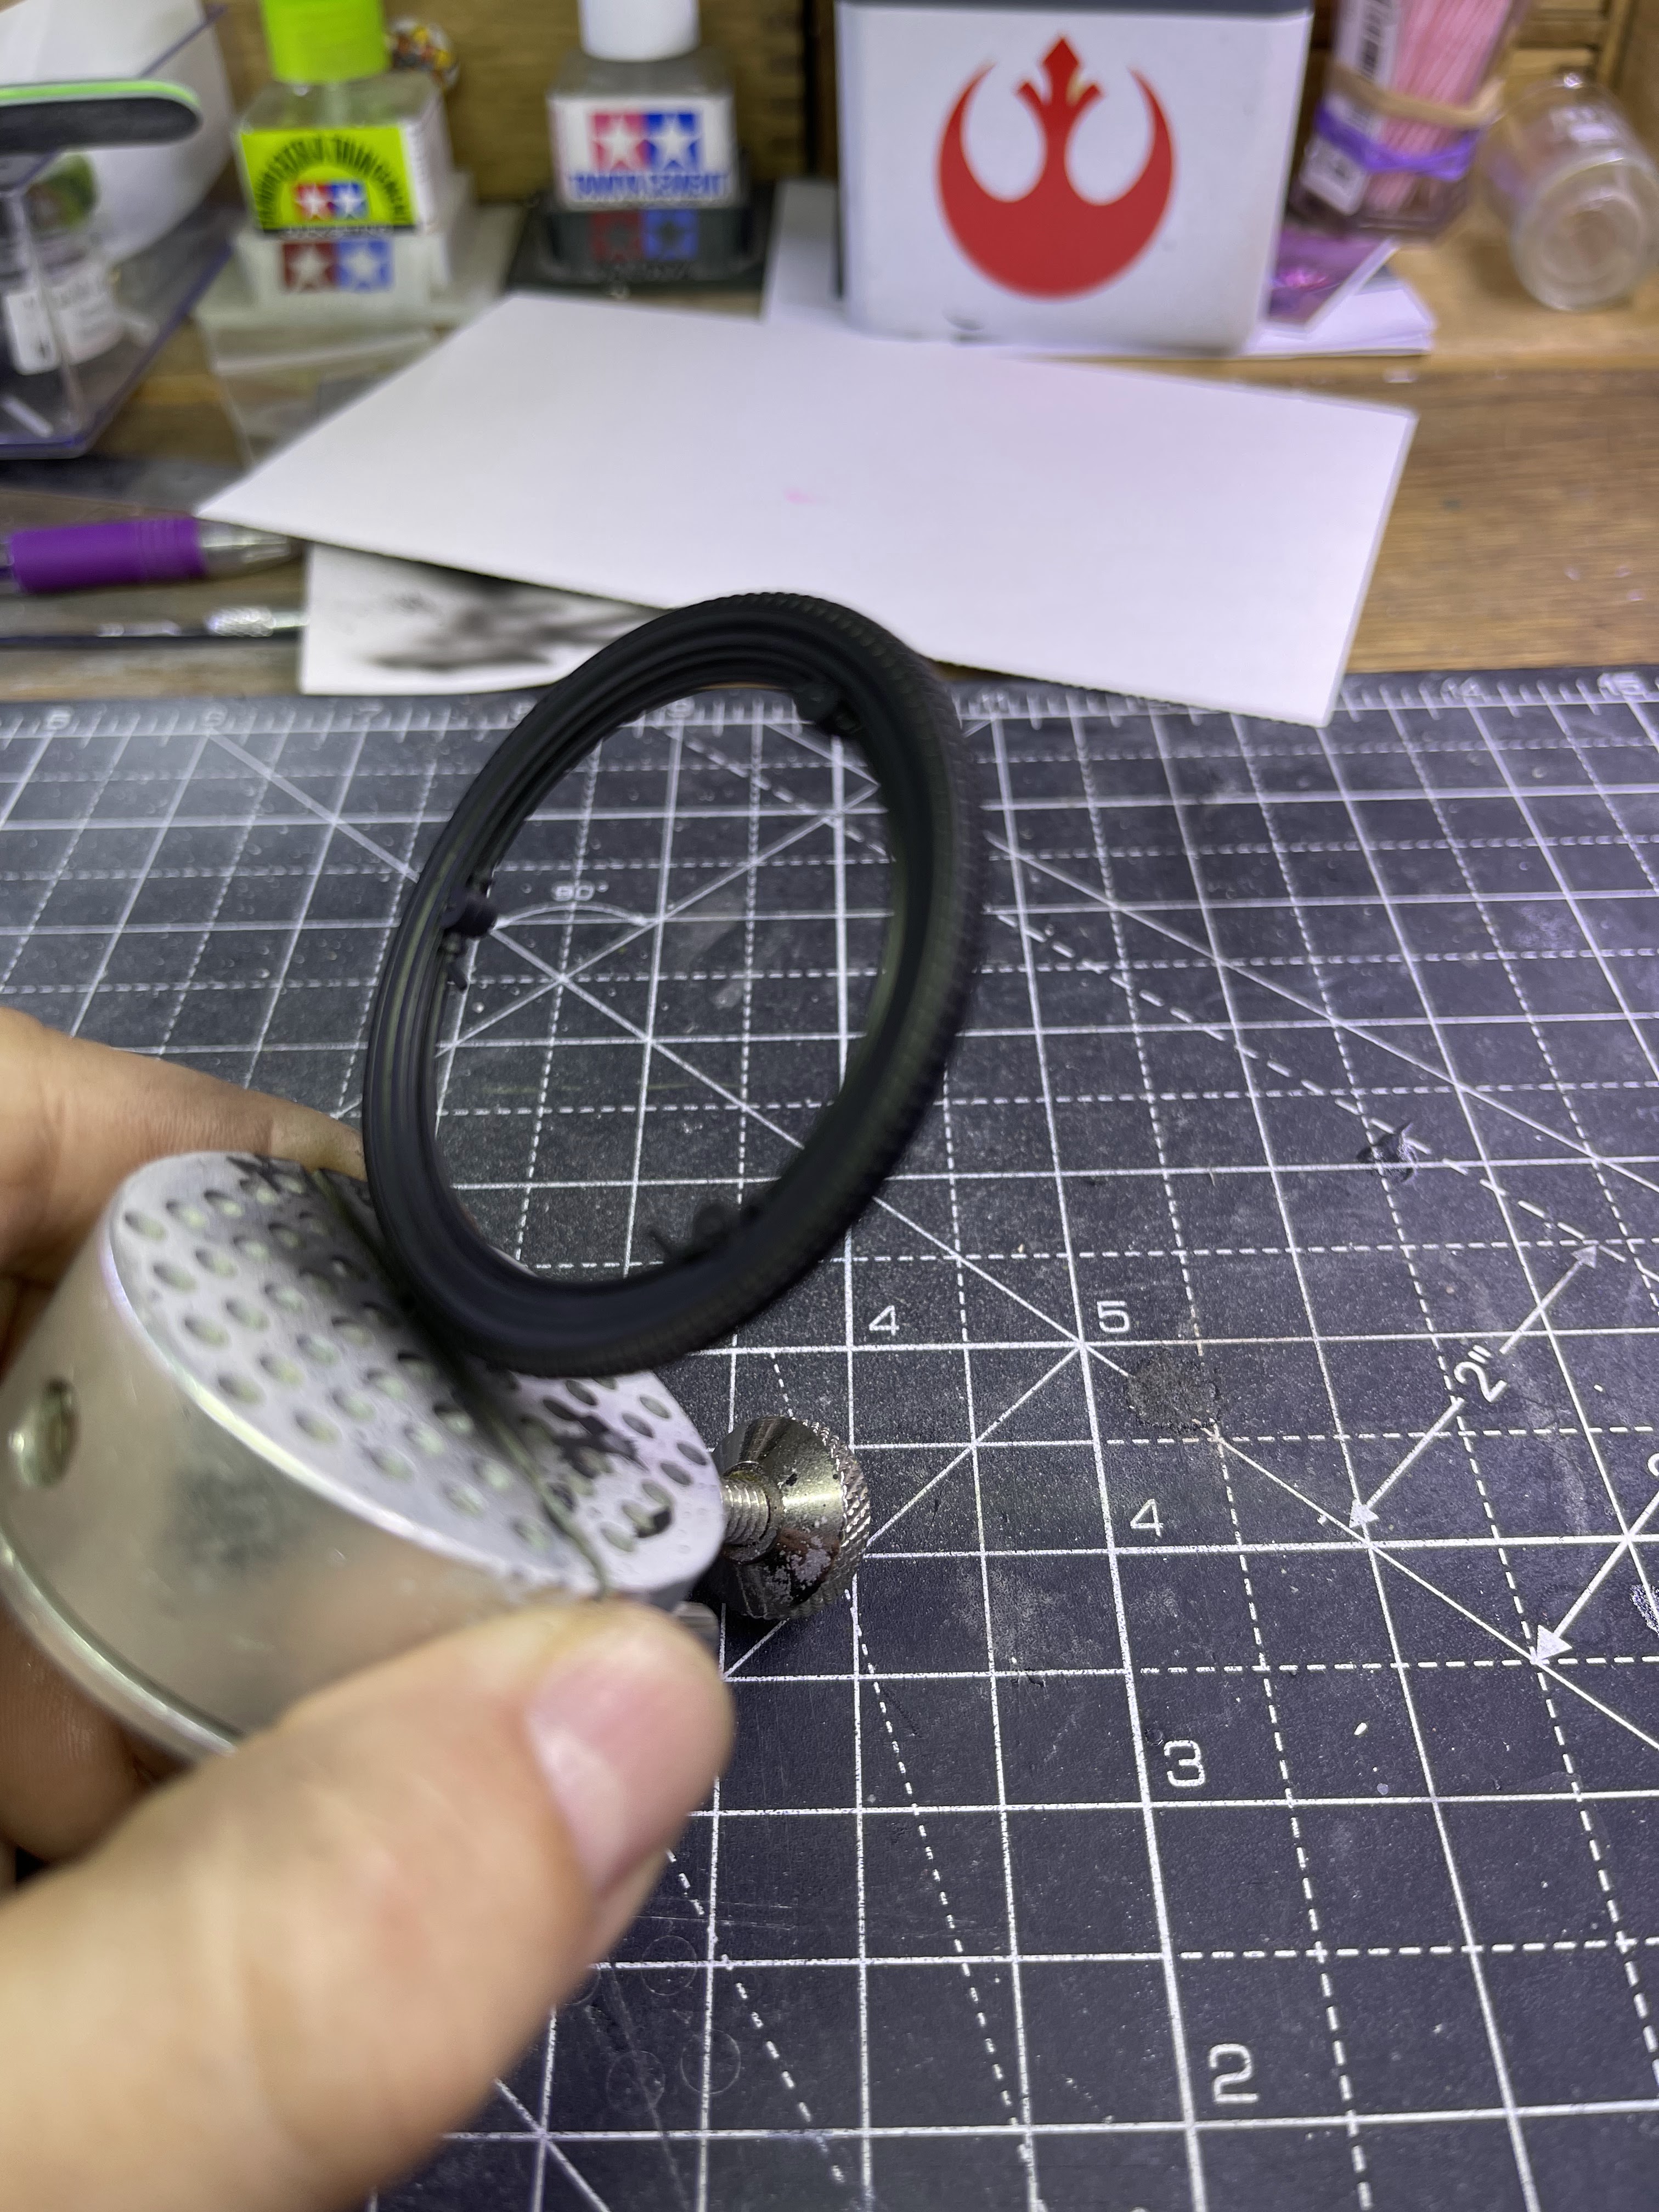
The figures arrived in singular packets and I was pleasantly surprised at the quality of them. A reference photo was supplied with each of the figures as well for assembly and painting. The model was supplied in a number of small baggies and while the casting was crisp; the wheel itself was warped. Thankfully the resin was susceptible to heat and after a quick bath in some boiling water I was able to straighten it. I was also shocked with the number of heads supplied to choose from as well as three different machine gun options. I honestly am shocked at the level of quality for a garage resin kit and the additional heads will be a welcome addition the collection of hornet heads I already have in the stash.
Assembling the model & figures
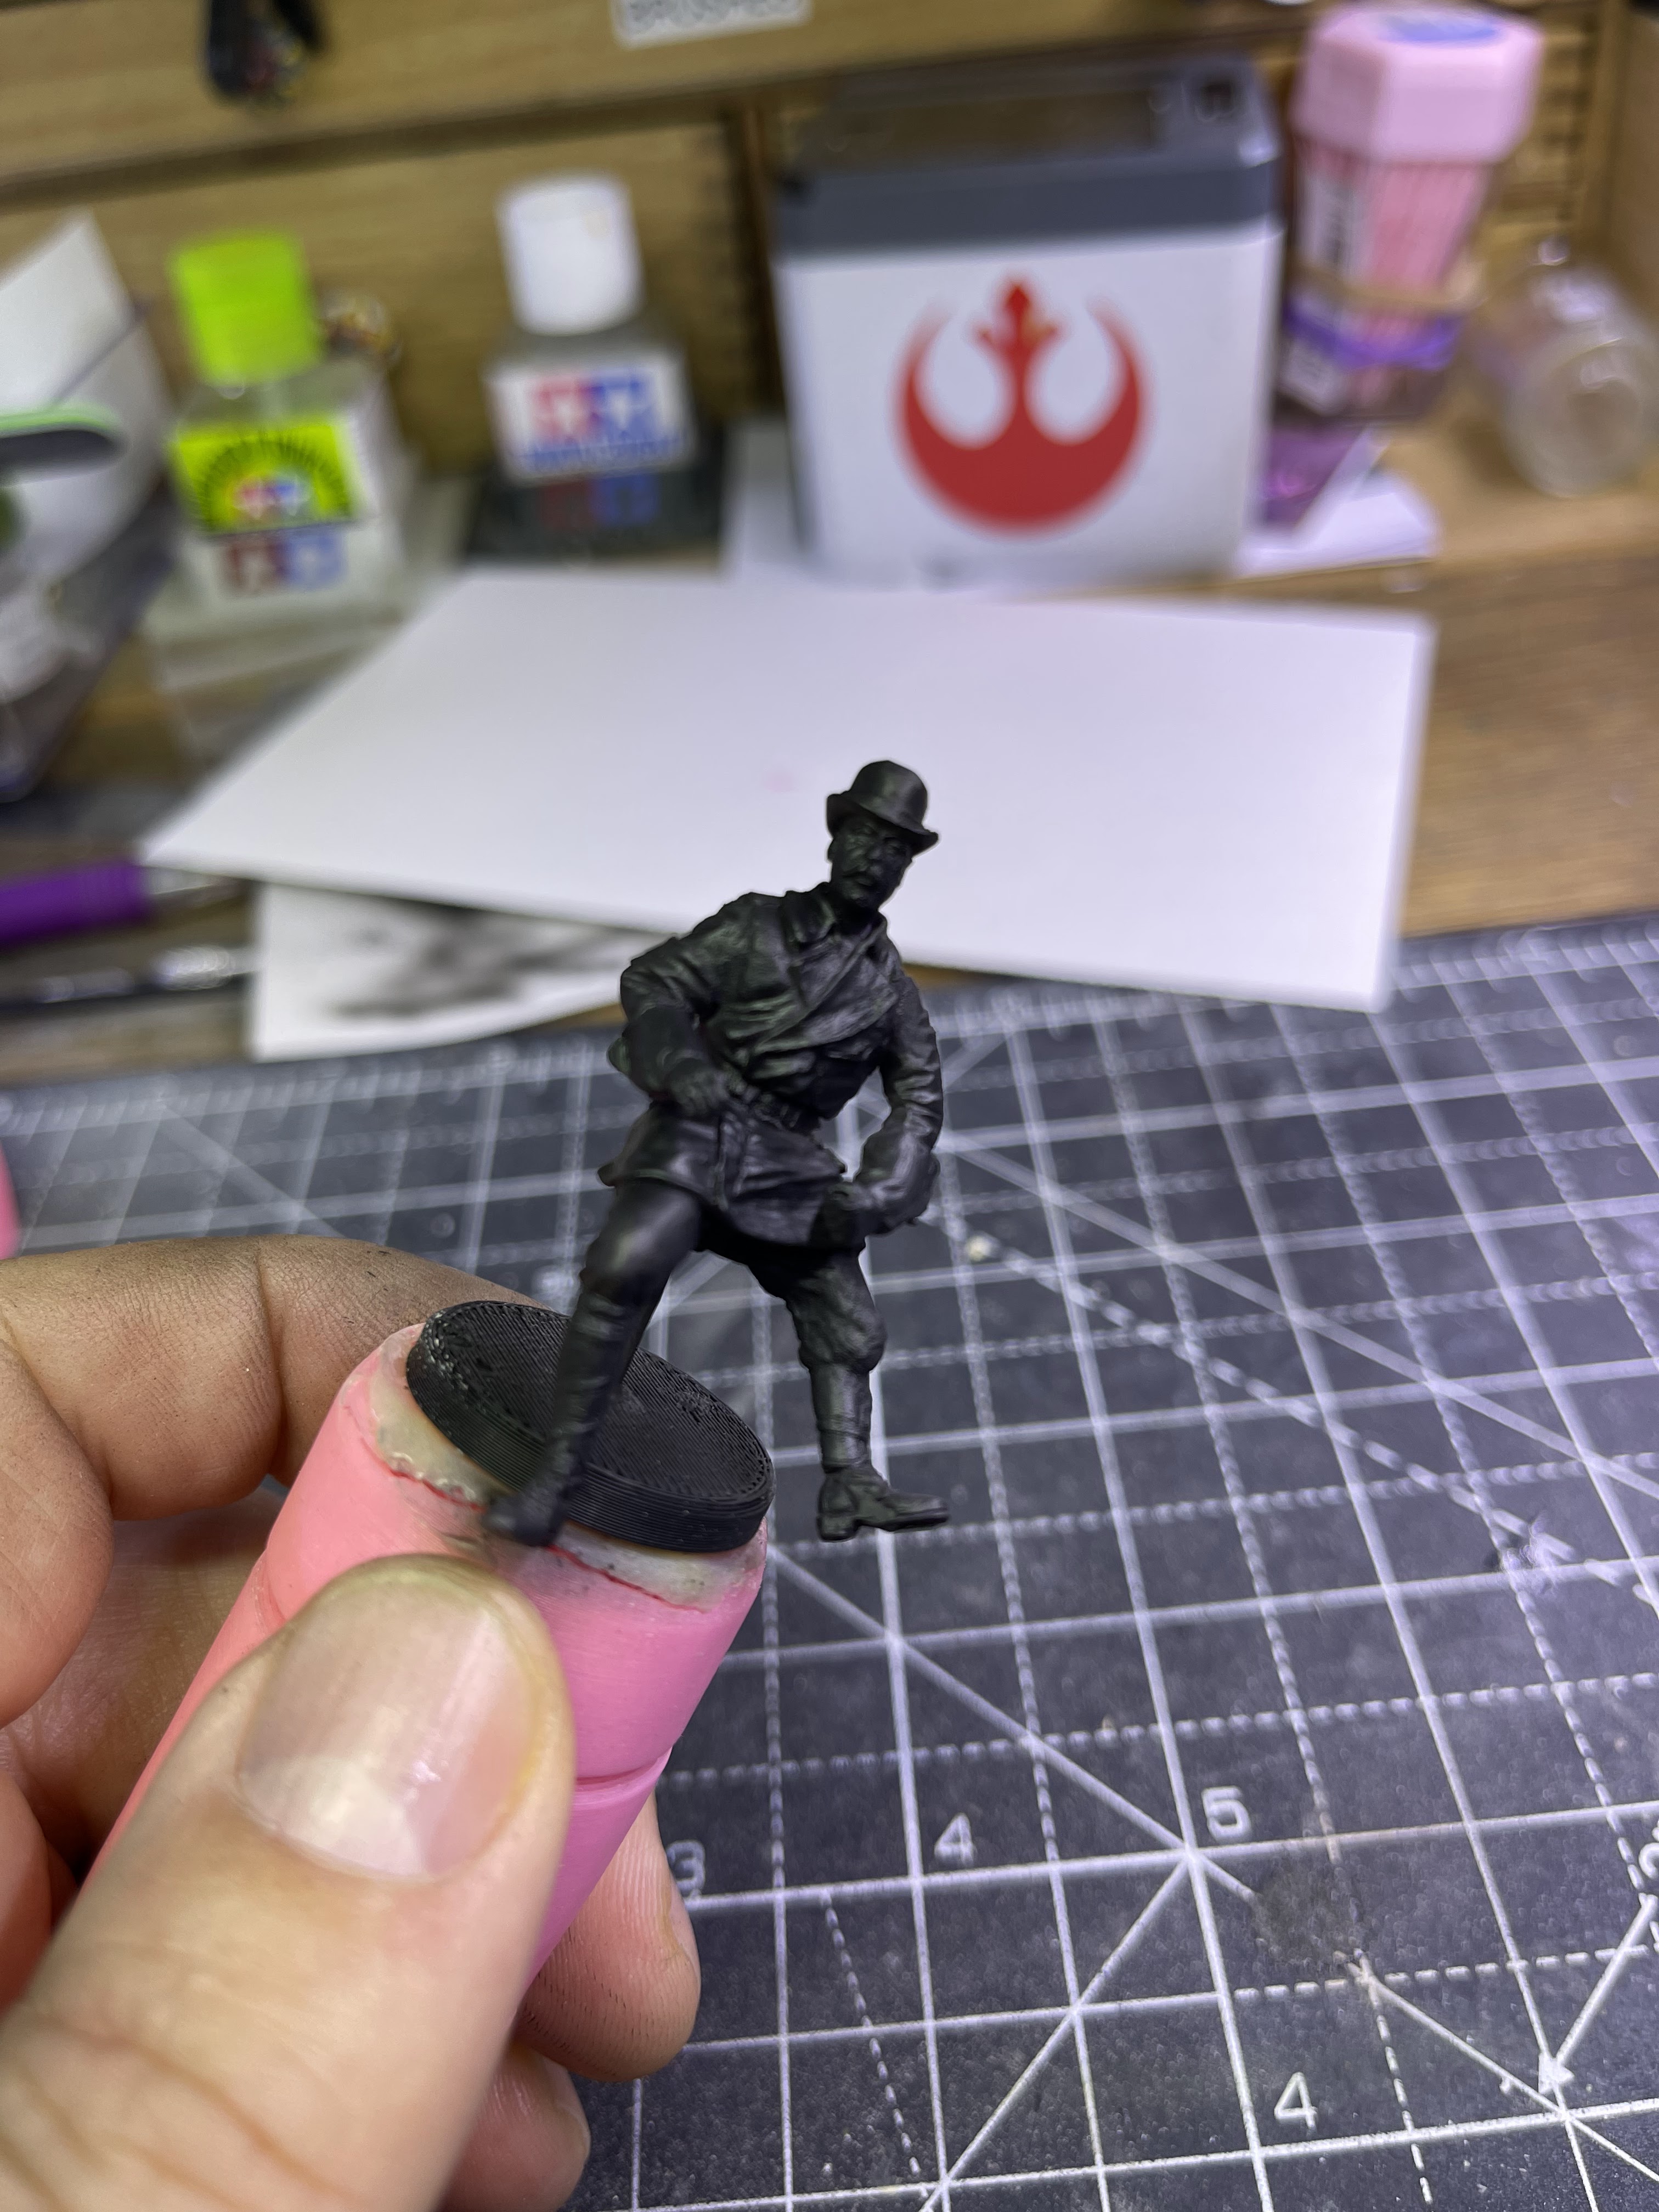
The bike itself is surprisingly detailed and some of the smaller resin items will be difficult to assemble considering how brittle the resin seems. My plan is to make this in either two or three sub-assemblies and then paint each assembly in turn followed by detail painting once they are put together. I also decided early on that I would substitute the heads supplied with the bike with one of my hornet heads. The particular head I chose was from their civilian range; a head wearing a bowler hat. This may seem like an odd choice however I want to depict the bike as being built by an old fashioned eccentric British inventor that at one time we used to celebrate. During WWI and WWII the British inventors came up with some pretty strange and fabulous ideas to advance the cause of the war and defeat the enemy that much quicker. If you want to see some really good examples of what I'm referring to then perform a quick google search for "Hobart's funny's". Anyway; what I want this little dio to represent is an inventor showing off his design to some military officers and trying to convince them of its merits for the Army.
The head fit surprisingly well to the figure which is more than I can say about the body fitting the bike! The figure did not sit in the seat correctly and the leg would not fit directly onto the footplate. The only recourse is to cut and reshape the leg (using Tamiya putty and wire) and to raise the seat slightly with the addition of some plastic card:
The model also lends itself to two major assemblies; the bike/motor and the wheel. I decided to leave these apart until the final assembly as the pins that are used to mount the motor to the wheel are rather fragile. I could I suppose cut them away and replace with some small diameter brass or copper wire but why make life difficult! I then did a quick test fit and elected to spray the wheel and bike with Vallejo black primer:
I also glued up the remaining figures, filled the seams with perfect plastic putty and then gave them a coat with the same primer:
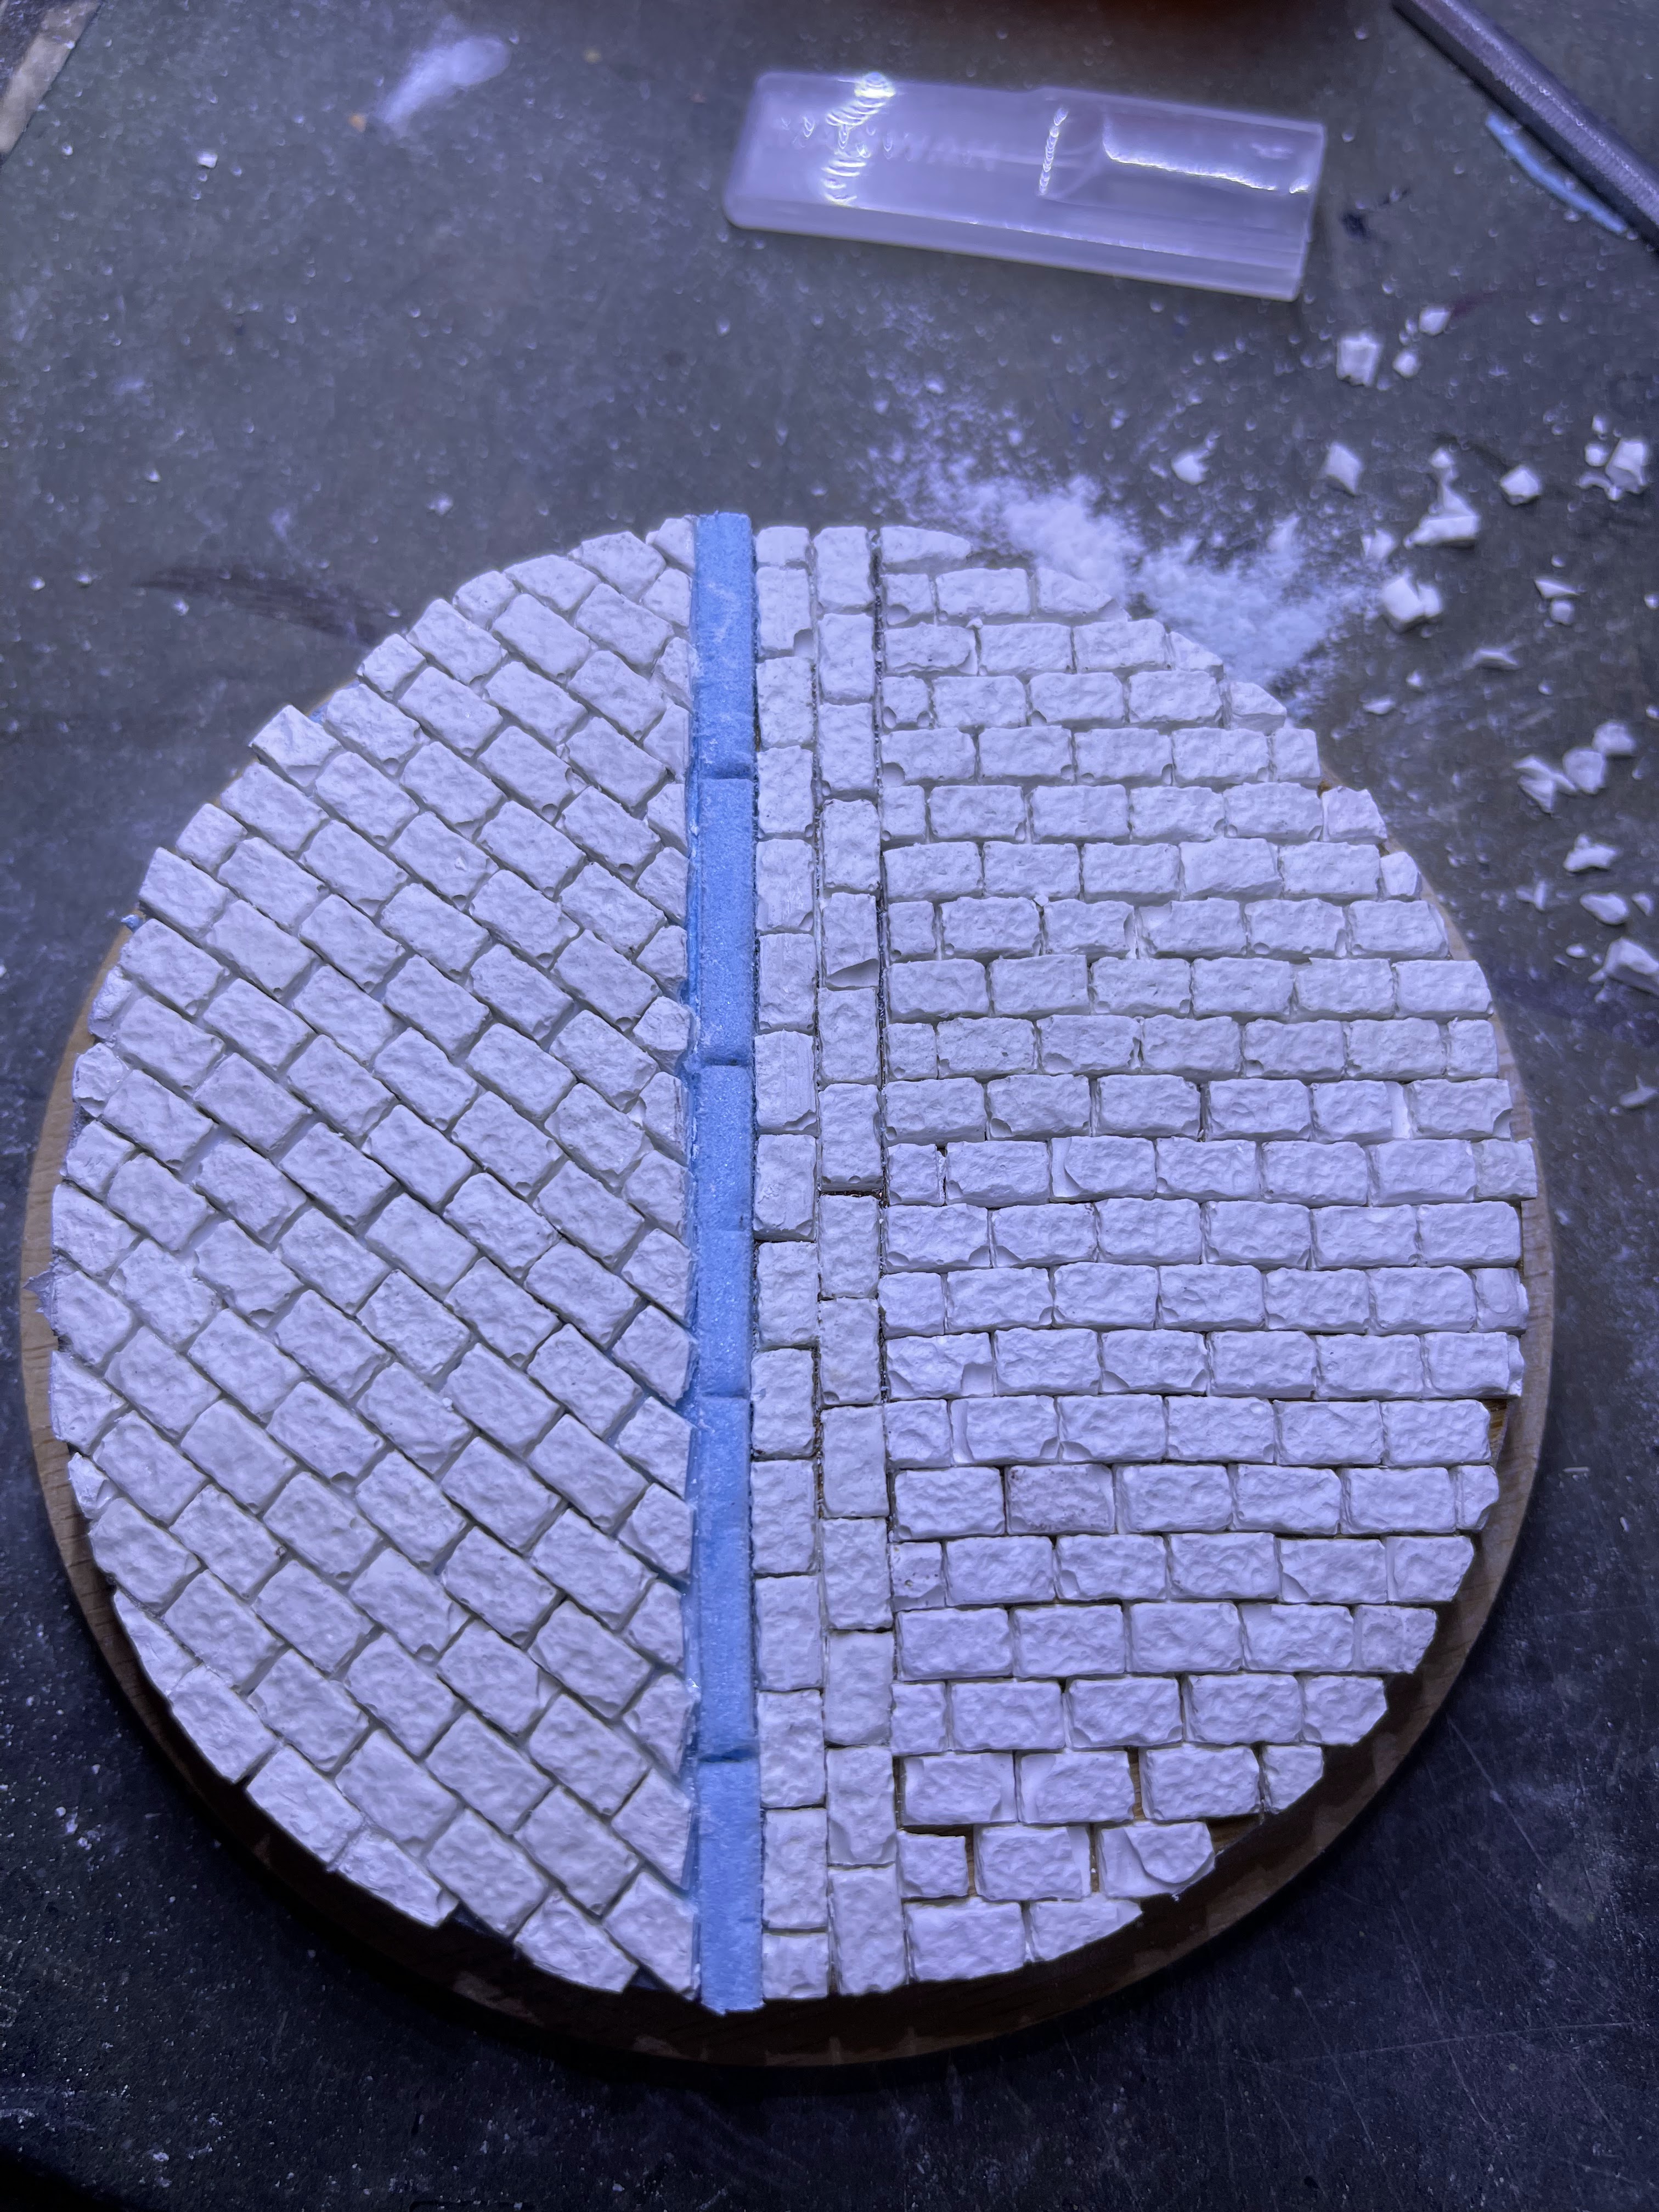
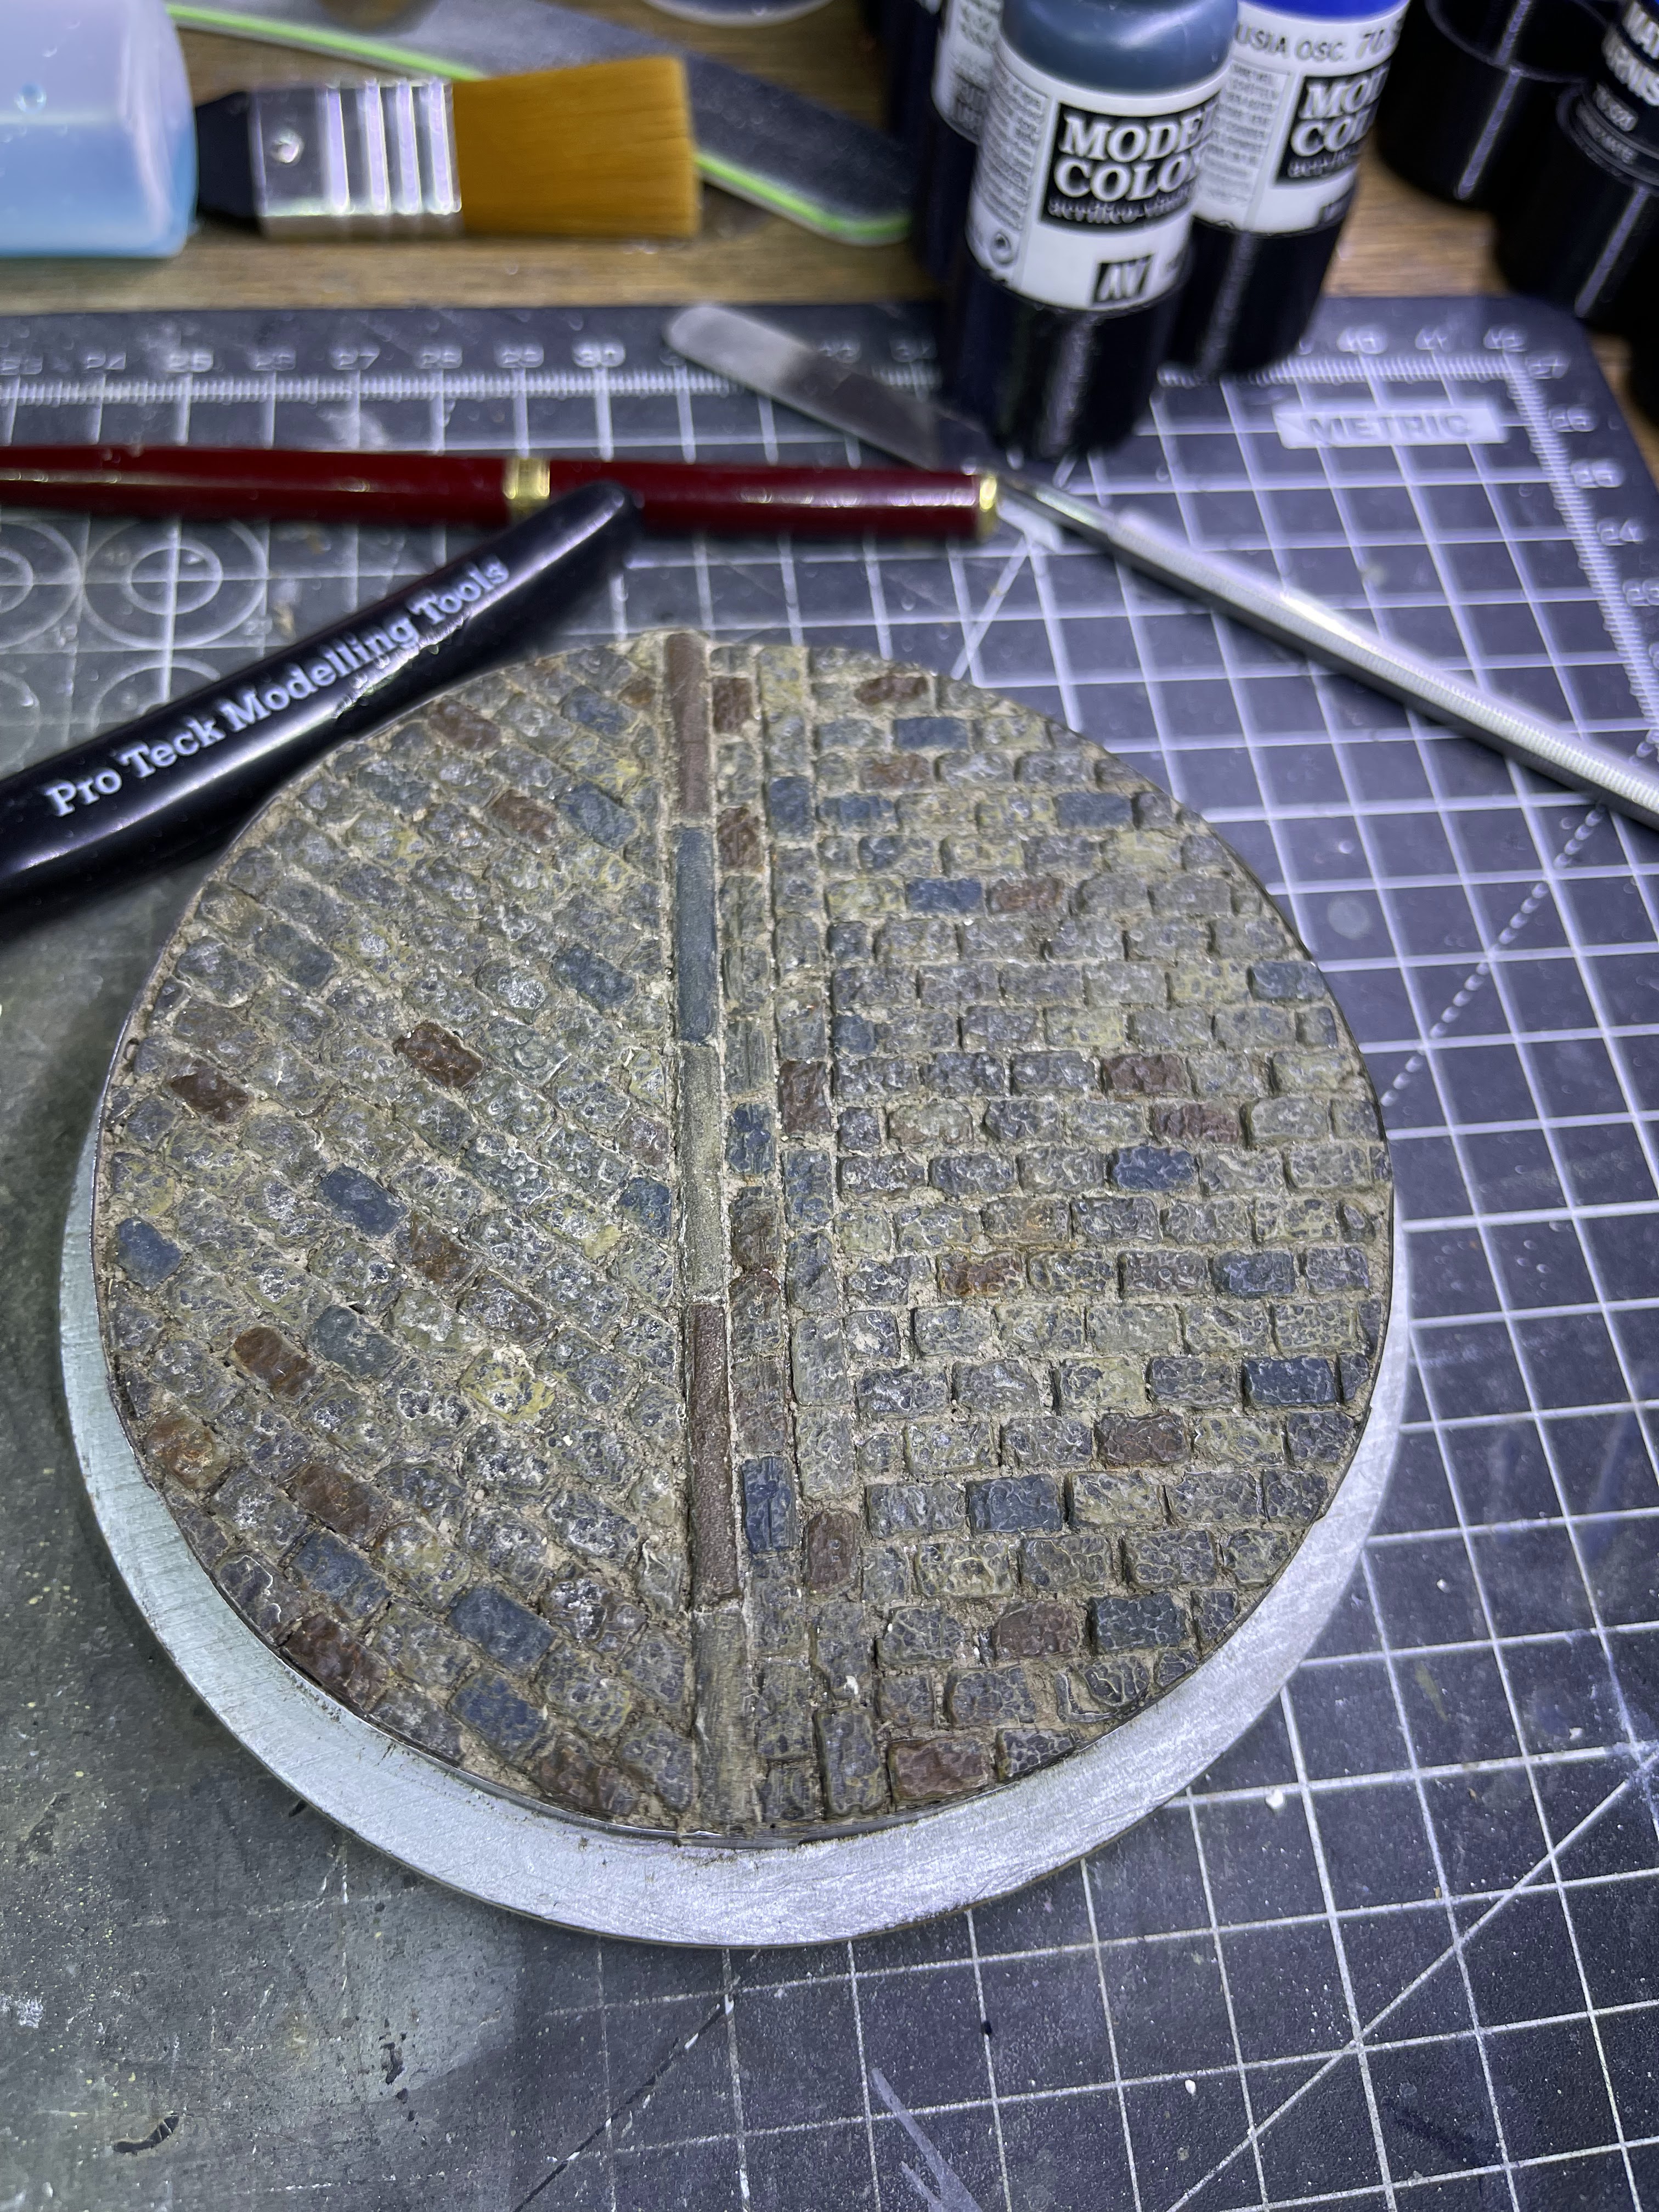
While the primer cured I made a start on the display base. I wanted to keep this a relatively small vignette where the eye remains focused on the bike and the basic assumption that it was being viewed or evaluated by some officers. I had kept a bamboo lid from a china kitchen container that smashed a while ago; this seemed like the perfect opportunity to use it. To create the base I elected to use the cobblestone plaster mould that I purchased from diorama debris a few years ago. I really cannot recommend this company enough for the quality of the mould and its effects when used. Here's a link to their
website. I figured that if anyomne wanted to show a senior military officer something then it would have to be done in London. A good number of google image searches revealed plenty of cobble streets in 1920/30's London. The construction is easy enough; cast the cobbles in casting plaster, allow to dry and then glue to a clean wooden surface using wood glue. For the curb and raised pavement some blue foam was cut to size; glued with the same wood glue and then cutting in the curbs in the foam. I will definitely make a point in the very near future to buy some curb stone moulds from diorama debris to avoid the blue foam curbs:
Once the cobbles had dried to the base I then lightly sanded the edges smooth with the curve of the base and then glued some strips of thin plastic card to hide the raw edges. The entire base was then sprayed in black primer and then I spent a lovely evening dry brushing various browns and deep reds onto the cobbles until I achieved a variation in the cobbles that closely matched the plethora of reference photos available online.
After the initial painting of the cobbles the whole thing received a few coats of matt varnish in preparation for filling in the gaps using some dried and powdered earth (that I get from the University I work at's construction research lab).
I also decided to address another problem that I had. One of the WWI era figures that I purchased was originally designed to be sitting on a vehicle. Unfortunately for me the only seat on the vehicle I was building was already taken! I had considered a bench of some kind but these were few and far between on a public sidewalk in London (still the same today). To solve the problem of the sitting soldier I decided to scratch build some simple wooden crates from some scrap bass wood I had in the stash. To achieve the aged look to the crates I used Vallejo's excellent wood painting set. I will have to write a review of this in the very near future:
On the test fit to the base I also realised that I had created another problem; The base would appear "out of balance" with interest at the front and one side of the rear and nothing on the other side in the background. A quick search on Thingiverse revealed a period correct gas lamp post in 1/35 scale. An hour or so later and I had printed this post on my resin printer and after a very easy assembly it was painted in plain gloss black and mounted to the base:
Painting the figures and the mono-bike (including final assembly)
I won't spend a great deal of time detailing how each of the figures were painted as I have covered this process many times before. What I will say is choosing the paint colours for WWI officers is great as I found that almost every officer was required to purchase their own uniform from a regimental tailor. As a result each regiment's officers had slightly different colours of Khaki so there is no real wrong or right. I took this opportunity to add some variation by painting each soldiers uniform in slightly different browns and the cavalry officers trousers in a nice shade of blue for added interest. The mono-bike was painted in a light US green and I highlighted the tanks by painting these in black with gold writing. The mono-bike wheel was then dusted in the same earth used for the cobbles. The rear mudguard and front lights are VERY delicate fittings so I elected to strengthen them with thin strips of plastic card glued across the joints in the hope that it will keep them there in case of a slight inadvertent tap.
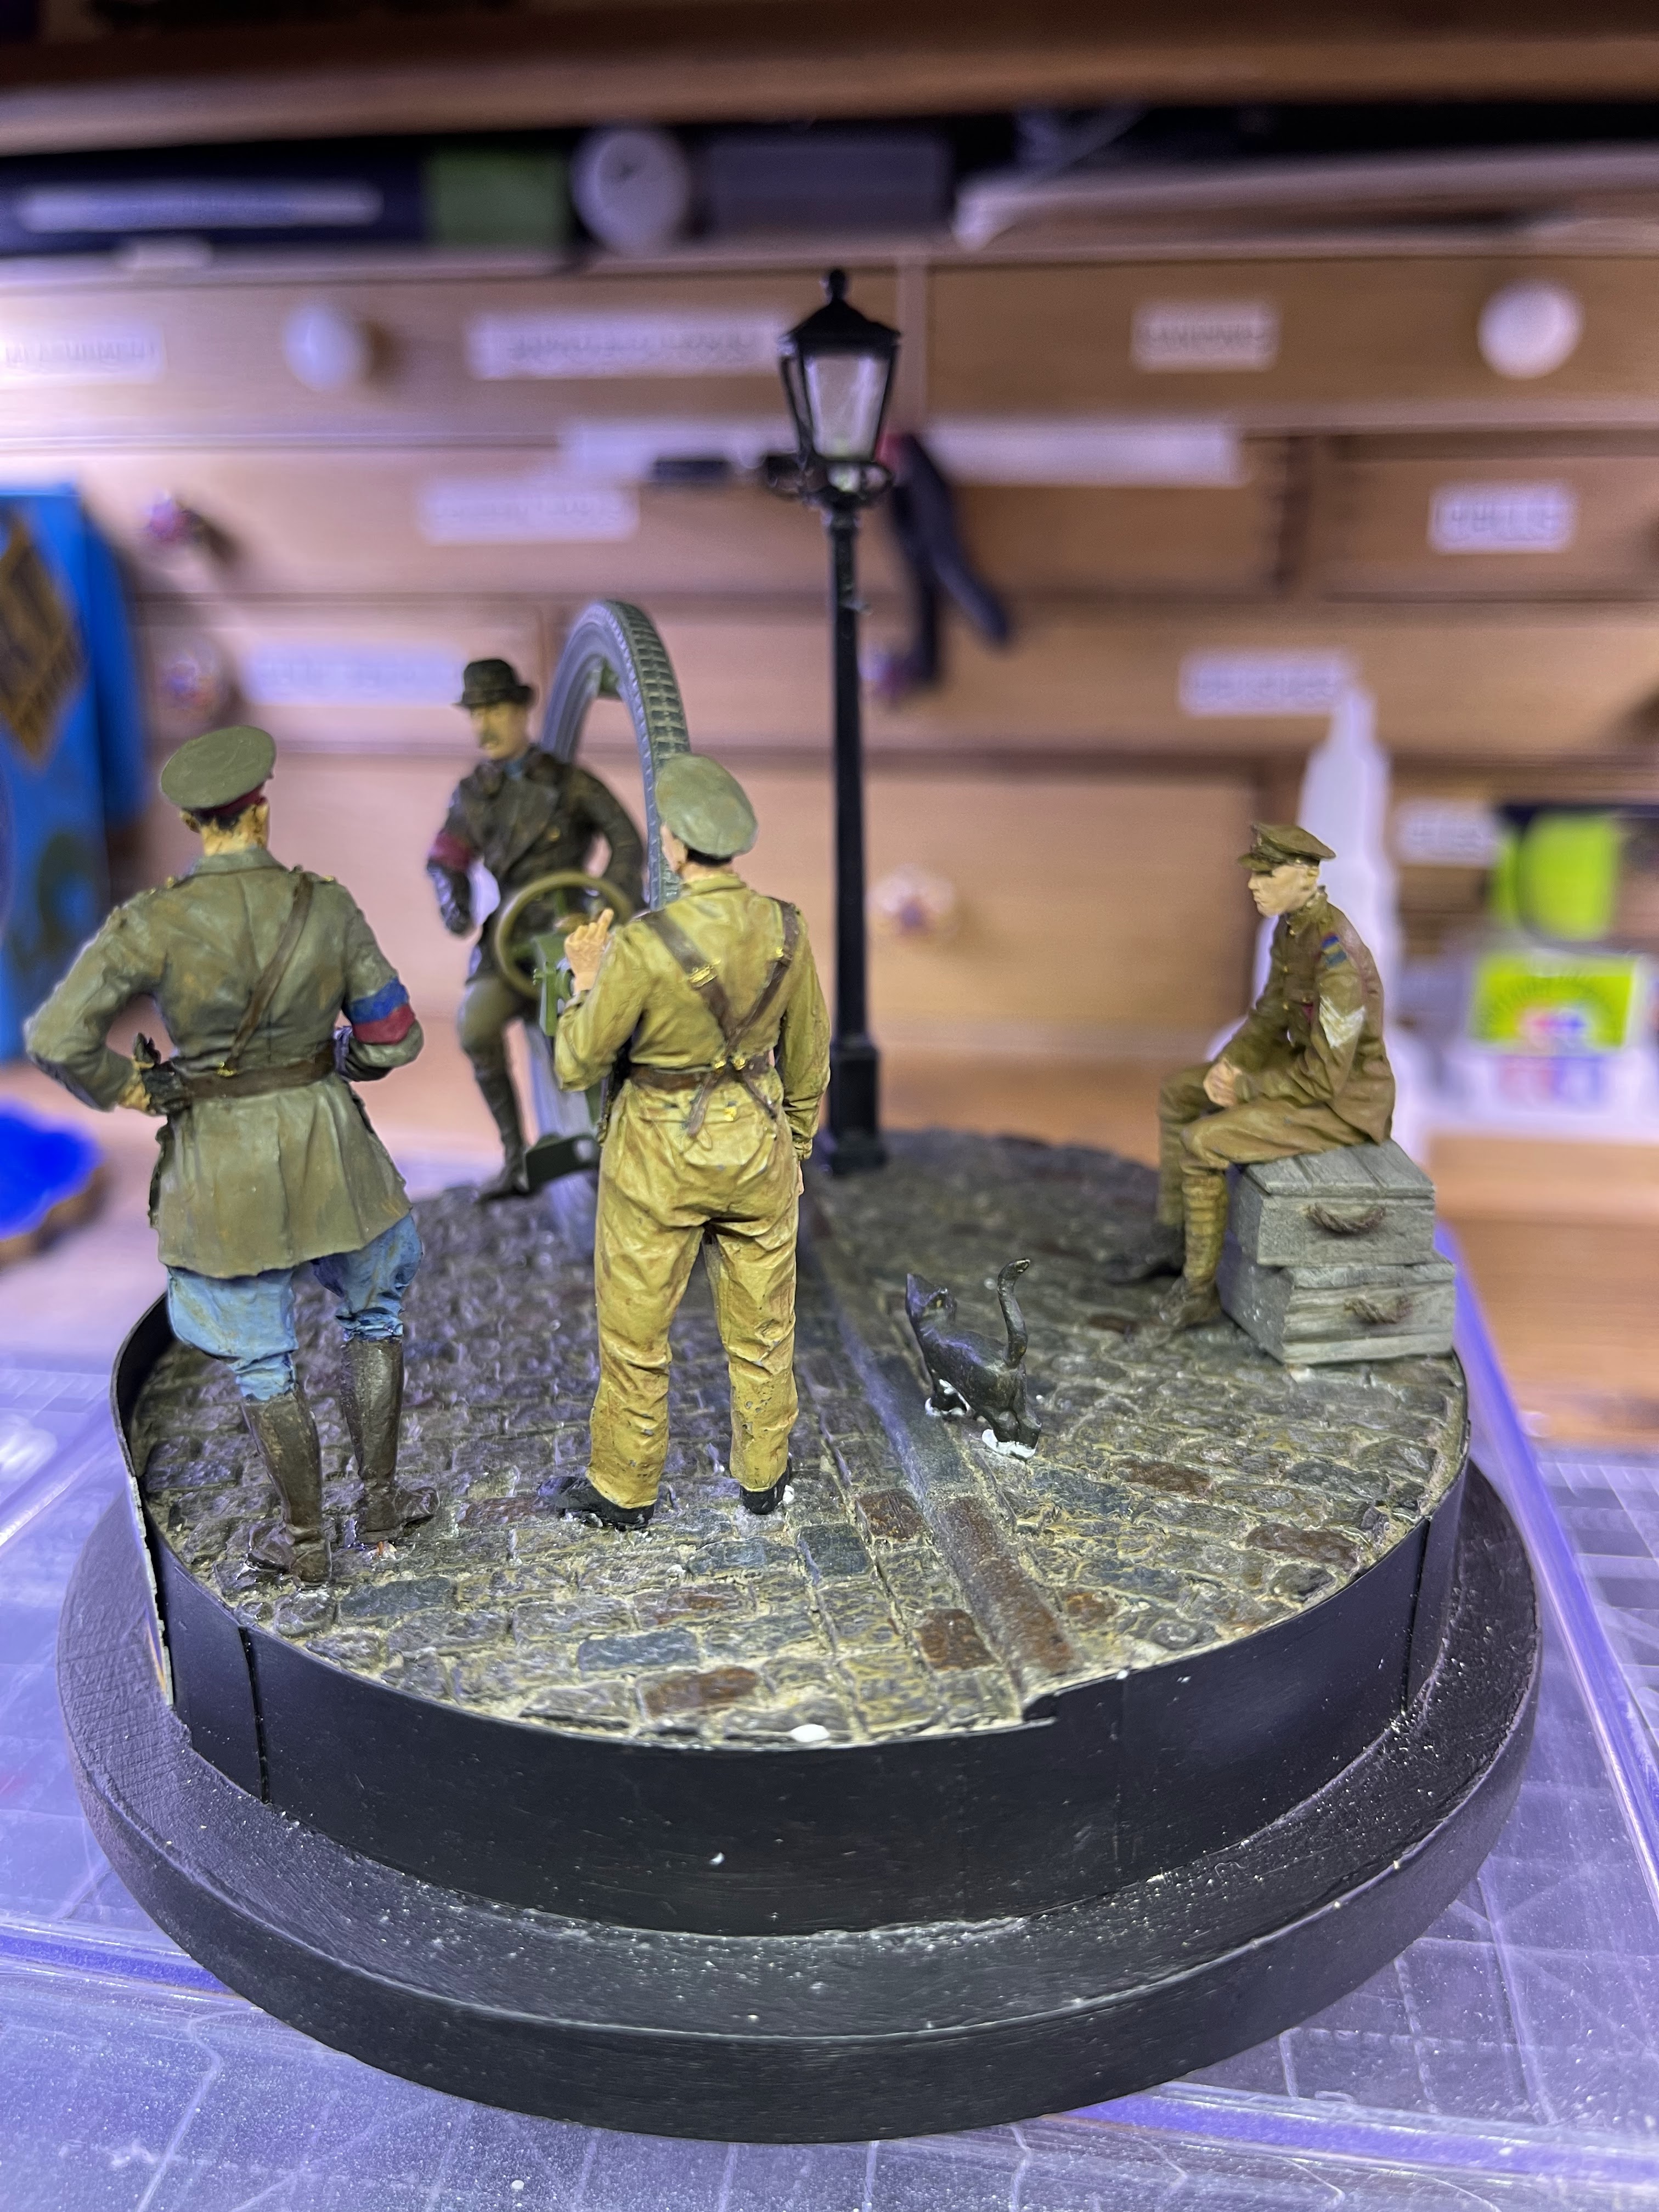
Finishing the Diorama
This is quite a simplistic final assembly as each of the parts are self contained and sit quite happily on the cobbles. Each part was held in place by a small amount of copper wire drilled into the shoes and tyre. The wire was then coated in some extra thick CA glue and pushed into the cobble. As a final edition I realised that a scale model of a cat that I had painted to resemble my recently adopted rescue cat and intended on placing in my last dio was still on my desk. By happy accident I also realised that the sitting figure was not "looking" at the bike but rather was looking to the roadside when placed on the base. I simply fixed the cat to the roadside in the direction of the soldiers gaze making it look like I'd planned it all this way from the beginning! The last and always the most difficult for me was assigning a title to the little diorama. This time around it was quite easy for me; the inventor was attempting to convince the evaluating officers of the merits of his bike for his majesty's army. What better a title for this dio than "His Majesty's Mechanical Steed". I hope you enjoy the final photos and as always I'd love to hear your comments on my latest model.


No comments:
Post a Comment