Introduction
Off the back of my mono-wheel vignette I really wanted to get back into something a little bigger, possibly tracked. I delved into the attic stash and the Tamiya Wespe jumped out at me. Whilst taking a look through the box I realised that I had bought a Royal models aluminium barrel and an Eduard detail kit for this model as well. I must admit that I am a little worried as I honestly cannot remember buying these accessories for this kit! With the model chosen I then dug into my figure stash and decided upon some figures from a larger Stalingrad figure set that I bought a few months prior. I had no idea at this stage how I was going to present the model but I was eager to make a start:
The build
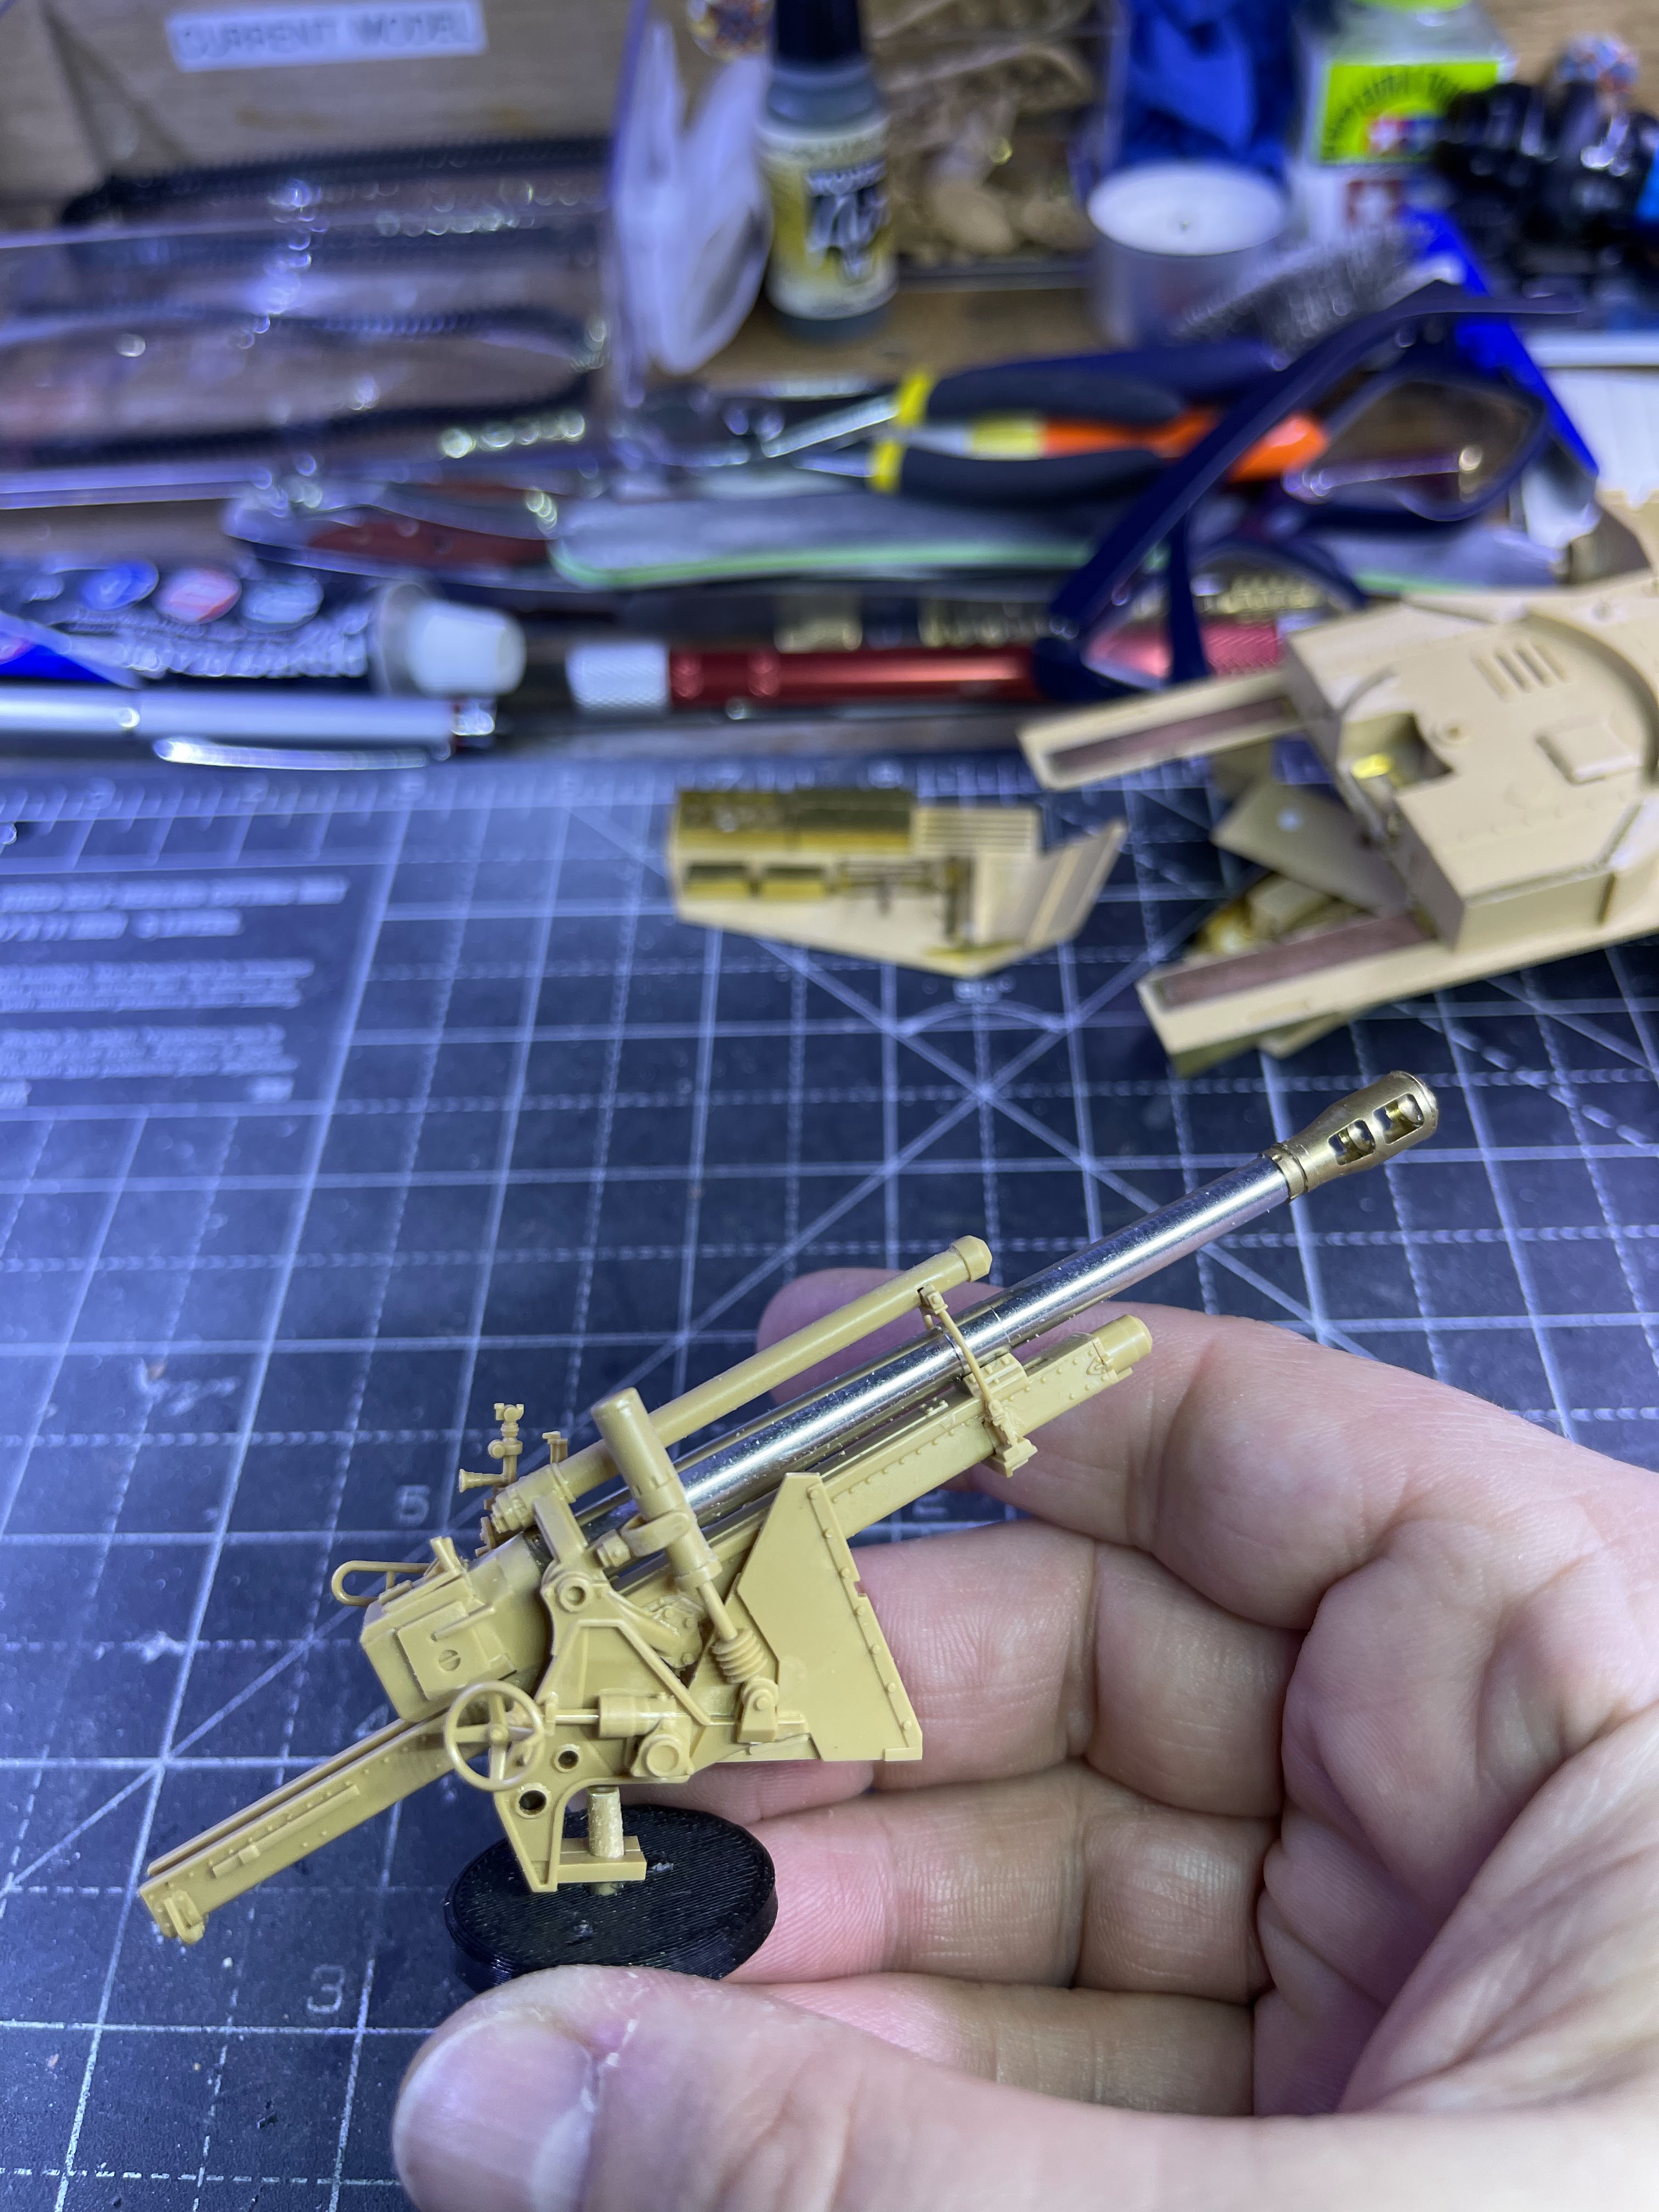
The kit itself is textbook Tamiya; everything went together as expected, minimum parts cleanup etc; the most difficult part of the actual build was the addition of the Eduard etch parts. I had also not used an aluminium barrel before and was really surprised at the quality and detail of the item. This is something that I will definitely consider for my tank models in the future as long as the part isn't too silly on the pricing! I won't write anything further on the build for the sake of it so I'll let the images below do the talking:
Primer
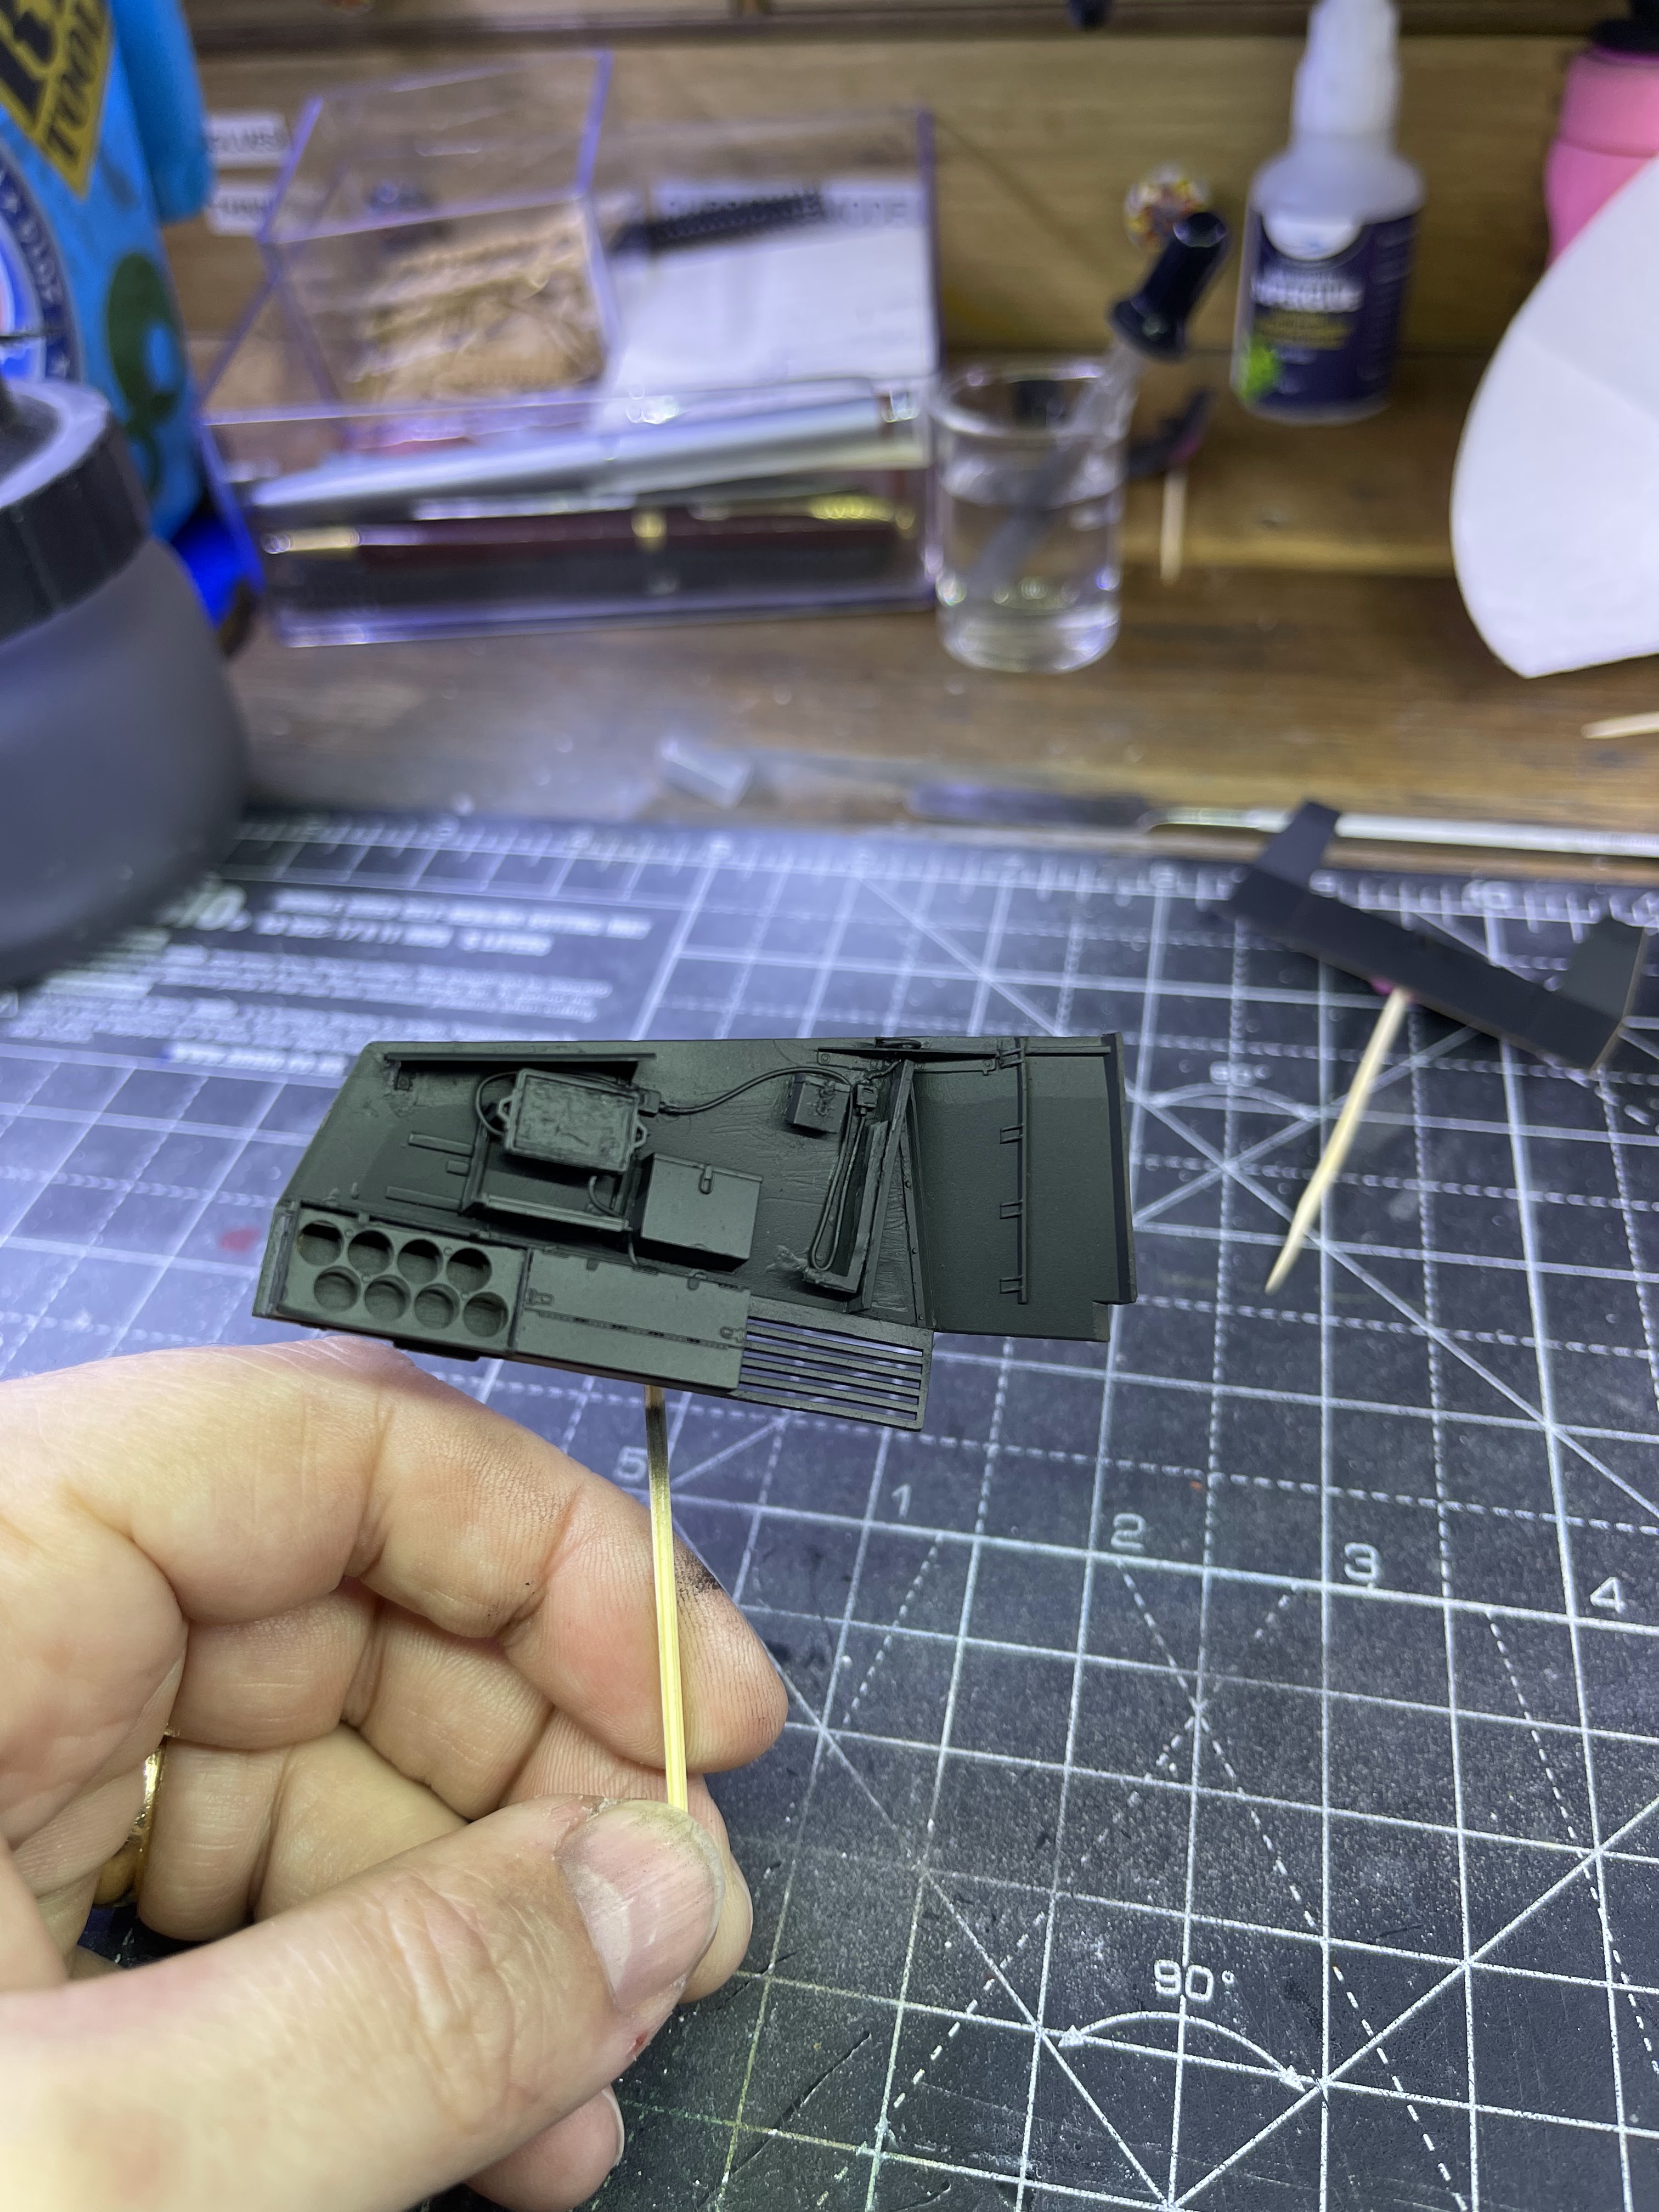
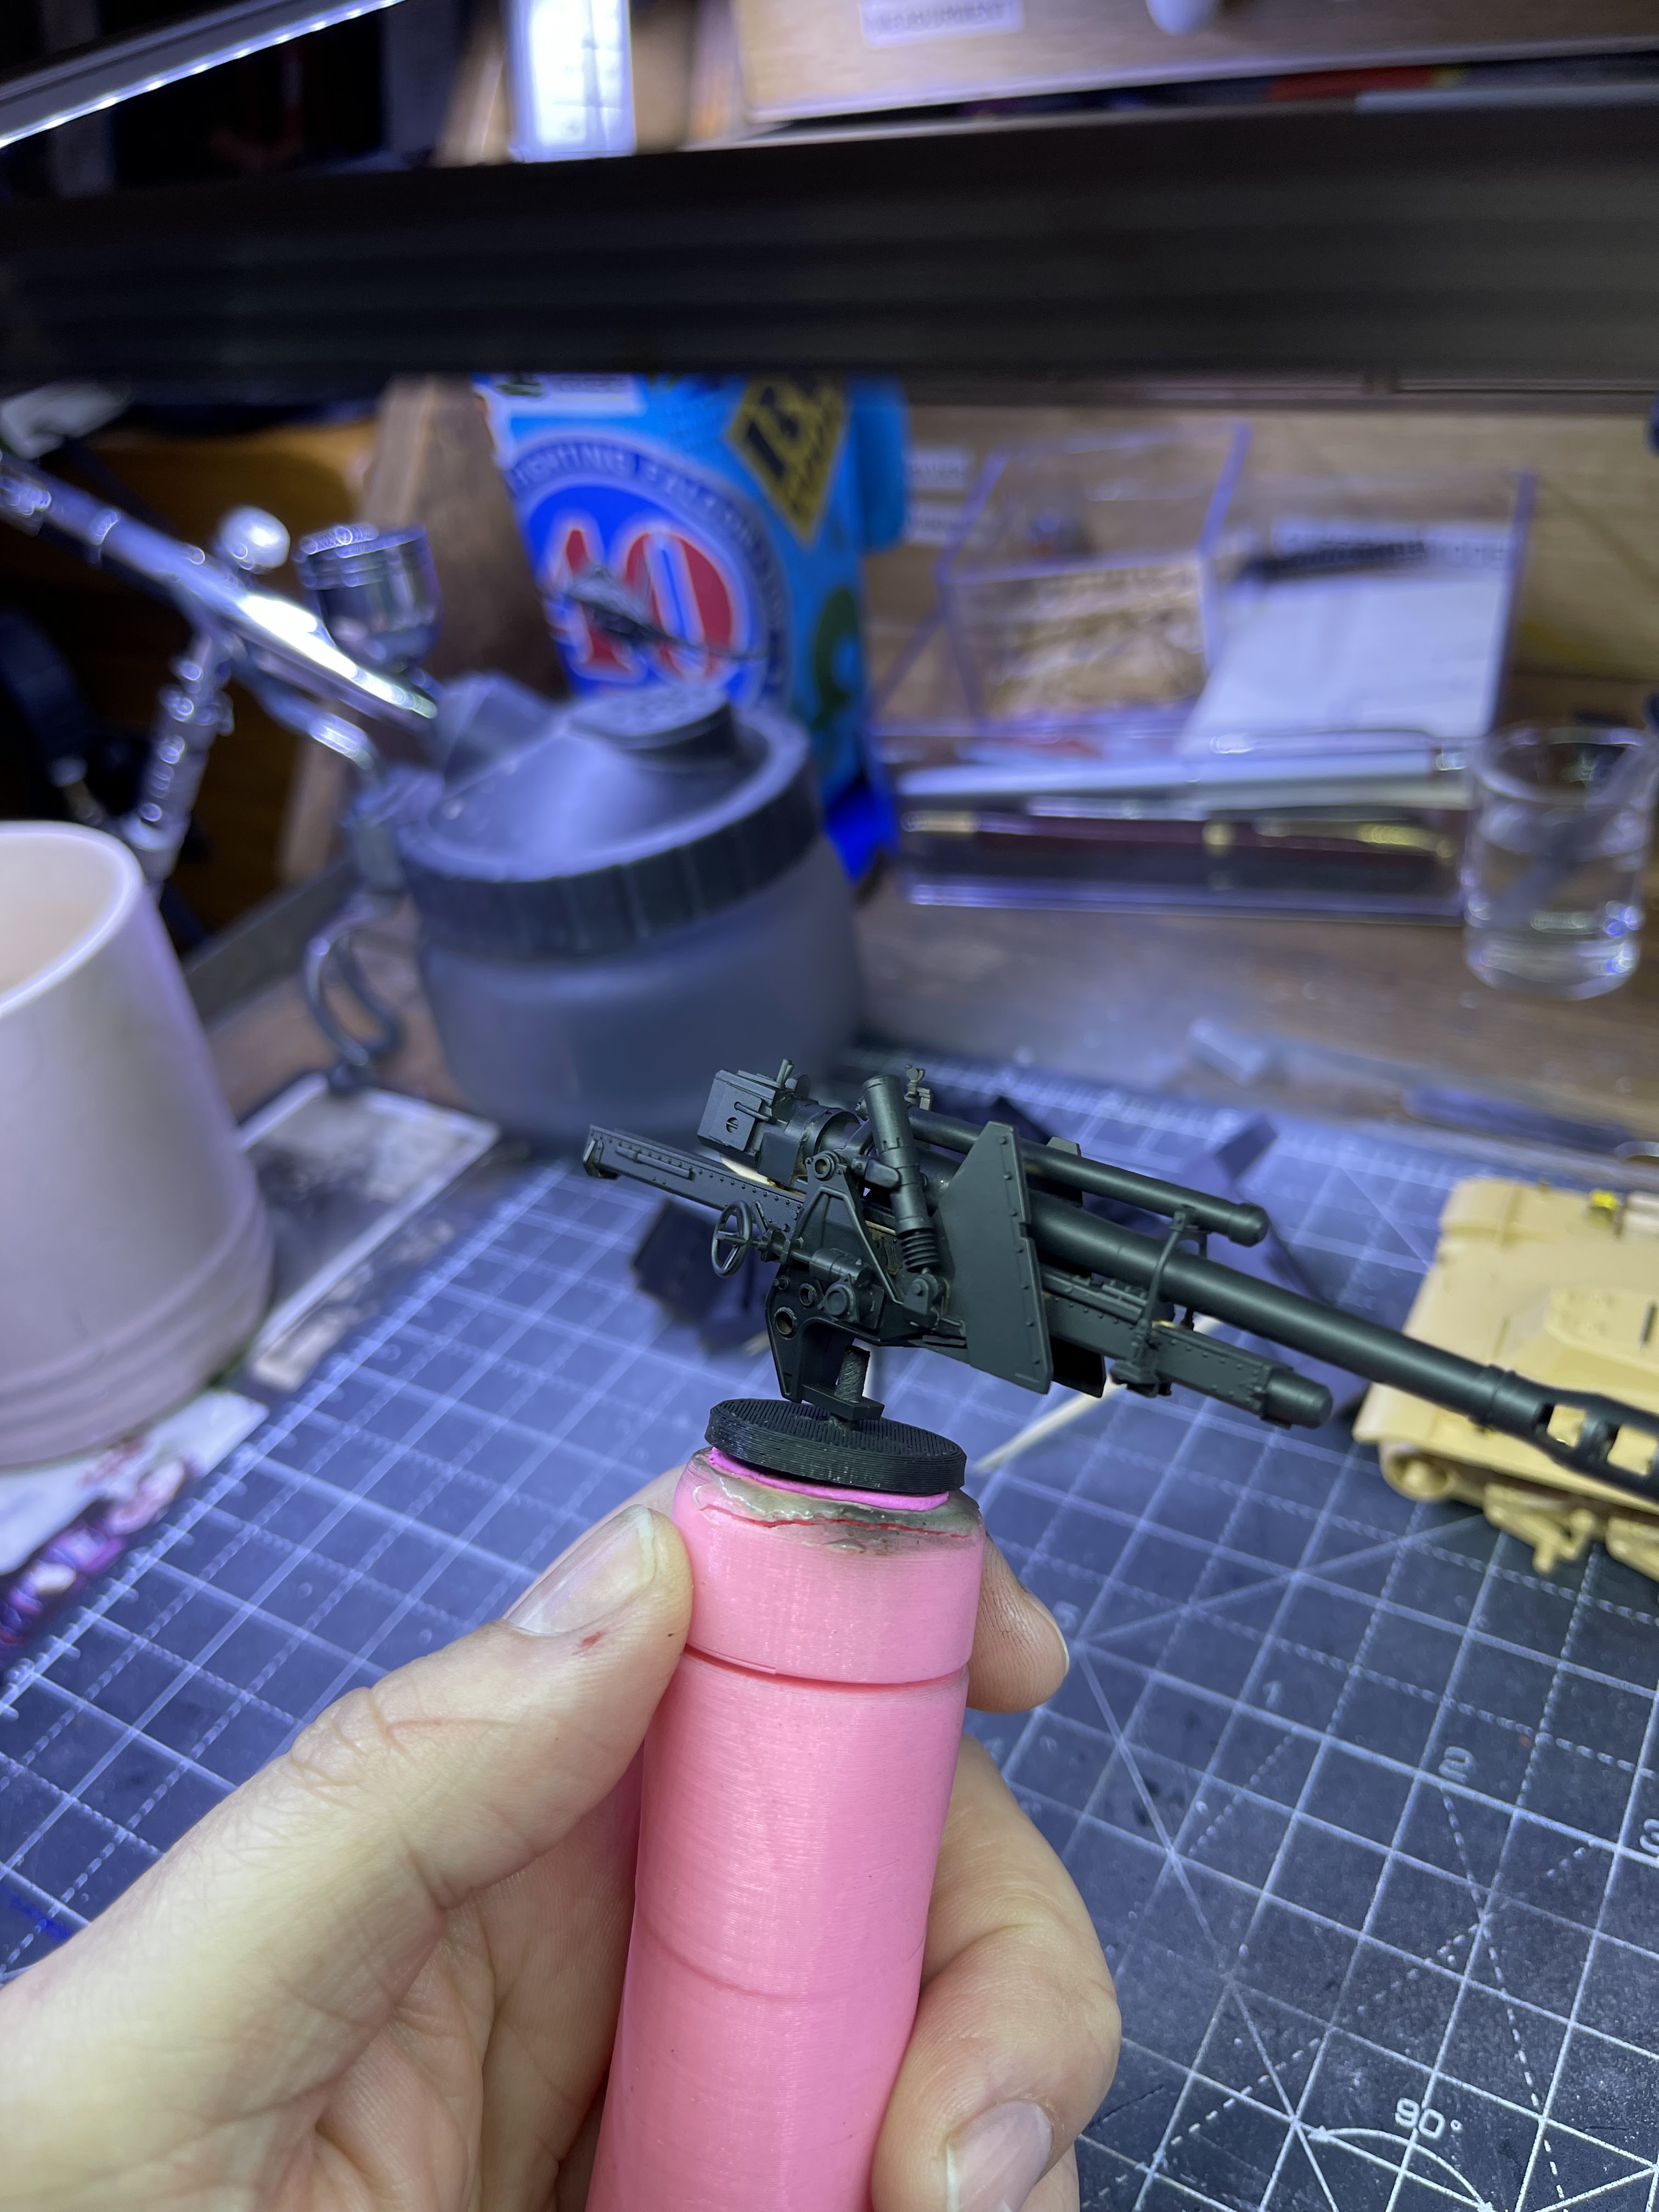
I decided to go with my favourite Vallejo black acrylic primer for the entire model so that I could get an good even base to build upon for the finished colour. At the time of priming the Wespe I had still not decided upon the colour scheme or the diorama theme. I was also really impressed at the way in which the primer took to the aluminium barrel. The whole gun assembly looked great even just in the primer:
Colour choice for the Wespe
After spending a few evenings scouring the internet for a colour scheme that caught my intention I settled on one that was used in Normandy. Unfortunately there was no colour photos available but following a little investigative work on colours used by the Germans in WWII I was able to come up with an approximation of what colours I was going to use. It was only when I looked at Tamiya's decal guide in the instructions did I realise that the colour scheme that I had opted for was one that the instructions suggest to use!!!! After laughing at myself for a little while I must say that I am impressed with the research that Tamiya does for authenticity of their colour scheme options and in future I will spend a little time looking at what they suggest before getting lost in history websites! The whole model was sprayed in the yellowish base colour seen on many WWII German armour. After 24 hrs I then masked off the interior and took a deep breath as I started to freehand airbrush the camo scheme onto the body:
The figures
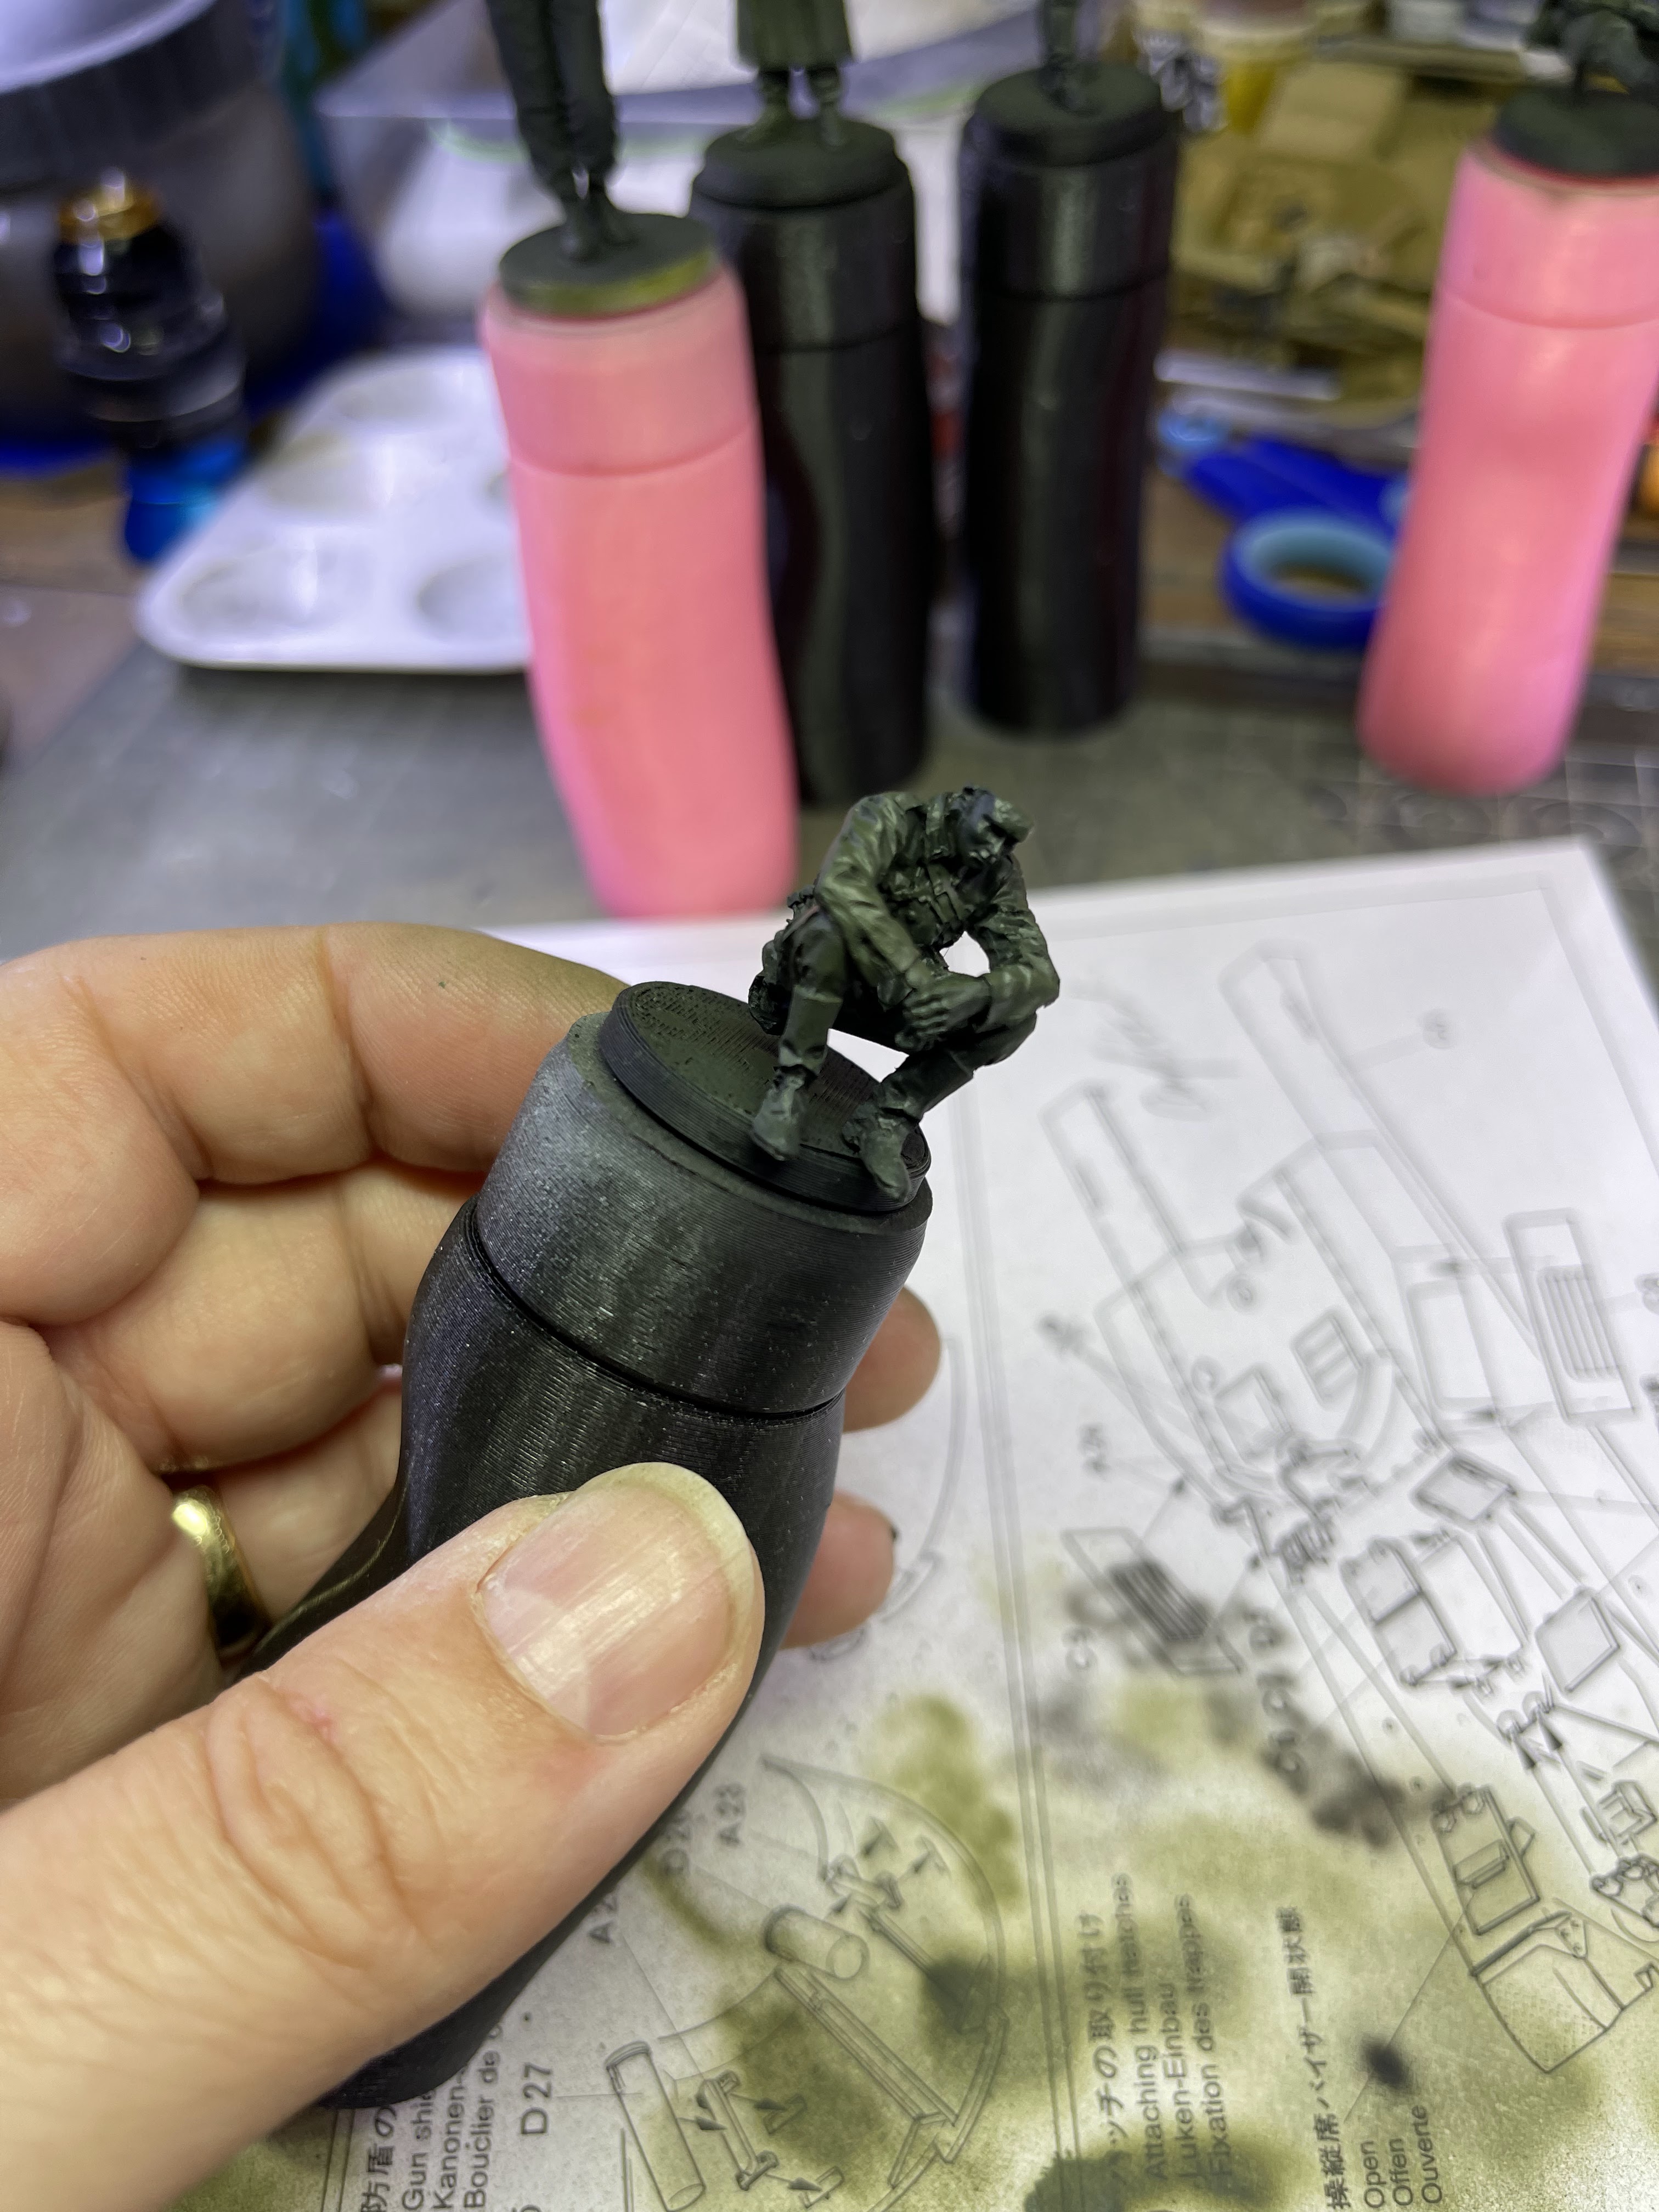
Once I had decided on a colour scheme for the Wespe which also determined the location of the diorama it would be placed in I then started examining the figures from the Stalingrad set that I had brought out of the stash. The entire figure set gave me a feeling of morose or shock and desperation. I then realised that that was probably everything that the German forces close to the landing zone probably felt the day after the landings had taken place. I then decided on what the title and theme of the diorama would be. More on that when I talk about the base below. I chose three figures from the Stalingrad set and one of the two figures provided with the Wespe by Tamiya. Each of the figures were assembled and then mounted into my 3D printed figure holders which I now use for every 1/35 figure I make. I sprayed each of them in black primer and then let them cure for 24 hours before painting them:
I used "standard" German colours provided for by Vallejo for the figures; I did however decide to try a technique of painting the tanker figure that I had seen done by a You-tube account that I frequently watch Night Shift Scale Models. If you haven't checked out his videos yet I would definitely recommend his channel for 1/35 kit builds. He suggests lightly dusting the figure from above in a light sand colour and then gradually blending in grey tones over the black primer to achieve a realistic black tankers uniform. I must say for a first attempt using this technique I was pleasantly surprised at the outcome:
The Base & Theme
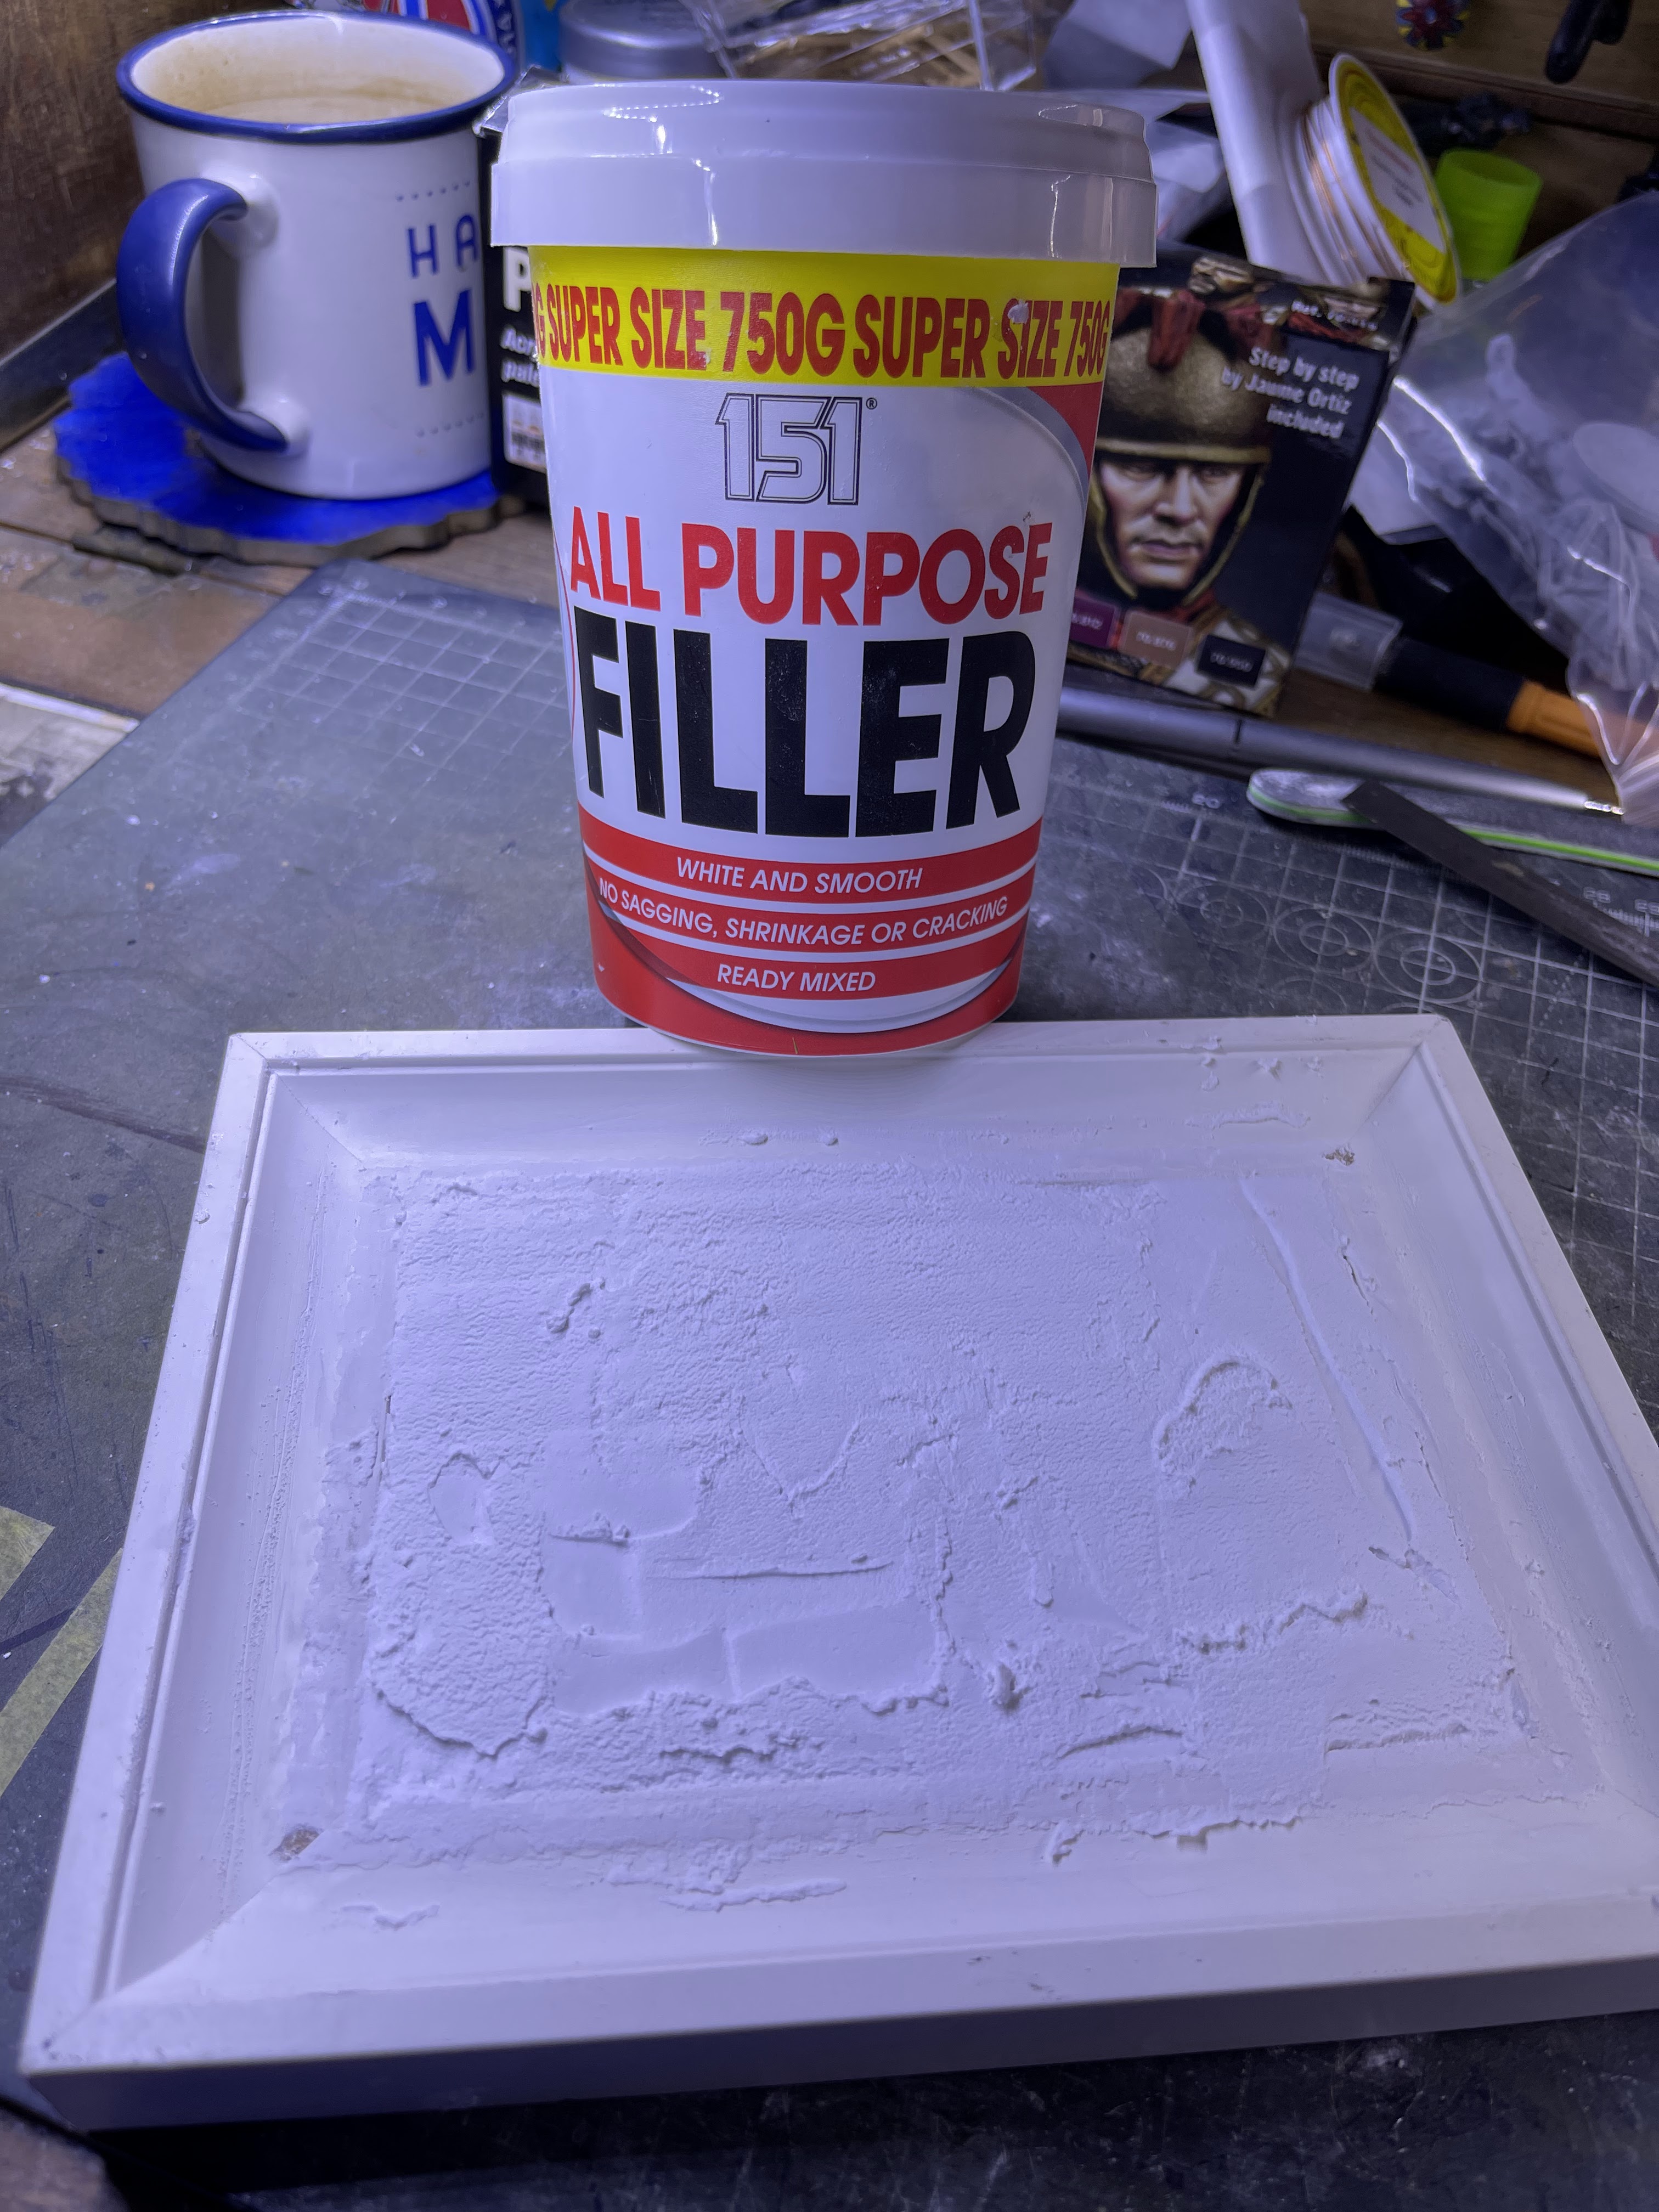
As previously mentioned, I had decided upon a Normandy colour scheme for my Wespe and picked some quite morose figures to compliment the model. It seemed like a logical choice to therefore base this diorama on or near the Normandy landings. I settled on the day after the landings and to imagine a group of soldiers taking a breath behind the German front lines as makeshift defensive positions were being made. The base would be a simple grass area in the French countryside where the Wespe had been quickly parked up in a vain attempt to conceal it from Allied aircraft. Some French hedges could be quickly made up from some seafoam trees and static grass. I had also bought some very reasonably priced scale flowers from a new website called Temu and was pleasantly surprised at their comparable quality to flower packs five times the price from scale model web sites. The base itself is my usual Ikea frame bought from the sale section (every time I go to ikea and see small frames in the clearance section I buy every one of them to use at a later date) Some blue foam was cut to raise the base and then some cheap pre-mixed filler was placed on top of that to provide a good base for the groundwork and it was then painted in some cheap brown acrylic bought from a bargain shop:

Finishing the Wespe
While the initial stages of the base dried I the returned my attention to the Wespe once again. I began final assembly of the model and applying the decals. once the decals were fixed in place the whole model was coated in Vallejo clear varnish and once dried I began the process of weathering. For this piece I opted for some very light weathering in the form of a black oil wash followed by shades of browns. The tracks and suspension components were coated in the dried mud I use followed by staining it in the brown oils used for the rest of the model. I figured that before the landings the crews had time to clean and get their kit in good order so at this stage in the battle for France the Wespe would be quite clean and only have signs of moderate to light wear and tear.
Finishing the base
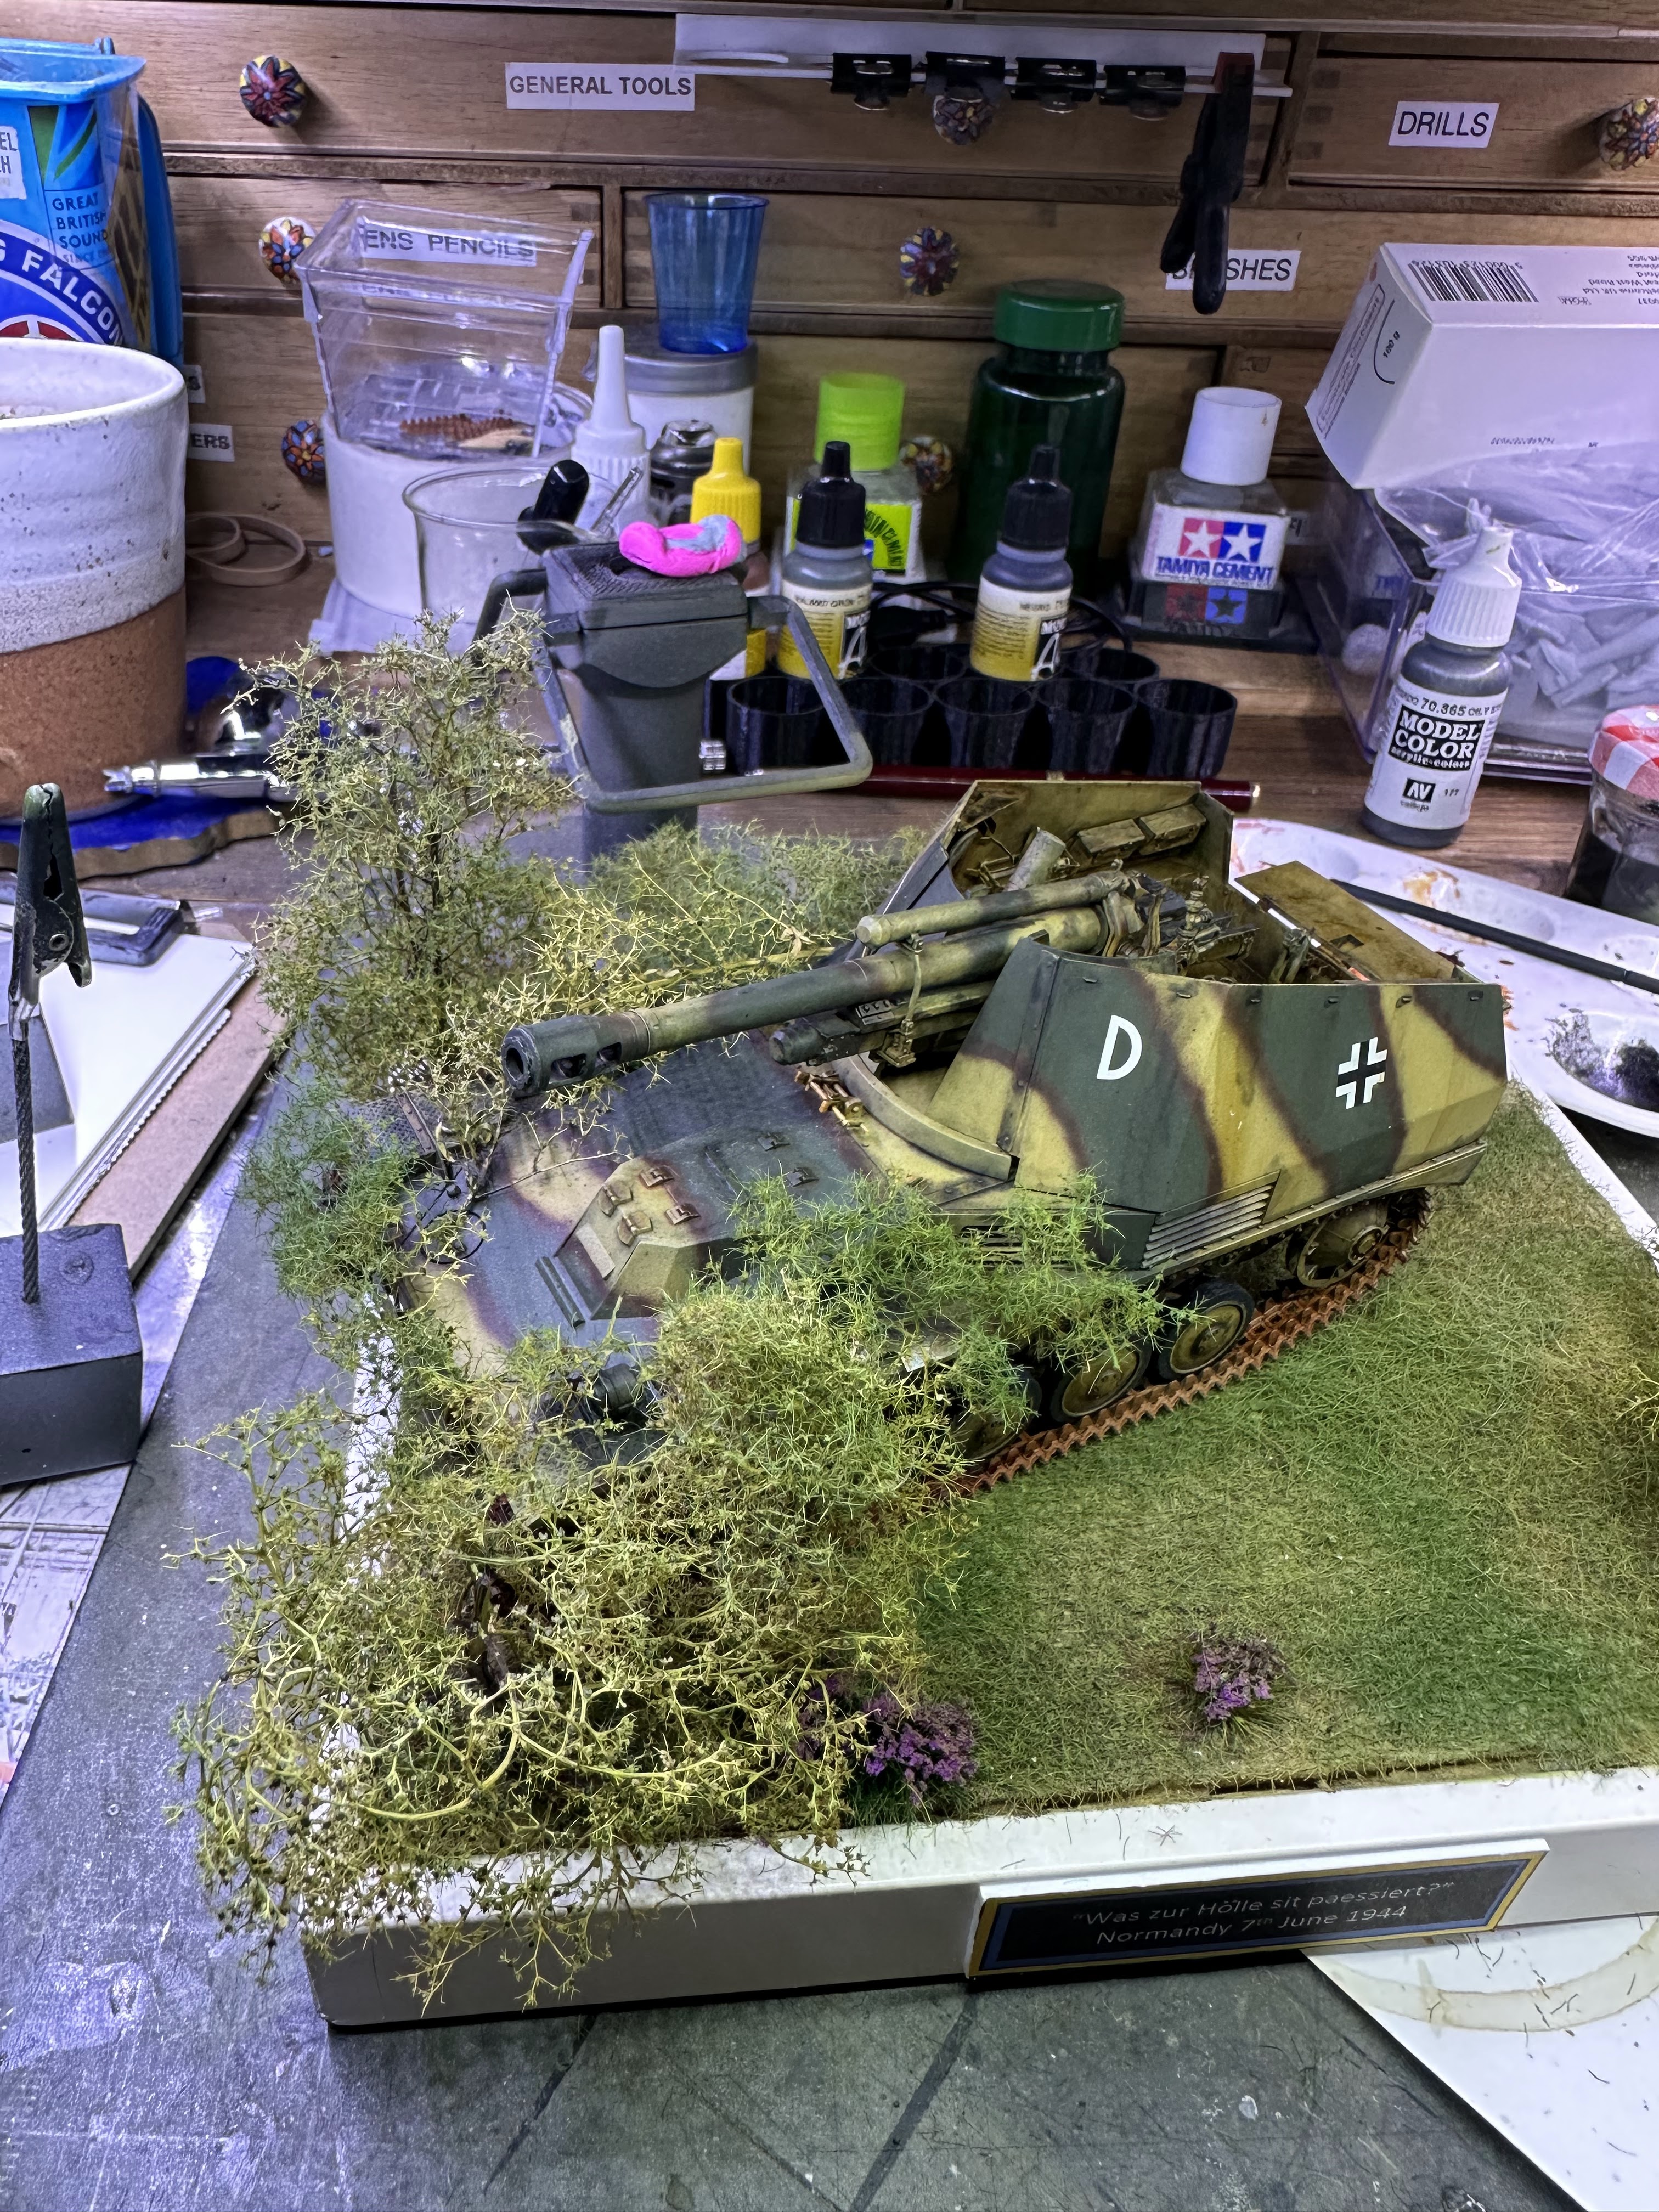
The first layer to add to the base was a good coating of the dried earth that I get from work (leftovers from experiments at the university I work at). Once that dried I then added some static grass followed by positioning the sea foam trees in such a way as it looked like the Wespe had driven into a natural gap in the hedgerow. I then sprayed the trees in some hairspray (thanks to my wonderful wife) and added some static grass to the now sticky sea foam trees. I then fired up the compressor and started adding light coats of various Vallejo greens to achieve a nice summery colour that you'd expect for France at that time of year. Some of my newly bought flowers were added and then some areas of light brown were sprayed onto parts of the base that were not really well covered in static grass:
Final thoughts and naming the diorama
With everything now complete I mounted the Wespe in its final position and glued it to the base. I added some additional Sea foam branches to the front of the model and fixed them in place with some glue. The figures were then added to the base with one of the sitting soldiers just on the ground on his own, two figures looking at each other and the final sitting soldier taking refuge inside the Wespe. Imagining what the two soldiers would be saying to each other I landed on the name for this diorama: " Was zur holle sit paessiert? What the hell happened?" I'm really happy with the finished model and I hope that the pictures convey the feeling that I was going for. As always, if you've gotten this far I would love to hear your comments and I'm always happy to answer any questions you may have on how I made this model.
More models soon


No comments:
Post a Comment