Introduction
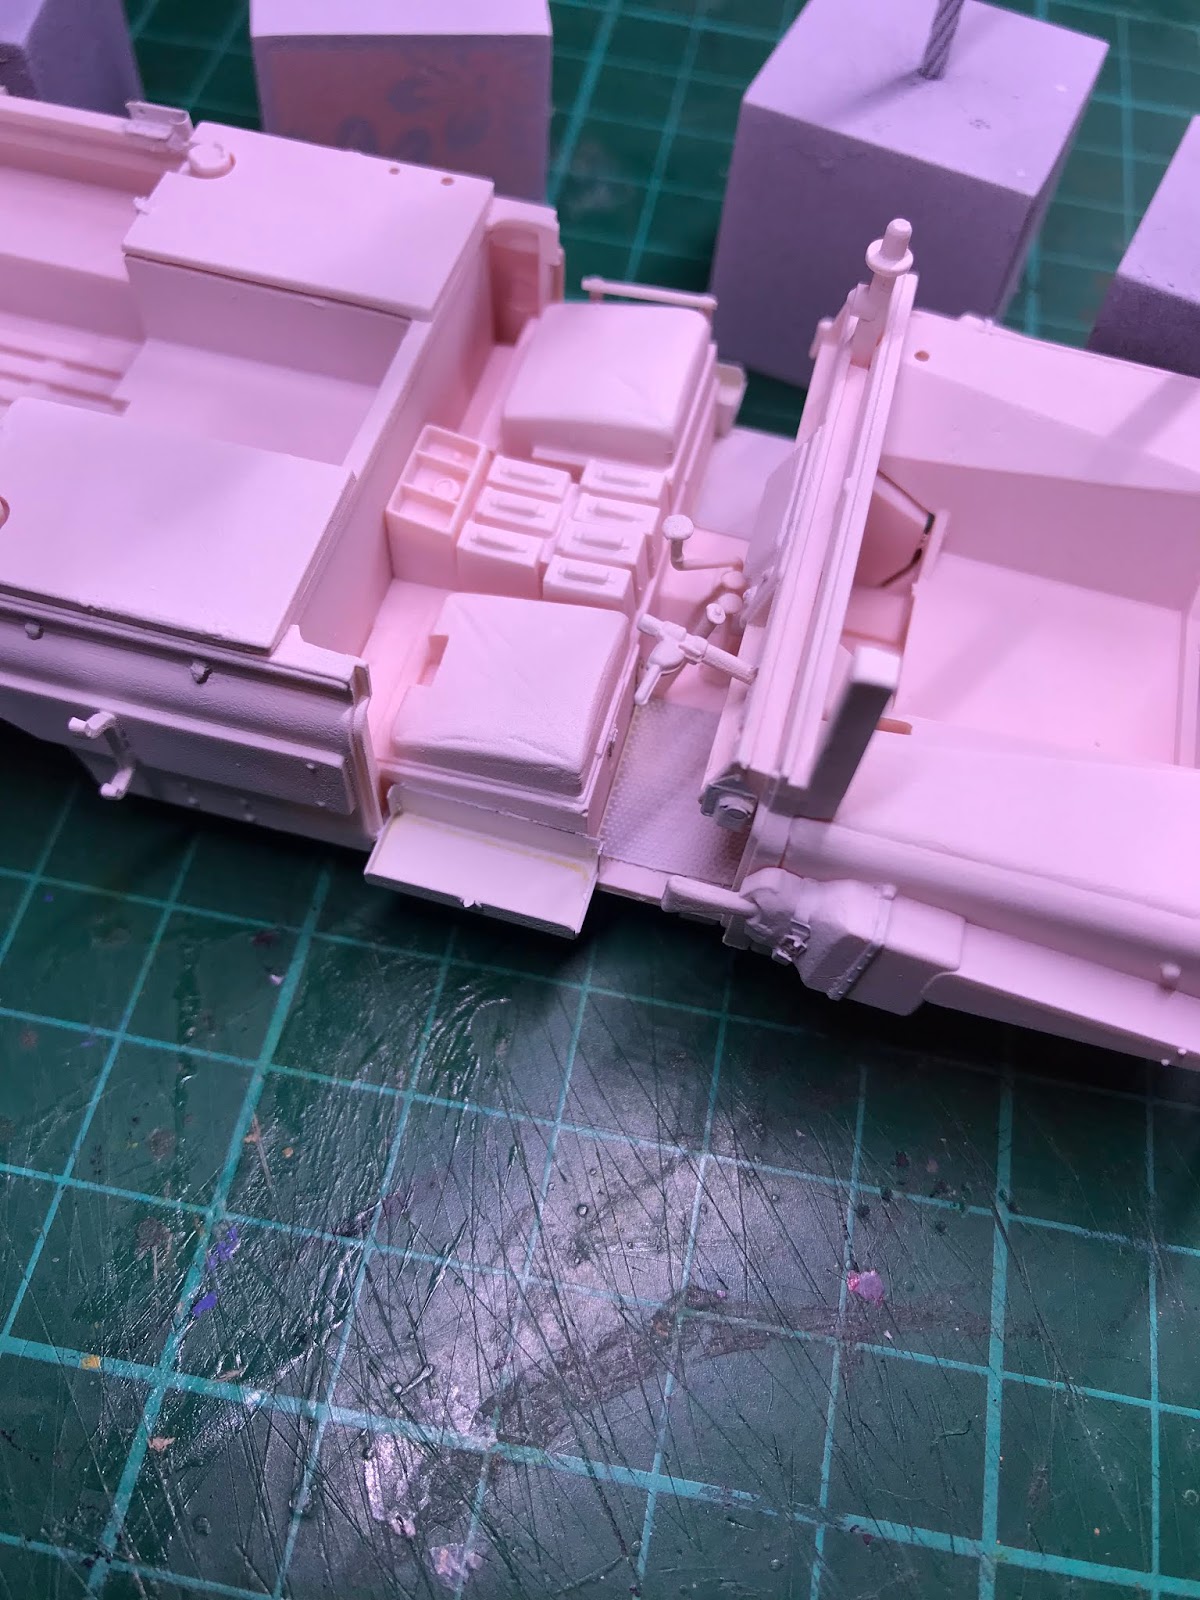
Like many modelers I'm sure that at some point you've bought this really old kit and had a go at it. This is also the case for me; building this kit from the box around 20 years ago. I had fun doing it but soon broke the kit for parts and spares. Anyway; fast forward to 2018 and I spotted this kit for sale in a supermarket of all places! It quickly ended up in my shopping basket and planning for the "pinky" started again. I decided that in order for this kit to be presentable and current when compared to more modern models I would have to buy the etch set from Eduard. If you have read my blog before you will probably be aware that I don't usually buy these etch sets purely because of their price point and that you can't pick up a model magazine that has a model made that didn't use an etch kit. Wake up magazine editors! after buying the kit, figures and paints we don't need to feel pressured into buying a £25 etch set on top for a model to be considered magazine worthy!!!! OK rant over so lets get back to the model: The kit itself is really well presented but lets itself down on the finer details. You could spend a fortune on upgrade parts from this from companies such as black dog who sell a very nice resin set to compliment the pinky; the only problem being at least twice the price of the actual model! I decided to take the plunge on the etch for aesthetic reasons in some areas and then add additional detail from my spares box and milliput where needed.The Kits used


I will be honest right from the start and say that I was pleasantly surprised at the level of detail the Eduard etch set adds to the original Tamiya kit. I will also say that a great deal of patience is required for the methodical cutting away of old detail and adding the etch. An etch tool such as the RP Toolz one that I have is definitely a worth while investment for the etch parts. Although I plan to add other scratch built items; this will be later on, so I will post the pics of the standard build plus etch below first:


The Spares box raid and painting.
The main colours used for this model will be from vallejo's range of acrylic and acrylic air. I have used humbrol for a veeeeeeery long time now but have decided to try the acrylic range to see just how much of difference it makes (if any) over the venerable old humbrol enamels.


I was really surprised at how well the Vallejo acrylics covered the model with absolutely no primer coat whatsoever (tried it because their website states this and I didn't believe it). the colours are spot on and the finish is fantastic.
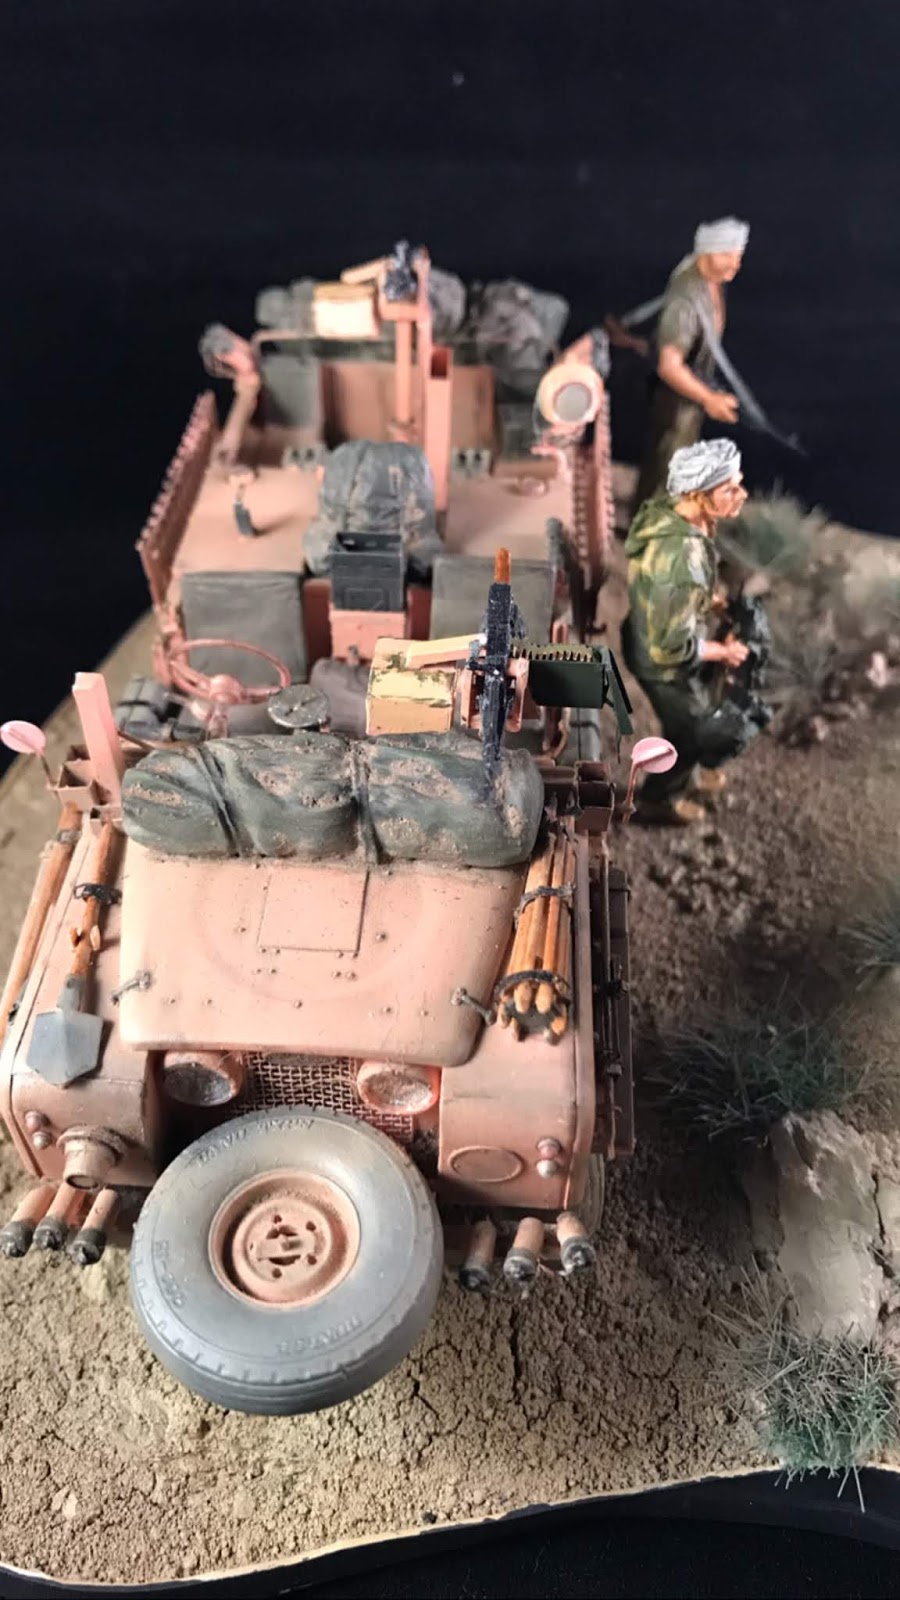
A let down with this kit is the lack of accessories supplied with it and the ones that do come with it particularly bad! As I said in the introduction, Black dog produce a very good resin update set for this model but the price is just waaay too high for me! Fortunately a rummage around my spares box revealed some ruck sacks from I think a Tamiya accessory set, some jerry cans (the kits ones are again awful), some ammo boxes, tarp roll and other bits and pieces that I may or may not use. The rear stowage on the kit is dealt with by a poor "covered equipment tarp" that in my opinion really lets this kit down. I opted to make the large stowage bag out of milliput and then added some of the ruck sacks onto this. The whole stowage area was then filled with liberal amounts of squadron filler to tie everything together.


I also added a storage tie rail to the rear and re positioned the rear smoke dispensers to the sides of the vehicle and added some additional jerry can racks to the rear bed (SAS crews customised their vehicles as they wanted so artistic license can be applied in spades for this kit !).

With all the parts added I charged the compressor and began adding liberal amounts of desert dust and grime. This was achieved with Vallejo model air thinned to around 50/50


The base
For the base I wanted to do a little something different. Usually I make the base and figures to show off the vehicle as best as I can. In this instance I want the vehicle to add interest to the base for highlighting one of the figures that I intend on using. The vehicle will be in the foreground and to draw the eye to the rear of the dio (and the figure) I wanted to raise the rear of the base. I decided to make the base from some off cuts of balsa and blue foam. Some tree bark would act as large rock outcroppings. This would then be covered in patching plaster and artists medium before adding some dried powdered earth:


Once the base had dried I then began with the details such as grass, rocks, tyre tracks etc. I used some vallejo acrylics in various stages of dilution and airbrushed the entire base to bring it all together as well as to match the weathering on the land rover:


The Figures
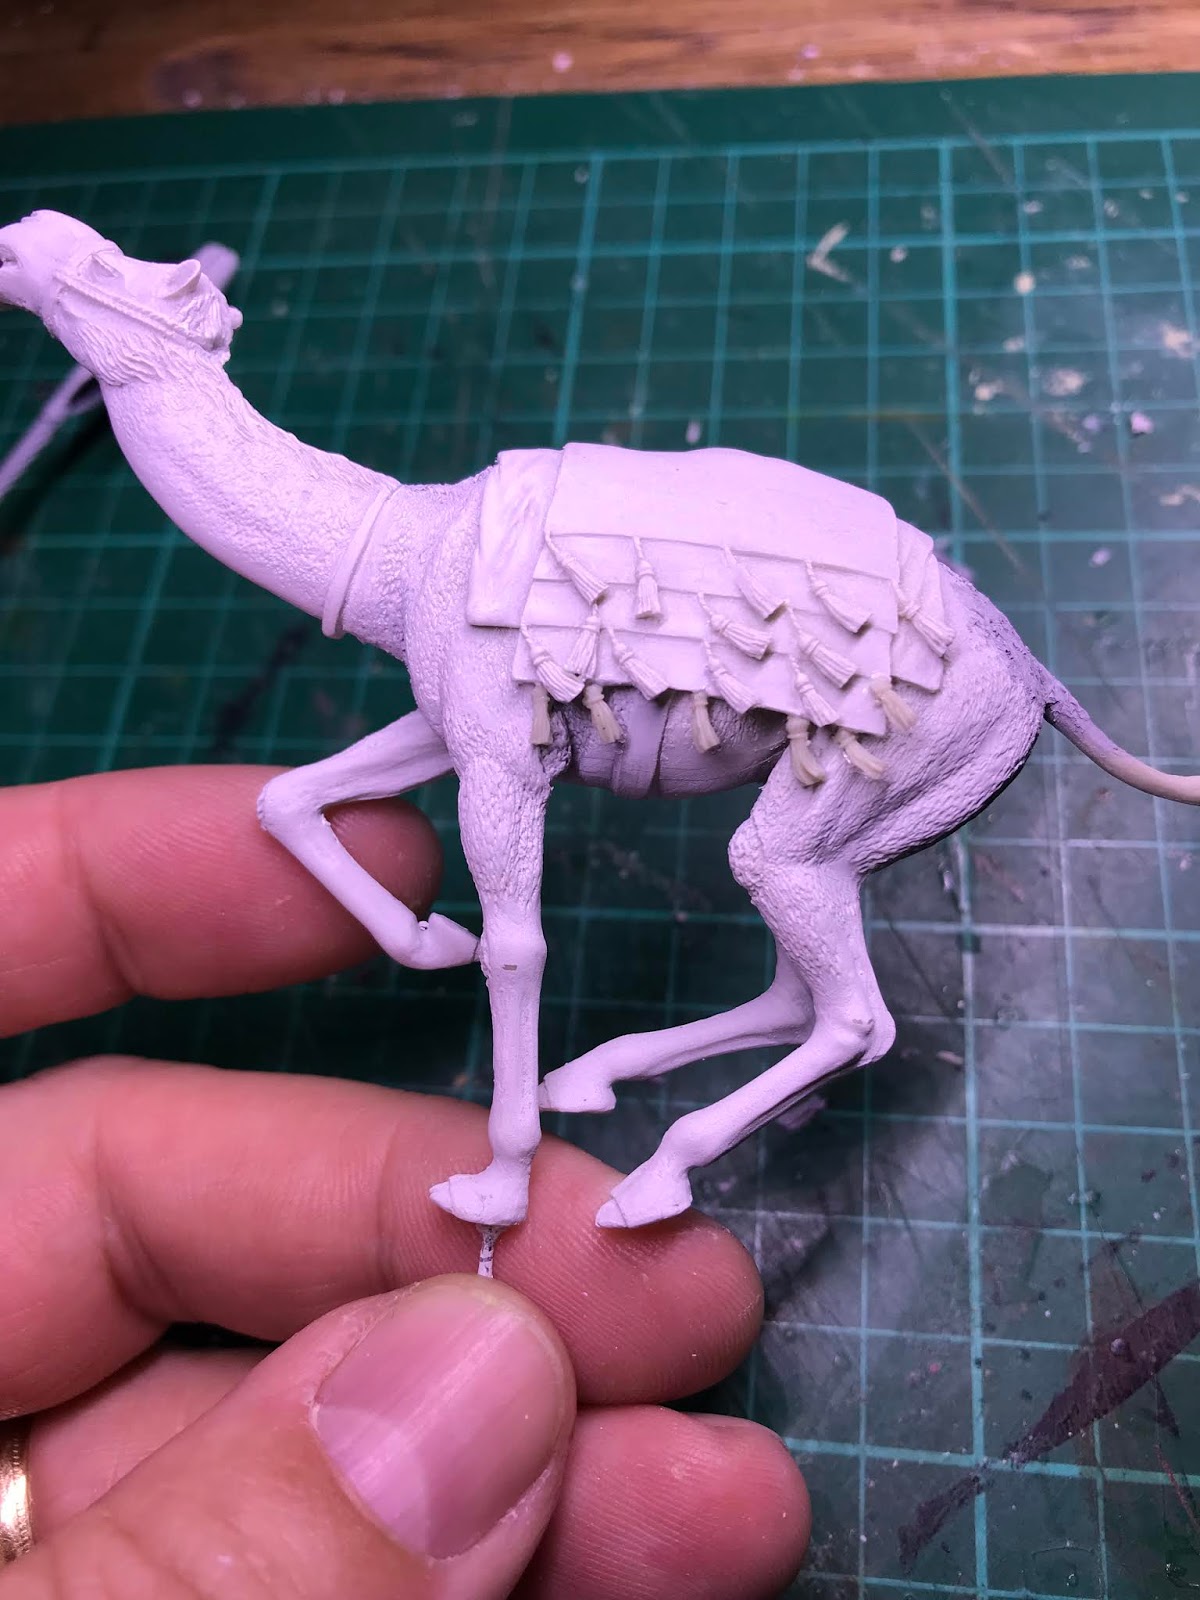
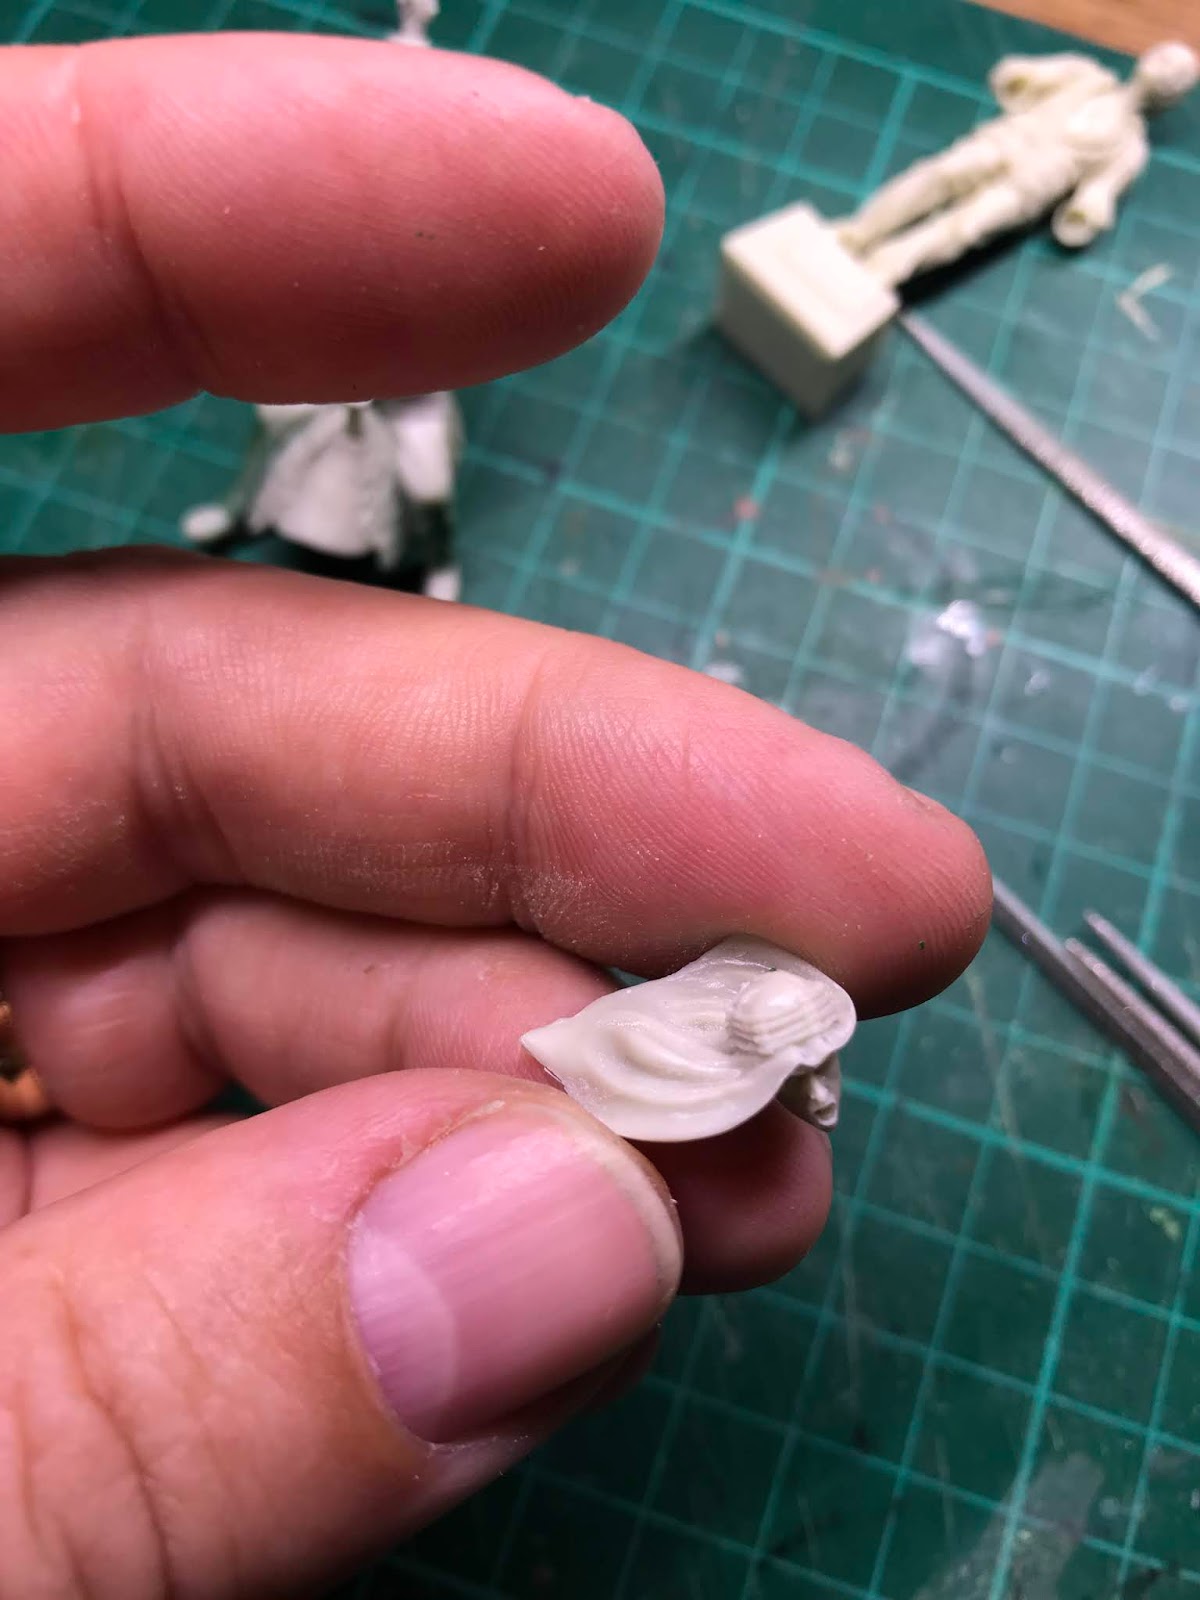
The figures for this kit are all resin and ordered from Ali Express. I don't normally buy resin figures due to their high cost in comparison to plastic ones; however after an unbelievably exhaustive internet search I discovered very little in terms of choice for this particular vehicle/era. Two of the figures (the ones standing) are specifically designed to compliment the land rover; the figure on the camel is SAS however is styled for WWII operations so required a little work to get him looking like a more modern soldier:


Thoughts of acrylics over enamels
I mentioned at the start of this project that I intended on using acrylics over enamel paints (my normal medium). I chose Vallejo not just because they are relatively new to the market but also because they are very similar cost wise to Humbrol enamels. In my humble opinion I will probably stick with enamels for figures and detail work simply because I have almost every paint variation in the catalog and I am very comfortable using them. As far as airbrushing is concerned I will now exclusively use Vallejo model air products. The paint is superb quality, well priced and provides great coverage. The added bonus for me (and my wife) is its almost odour free!!! With enamels you have the fumes from the paint and the thinner and to a lesser extent the same can be said for Tamiya acrylics. Somehow Vallejo have managed to produce an outstanding paint with no smell!! If that was all I would be impressed however I quickly learned that undiluted car windscreen wash can be used as a cleaner for Vallejo model air so after a quick trip to my local car parts supplier I bought 2 litres of screen wash for £3.50 and my living room smells of apples every time I clean my airbrush!!Finishing the Dio
The figures were again painted in vallejo acrylics and suitable weathered the same as the base and land rover. As each component part was added to the dio I was pleased to find my eye drawn past the Land Rover to the camel riding officer before returning back to the "pinky" and other figures. As an added bonus for me around the time of my completing this dio; my dog decided to "remove" some of the wading from his bed, as I stuffed the wadding into a bag to throw it away I realised that some of this could be used to highlight some movement in the running camel. A short burst of the airbrush using the same colours as the groundwork and some instant sand dust appeared! I think I have managed to bring some interest back to this old kit and showed it off in its best light. While I don't usually buy etch sets and resin figures because of their prohibitive cost, I feel justified this once as the kit was relatively cheap to begin with. I hope that you like the finished dio as much as I do and as always feel free to leave comments or contact me with any questions you may have


Great work. It looks superb.
ReplyDeleteThanks mate. I'm really happy with this one. Its such an old kit and mostly overlooked today but I think it can still be a great addition to any model makers collection.
ReplyDelete