Introduction
This is a really old project of mine that was started around 12 years ago. I think that this is an Italeri version of the Blitz Radio truck. Much like my other Blitz model. The exterior of the vehicle is very well detailed and really easy to assemble. The interior however contains no details what so ever. I began scratch building an interior out of plastic card to accommodate the radio sets that were part of a kit that I have long forgotten who manufactured it. Half way through the build of the interior I decided to "shoe box" the project for reasons that I no longer remember and it remained in storage until now. I have chosen to resurrect this project because of two figure kits that I have recently purchased. One of them is depicting German soldiers taking part in a game of football and the other has soldiers washing, cooking, shaving etc. I am hoping that the blitz radio truck will provide the perfect back drop for incorporating these kits together. The following photos show the truck in its current condition before I re-start the work:


The Construction
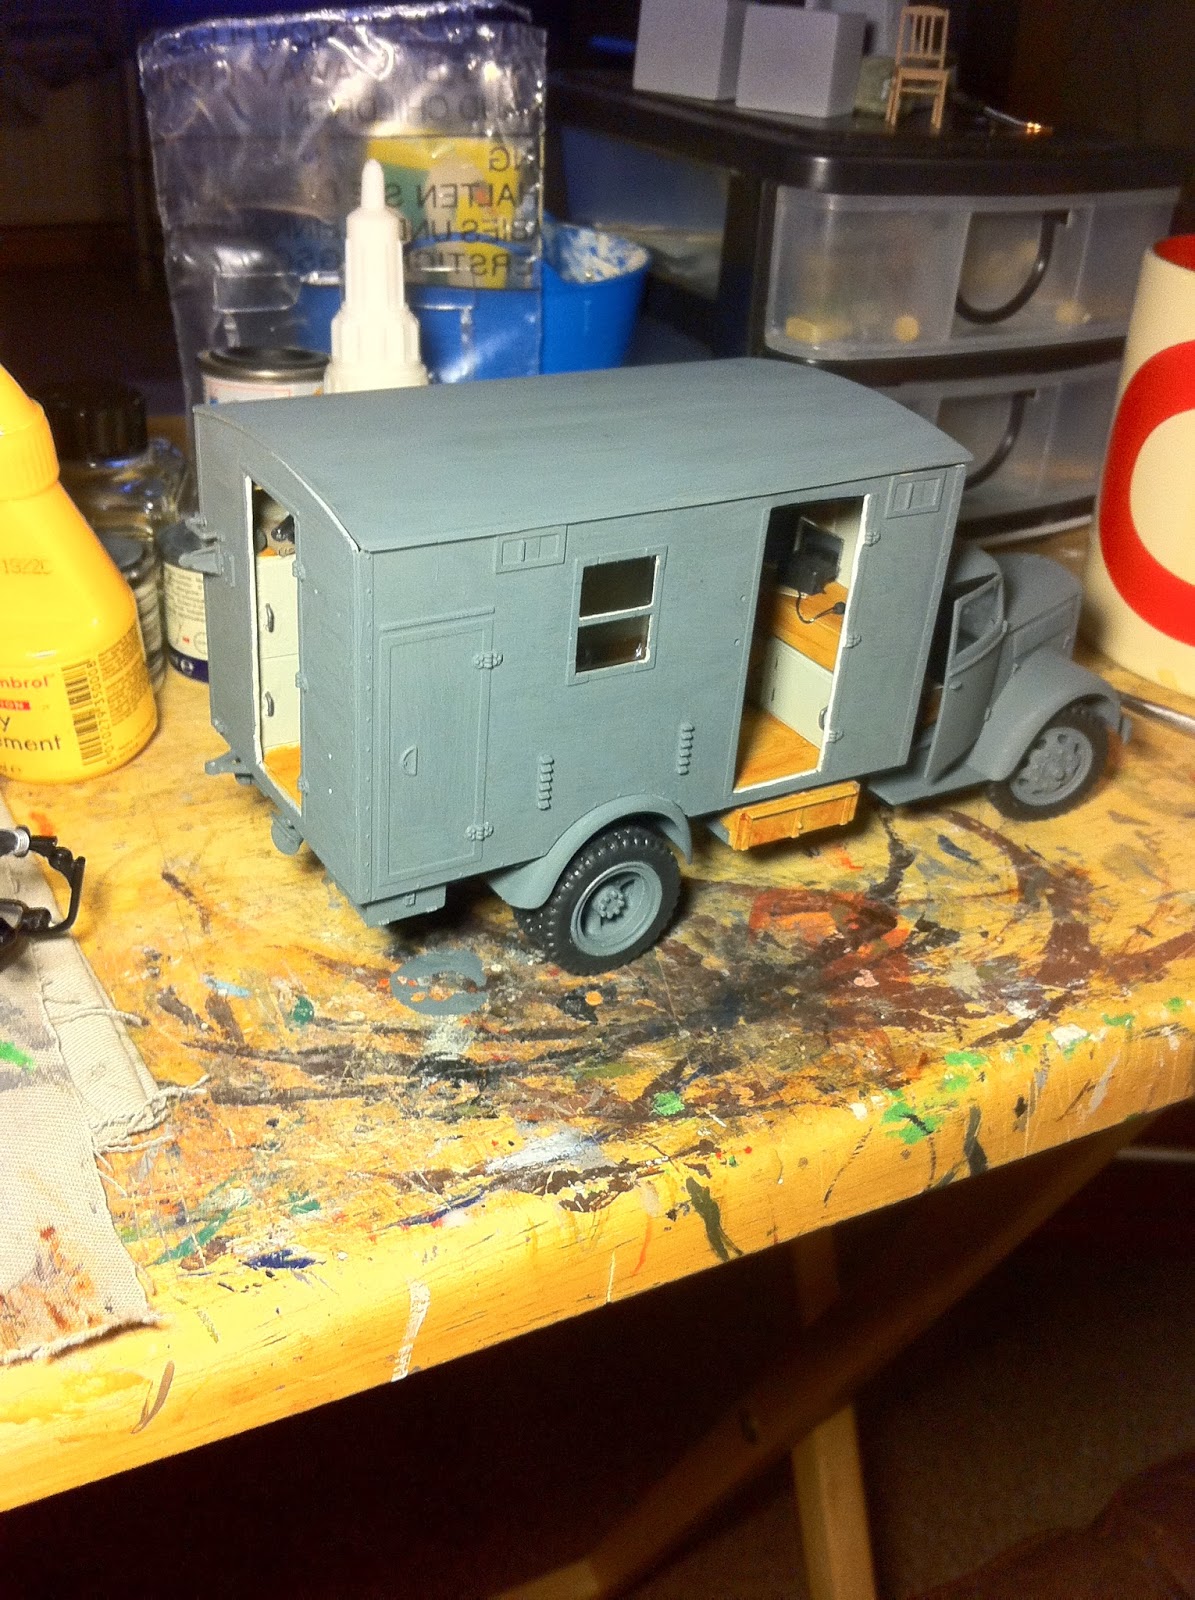
After staring at my previous work for quite a while I decided to carry on with the build of the interior. Some of the cupboards lacked detail so I decided to add some more doors, hinges and handles. I also dismantled the cab that was partially built and cut the doors so that I have the option of displaying them open if I choose this option later on in the build. I have also began to prime the major parts of the model in preparation for additional parts that I intend to add. While most of the ideas for this project are at the moment "fluid", I can definitely say the the roof of the blitz will not be glued down. It is my intention to leave this as a removable part so that the interior of the rear cab can be viewed once complete. Below are a few shots of the parts following a light misting of primer and the re-worked interior parts to date:


I think that I am going to concentrate on the majority of work needed for the rear cab interior before I start any major work on the outside of the vehicle. The first order of business for the cab is painting the wooden floor. I have decided to paint this a very light brown in enamels and darken using various shades of oils so that I can depict different wear patterns and dirt from the soldiers walking in and around the rear cab. The walls and cupboards will be painted in an off white colour, while the handles and hinges will be painted in gun metal, polished, then darkened with oils. I have also printed out a variety of maps, information sheets and propaganda posters that I have saved on my PC for occasions such as this. These posters, etc will adorn the walls, cupboards and desks once everything has dried.


With the majority of the major interior components in place and drying, I decided to turn my attention to the cab itself. One of the main parts of the cab that really bothers me is the seat. I know on the majority of the Blitz trucks the seat is one plain fabric panel, but I have found a few reference shots in the past showing a pleated rear seat cover. I have decided to replicate this by using a small needle file and taking away just enough material to show pleats. This will then be accentuated with brown enamels and oils where I can have some fun showing lots of wear and tear. The two shots below show before and after from this simple little modification:


I have also began repainting the chassis, wheels, running gear and mounted the cab onto the chassis. I also elected to remove the engine for the vehicle. I decided to do this as I already have a blitz in my collection depicted with the hood open and engine displayed. So I am going to leave the hood closed for this model and use the engine in a future kit bash project that I have planned. Mounting the cab onto the chassis did not give any major problems in terms of parts fitting and I have also now mounted the seat and other components into the cab and began weathering before fitting the glass and roof. The one problem that I have identified from test fitting the rear cab onto the chassis is that the rear leaf springs are a shade too high. This provides an elevation to the rear body of the vehicle. At the moment I don't know whether to dismantle the rear suspension and amend the slight error or leave it.


The rear cab of the vehicle has also been painted in its base coats and test fitted to the chassis. I'm really happy with the interior and only intend to add two small wall mounted lamps before I start weathering it and applying maps, posters, equipment and figures. I have also yet to add the ties for the drop curtains above the windows.


The lamps will be made from some heated and stretched sprue for the arms and will hand turn the lamp bodies from some more additional sprue that came with this kit. Once the shape has been obtained, I then drilled out the main body of the lamp with a micro drill and then mounted and painted them in the cab. I have also added some printed maps and posters to add a little more life in the cab itself as well as now oil washing to floor to add depth and a bit more realism. Some added boxes, rolls and other detritus and the cab is complete.


I have run into a few problems in the build of this vehicle. the first for the eagle eyed viewers among you will have noticed the distinct lack of a front cab roof. This was the result of holding the cab in my hand and sneezing! a small amount of glue and some careful sanding was all it took to rectify this little problem. The other major problem that I encountered was the fitment of the rear cab to the chassis. This took a little bit of careful fettling with a needle file and sharp scalpel blade.

Now that the majority of the vehicle structure has been built I decided that the exterior could do with a little more work in terms of storage and interest to the viewer when complete. To that end I decided to build a front cab roof rack from some sheet and rod plastic. The design and build was simple enough with the photos shown below. I am also considering a rack for the rear cab roof, however I will need to check the spares box to see if I have enough bedrolls, boxes, etc to fill it.


The rest of the build of the truck has for the most part been quite uneventful and straightforward. I decided not to add the additional rack for the rear cab roof for two reasons; one that I didn't really have enough stowage pieces in the spares box and two, I felt that it would be inviting damage as I will be leaving the roof free to remove so that the interior of the cab can be viewed once its complete. I did also drop the truck of my desk on two occasions which resulted in some damage that had to be repaired, however I could not bring myself to photograph the carnage! The additional work left for the Blitz is essentially weathering which will be a combination of oils and enamels which I will do once the groundwork on the base is complete so that I can match it and tie it in to the groundwork for the base.
The Figures
The figures that I have chosen for this kit come from the MiniArt German Soldiers At Rest kit shown below. From looking at the figure poses I think that I will be able to place all of them within quite a neat and compact vignette without any alteration to the poses. The soldier depicted shaving and the officer depicted reading a book whilst seated will quite happily fit into the rear of the vehicle while the two soldiers washing and the one soldier cooking can be placed just outside the vehicle.
If you look at one of the interior shots above, the shaving mirror and bowl of shaving foam can be added to the shelf and table by the side of it. The seated officer can be placed on the bench seat that I have built while the chair provided with the kit will be included in the interior as an additional piece for interest and realism.
The construction and part fitment of the figures was relatively easy with very little filler needed. There was excessive flash on one or two of the figures, however this was easily removed with a sharp blade. The figures were then primed and painting began using enamels and then oils to follow:

I'm not going to go into a detailed description of the figure painting as I have covered this topic in a few of my other posts. I will mention again the quality of the figures from Miniart though. For the price that this company asks for these kits, its outstanding value for money. The poses are realistic and the facial expressions are really good. I am a huge fan of this company and will definitely use more of their figure kits in the future.
The base
The base for this vehicle is going to be kept simplistic and quite compact as the rest of my dioramas. I do this predominantly for reasons of space saving once constructed. I have found that doing this kind of compact dio has the added bonus of concentrating the eye to a number of different features that I build in and somehow makes it seem to be a "busier" diorama than it actually is. I suppose that this proves that sometimes less is actually more! The base itself is 5 mm MDF with dyed polyfiller as the basic earth. Where bare patches of earth will be present I have added some budgie dirt which has then been dry brushed in various shades of brown. The grass is woodland scenic green flock with mixed grass on top. I have also added some flowers to break up the surface as well..

Finishing the Diorama
The finishing of this diorama for once is simplicity itself. The truck was fixed to the base and then weathered in the same brown tones as the earth for the base. The weathering was kept to a minimum for the earth as its set in a summer scene where dust would only be expected. I have also used quite a heavy wash of diluted lamp black oil over the entire truck to show a little age and abuse. In addition I added quite a lot of rust streaks from the brackets around the truck to re-enforce the impression of a well used and abused truck.When I added the figures to the base and the interior of the truck I noticed that the figure having a "service wash" from the jug being poured from his crew member didn't look quite right as essentially no water was present. This was remedied by glueing some stretched clear sprue from his hands to the ground and then using some Humbrol ClearFix as a coating over the sprue and hands. I'm really happy with the character of this diorama and I hope that you agree with me. The sharp eyed among you will notice that the figures have a little shine to them. This is because the oils remain un-cured for a while. When they are fully dry they will be coated with a matt varnish.
I have also began to give my dioramas a title that hopefully conveys the feeling or picture that I am trying to create. This diorama is no different and I have decided to call it " A break in transmission".
As always I would love to hear what you think of the finished project:


Very nice! :-)
ReplyDelete