Introduction
OK, I have to admit it, the holiday cheer has affected me and after a suggestions from my wife I have decided to attempt a Santa 120 mm figure sculpt. The basic idea for this is a cartoon that I found on the internet depicting Santa stood by a fireplace. It looks very homely and in my humble opinion epitomises the feeling of Christmas. Not one to directly copy something if I can help it, I decided to make my Santa a little more traditional and have opted to go for the non-coca-cola red Santa (despite my wife's protestations). He will hopefully be depicted leaning on a fireplace with his sack of toys over his shoulder ready to disappear up the chimney onto his waiting sleigh.
I have searched around a little on the internet and have not really found a non commercial figure sculpt of the big man, so I am quite happy that this is going to be something of an oddity in the figure sculpting world.
The sculpt
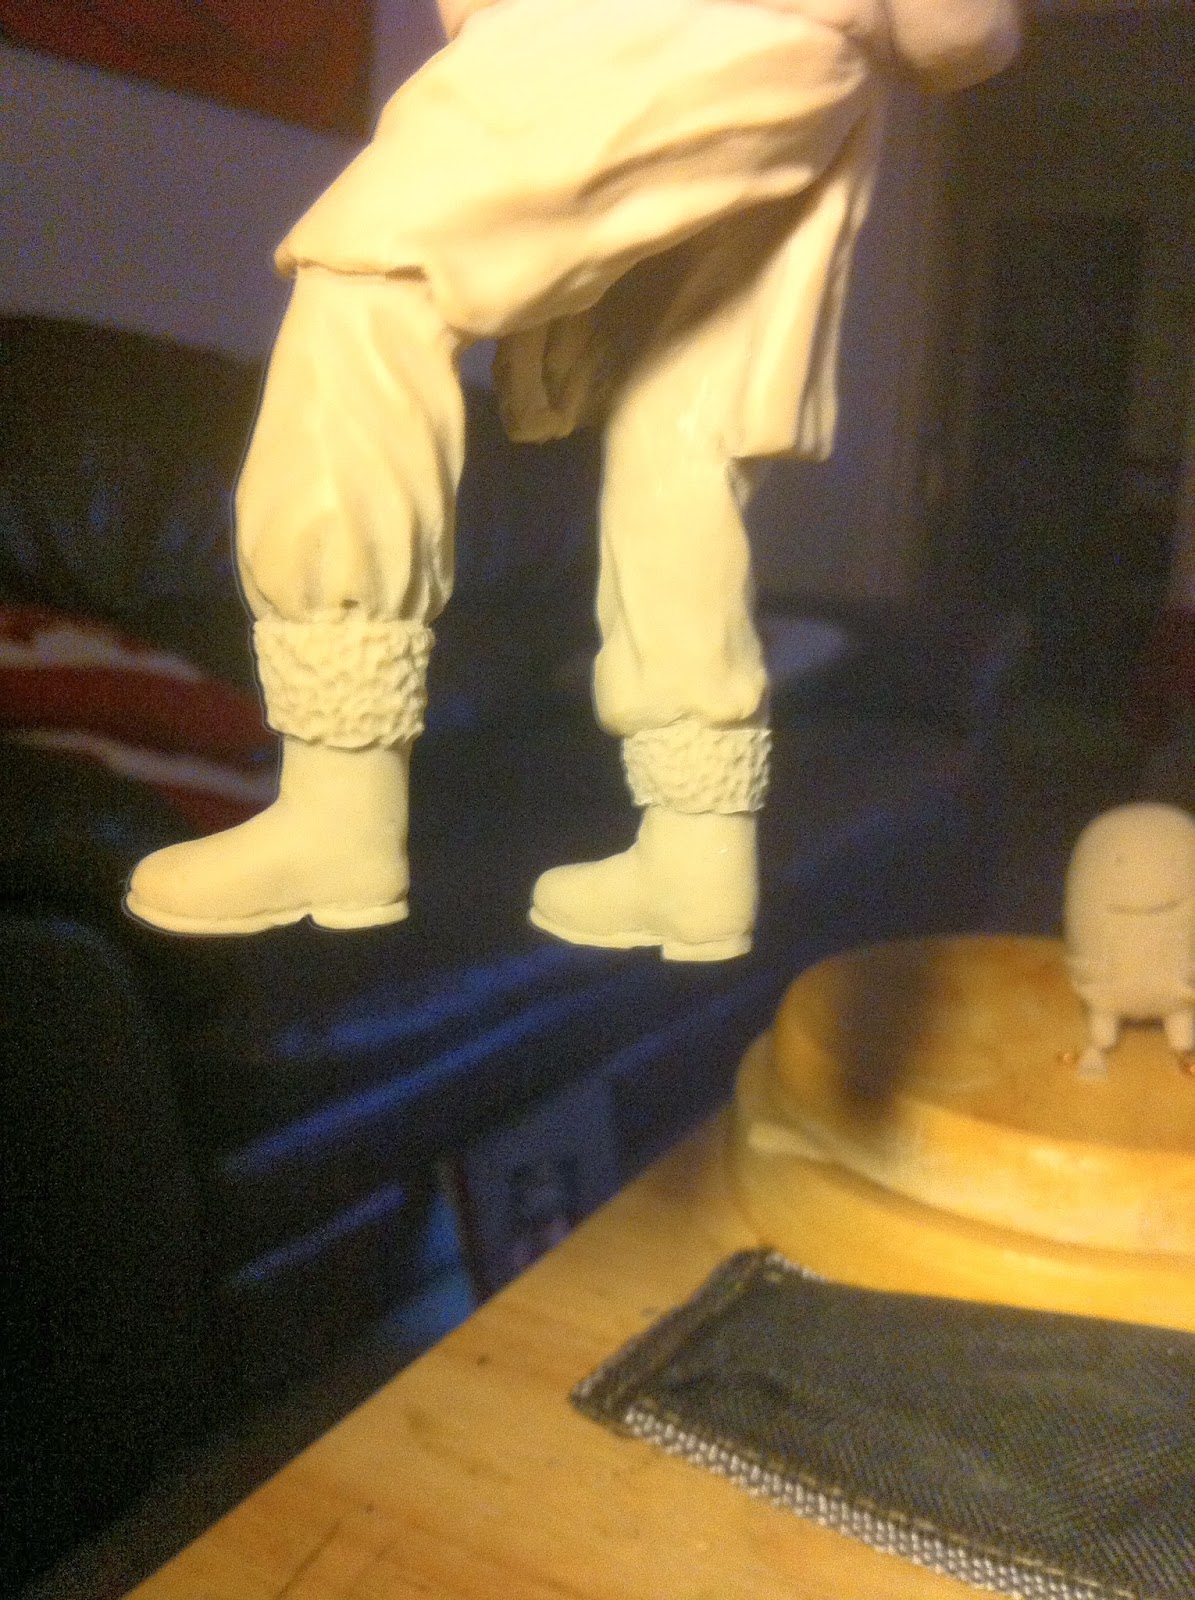
As usual I have started the sculpt by first posing the copper wire frame in the rough position that it will be displayed in and then "fleshing" out the frame using sculpey. Once baked I will concentrate on the various areas of the body until satisfied with my work. As each section is completed, I bake to harden it before moving onto the next area. First up for this figure was the trousers. I had to take into account that this is going to be a more "fuller figured" sculpt and therefore bore this in mind with the thickness of the legs, size of the bum and girth of the stomach. The boots I have yet to decide upon so have opted to leave these for the moment.


You will probably have noticed that I have also started to flesh out the left arm slightly. It is a little difficult to envisage the fall of the cloth from the fireplace especially as I don't yet have a good idea of the final design of the jacket! As I've said I want to move away from the Red Coca-Cola Santa and go a little further back to get closer to what the original Saint Nicholas would have worn (I am predominantly a historical modeller after all!!).
The first near complete section of the figure is the left arm save for the hand as I will sculpt this when I have built the fireplace. The rest of the body was pretty easy to sculpt as there is not a great amount of detail on the outfit. I did run into one problem in that my wife's protestations came to the point that I had to relent on my original plan to make this a traditional Santa. Harmony and a happy wife always win over in any debate in my house. The following shots show the original figure, near to completion:


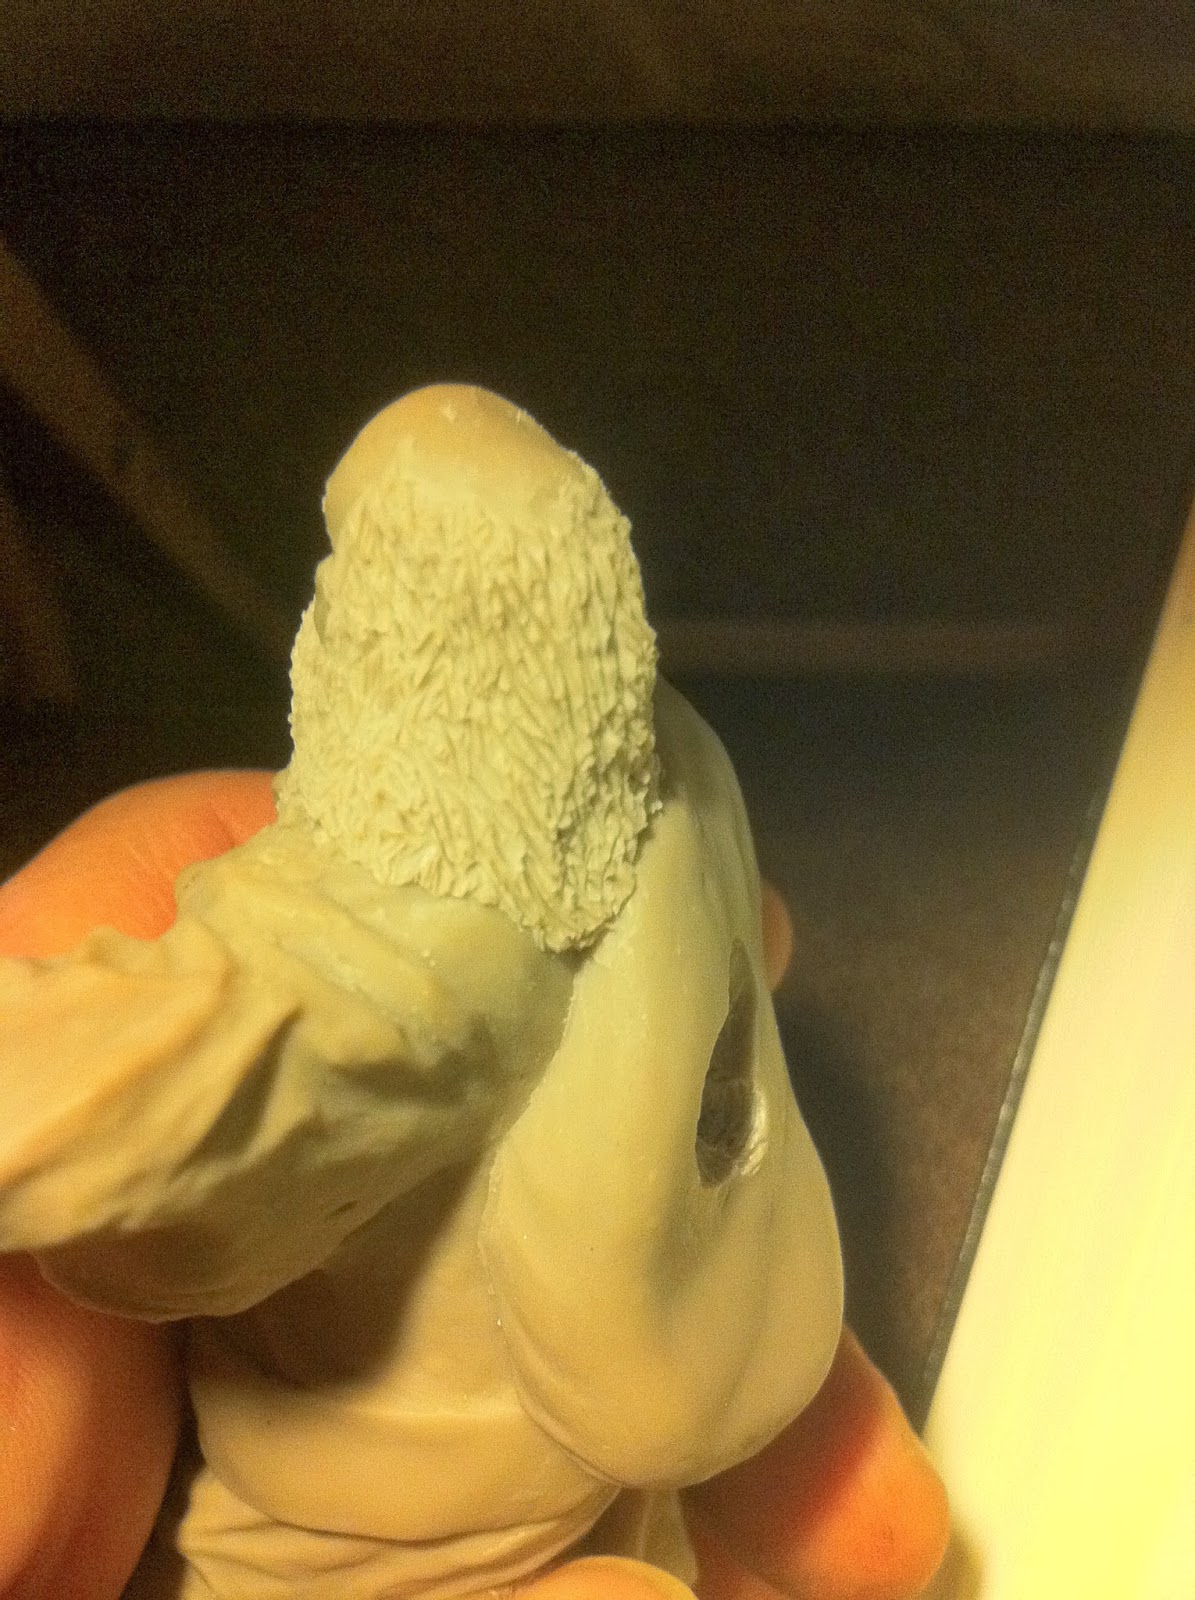
The beard is something that I have never sculpted before, but from watching a few videos on you tube, I had a general idea on how I was going to proceed. The first thing was to block out the areas of the face with some rolled out clay in the rough positions that the beard was to be formed. This was also done on the rear of the head as I intended to blend the beard and hair into the classic Father Christmas style.


The next stage was to blend each of the portions of clay fixed to face into one another and then using the pairing tool that I have, removed any clay that look excessive. I then shaped the clay into a shape that resembled a suitable beard and moustache.


to get the "Beard" look, I used one of my sharper pointed tools and basically used a swiping downward action to create short lines in the clay. Once that was done I then used the same action but at roughly 30 degrees from the downward strokes towards the left of the figure and once again to the right of the figure. (hope that made sense). The effect seems to emulate a beard and hair quite nicely I think:


Happy with the beard and hair, I simply repeated the process of adding clay to areas that I wanted to fill in and created further hair and beard until the figure resembled more of a "Father Christmas" beard than that of a normal every day beard:


As with any sculpting project of mine, there comes a stage when I sit back and look at my progress and decide what needs changing (if anything). What I realised when I looked at the sculpt as it cooled from another bake in the oven, was that he simply wasn't fat enough! To begin with, this was going to be a more traditional Santa Claus. In the traditional images he does not carry as much weight as the more modern versions, so my original sculpt was reasonably accurate, however with the change to a more more modern Santa he simply needed to gain a few more pounds. The photo below is how the sculpt looked before the added weight:

To add the additional weight to the figure, I intend to add additional sculpey to the legs and also some to the stomach region. For the stomach I will simply add more to roughly the depth of the original belt shown in the above photo and then add a new belt onto the freshly moulded stomach. The belt will also be angled more towards the front to give more of an impression of girth to the figure without adding too much more sculpey. I have also sculpted the eyes, something that I absolutely hate when figure sculpting as it is so difficult to replicate one eye from the other that has been sculpted. The photos below show the progress to date for the eyes and the additions of weight to the legs and stomach:


The only things that I think really need to be completed at this stage are the hat, sack and left and right sides of the figure. The images below show the manufacture of the hat in two stages, final sculpting of the figure sides and of course the famous Santa sack. This effectively completes the sculpting stage for this figure:


With the base coat complete it was now a simple case of breaking out the oil paints and highlighting/shading the detail onto the figure. I find that red is one of the most difficult colours to do this but on the whole I think that I achieved the effect that I was after. The following two shots show the figure in a virtually completed state, the remaining work will be carried out once it is mounted to the base. For the completed shots keep reading!


The Base
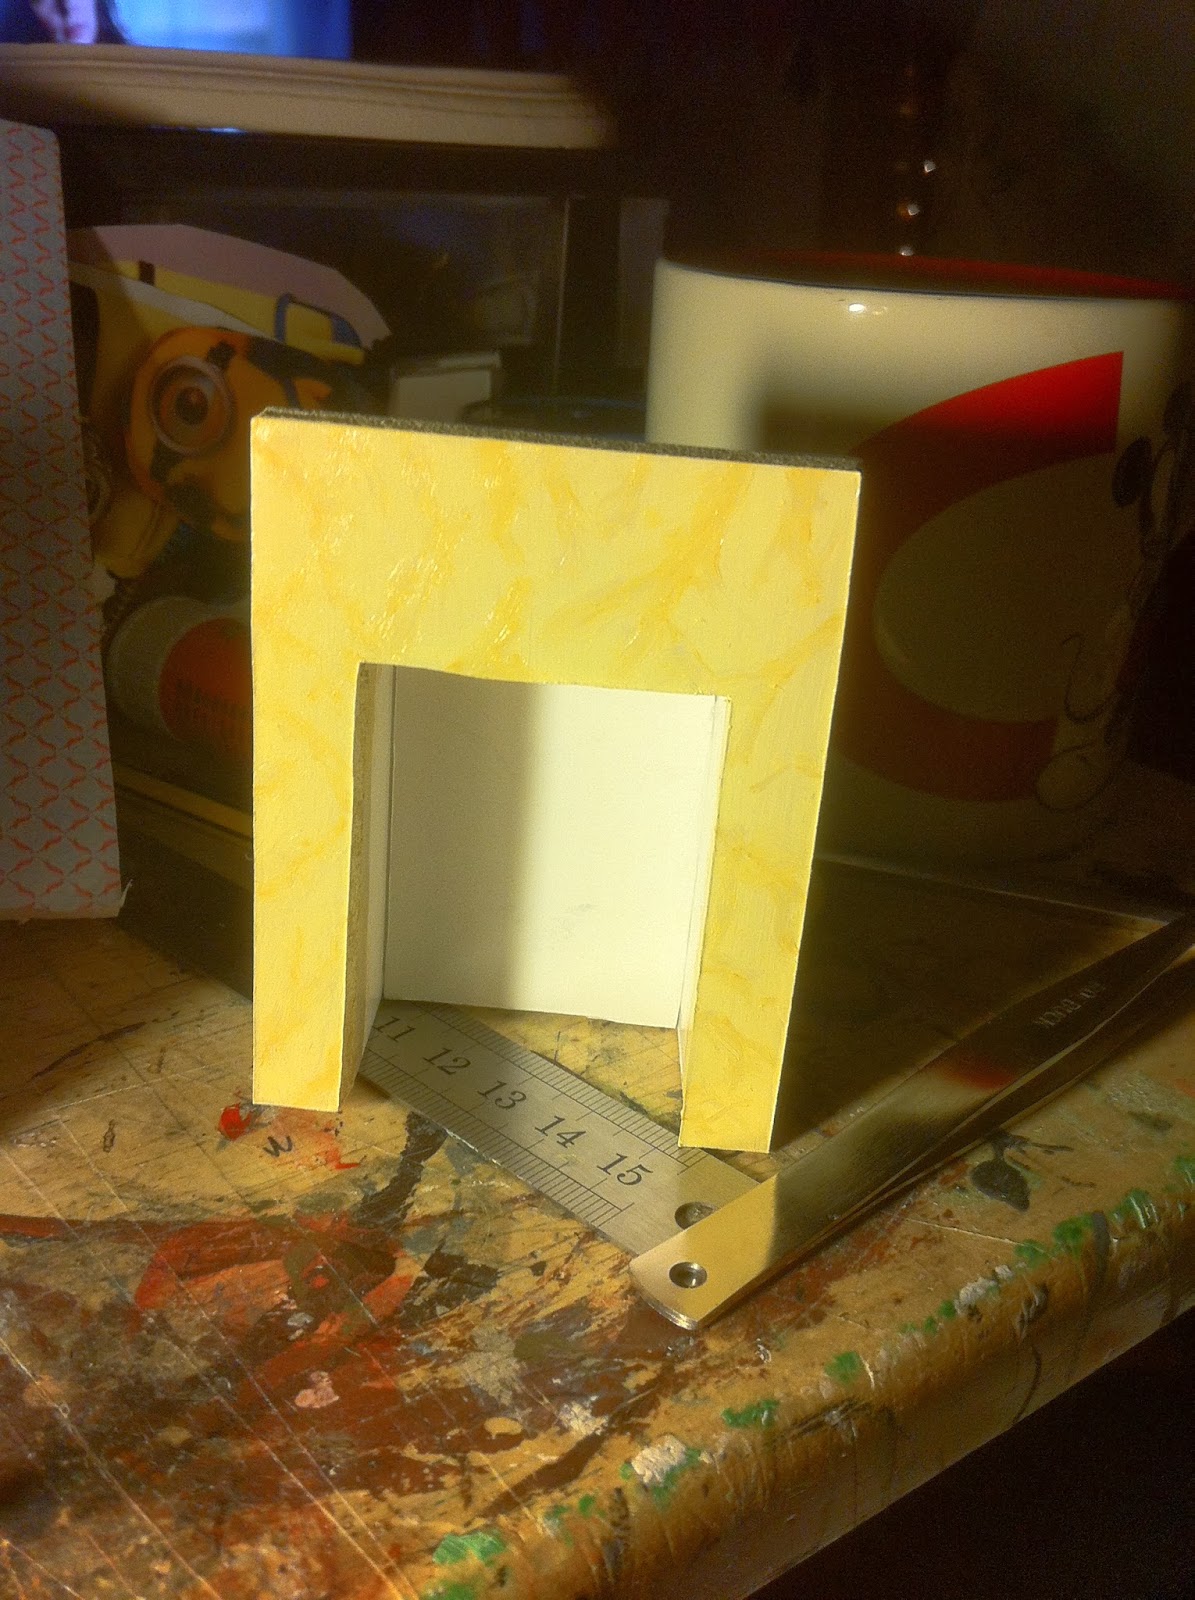
Now that the figure is complete, I will turn my attention to the base that he will be mounted to. I envisioned Santa leaning on a fireplace, taking a short breather before disappearing back up the chimney to carry on with his good work. The logical step must of course be the fireplace that he is leaning on. To make life easy for me, I decided to make it out of balsa wood and fill in any gaps and dents, etc with some squadron green putty. The fluting on the fireplace is simply cut down tooth picks. Once completed and sanded down, I painted an initial coat of burnt umber acrylic paint to seal everything and identify any areas that would need more attention. I should also mention at this stage that I paid attention to the height of the fireplace as the pose of the figure relies on him resting his arm atop the mantle piece.


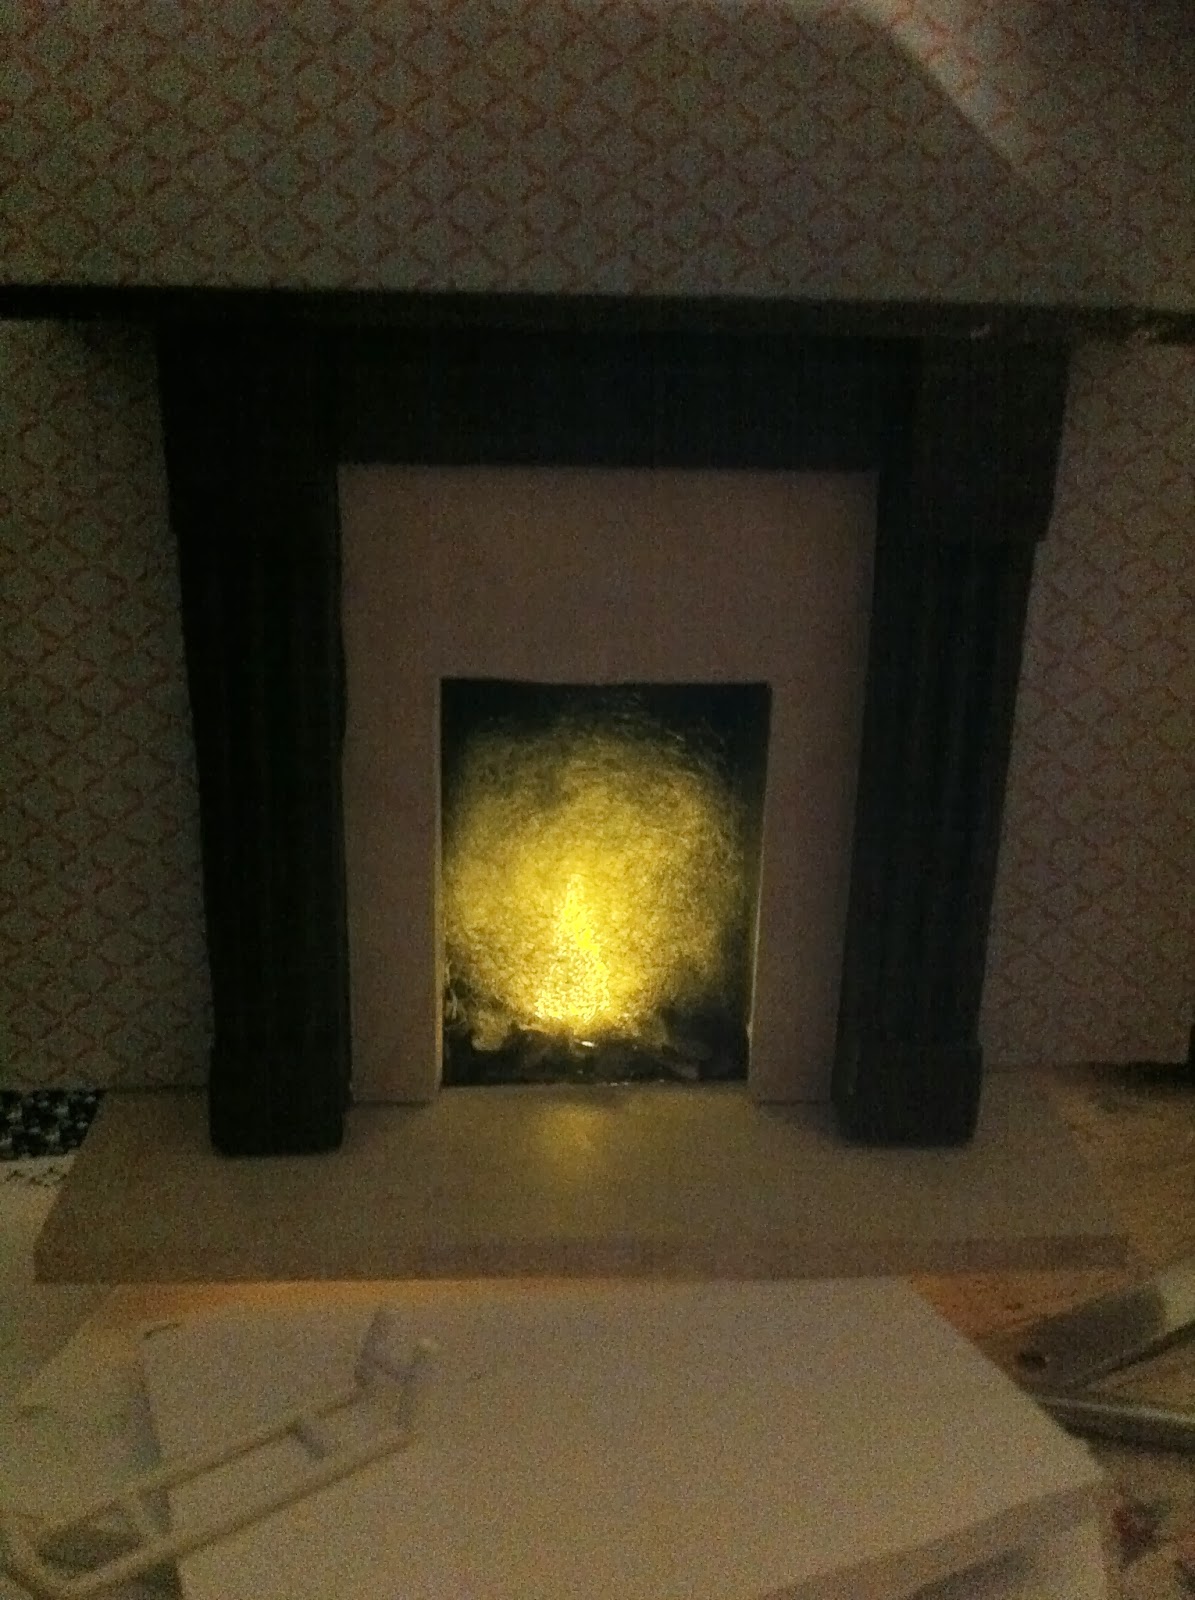
The remaining part of the construction will be made from foam board, mainly because its lightweight, easy to use and best of all cheap!! The wallpaper is dolls house paper printed from a website that provides it free of charge to download including some Christmas wrapping paper which I will use for some presents later on. The following photos show a gradual build up of the wall, marble hearth (using the same marbling techniques as described in my Ezio sculpt) and carpet. The lit fireplace is constructed from dried wood bark and a wargames marker bought from @lemonpainting on twitter for a very reasonable £2.


The completion
In all honesty this has been one of the easiest figure sculpt projects that I have yet to do. The build of the entire project went virtually without a hitch. This is something that I am very glad about being as I had a deadline and it is intended for the wife to use for Christmas. below are the completed shots:


I hope that you have enjoyed reading about my festive sculpt and I would love to hear your thoughts. Have a wonderful Christmas and a prosperous and happy new year.
Great blog post. :-) I love your Father Christmas. Beautiful work.
ReplyDeleteMerry Christmas & Happy New Year.
Absolutely incredible work Craig! Huge fan! Merry Christmas!
ReplyDeleteAmazing work!
ReplyDeletethanks for the comments guys. my favourite figure sculpt to date
ReplyDelete