Materials
As always I start with a copper wire armature made from stripped household electrical wiring as the main load bearing wire then wrapped with thinner gauge copper wire spiraled around the main wire for the Sculpey oven bake clay that I use as a modelling medium. I always solder the various sections of the armature together to prevent separation when posing the figure as I have experienced in the past.
The pose
I elected to use one of the most famous shots of felix "mid free-fall" for my pose as shown below


Fleshing out the armature
Once I was happy with the pose I then began to bulk out or flesh out the armature and make my initial bake to set the pose in place. I realise that my techniques do not conform to the "normal" way of sculpting figures but these methods work for me at the moment and I am always happy with the results.


the next stage for me in this initial phase of my sculpt is to make sure that my proportions are anatomically correct and that the joints are in the correct place. you will note from the next photograph that I have marked key areas of the figure with pen to denote major points on the body and that I have broken through the scupley in the elbows and knees to provide definition in the figure at this time.

The main sculpt of the figure
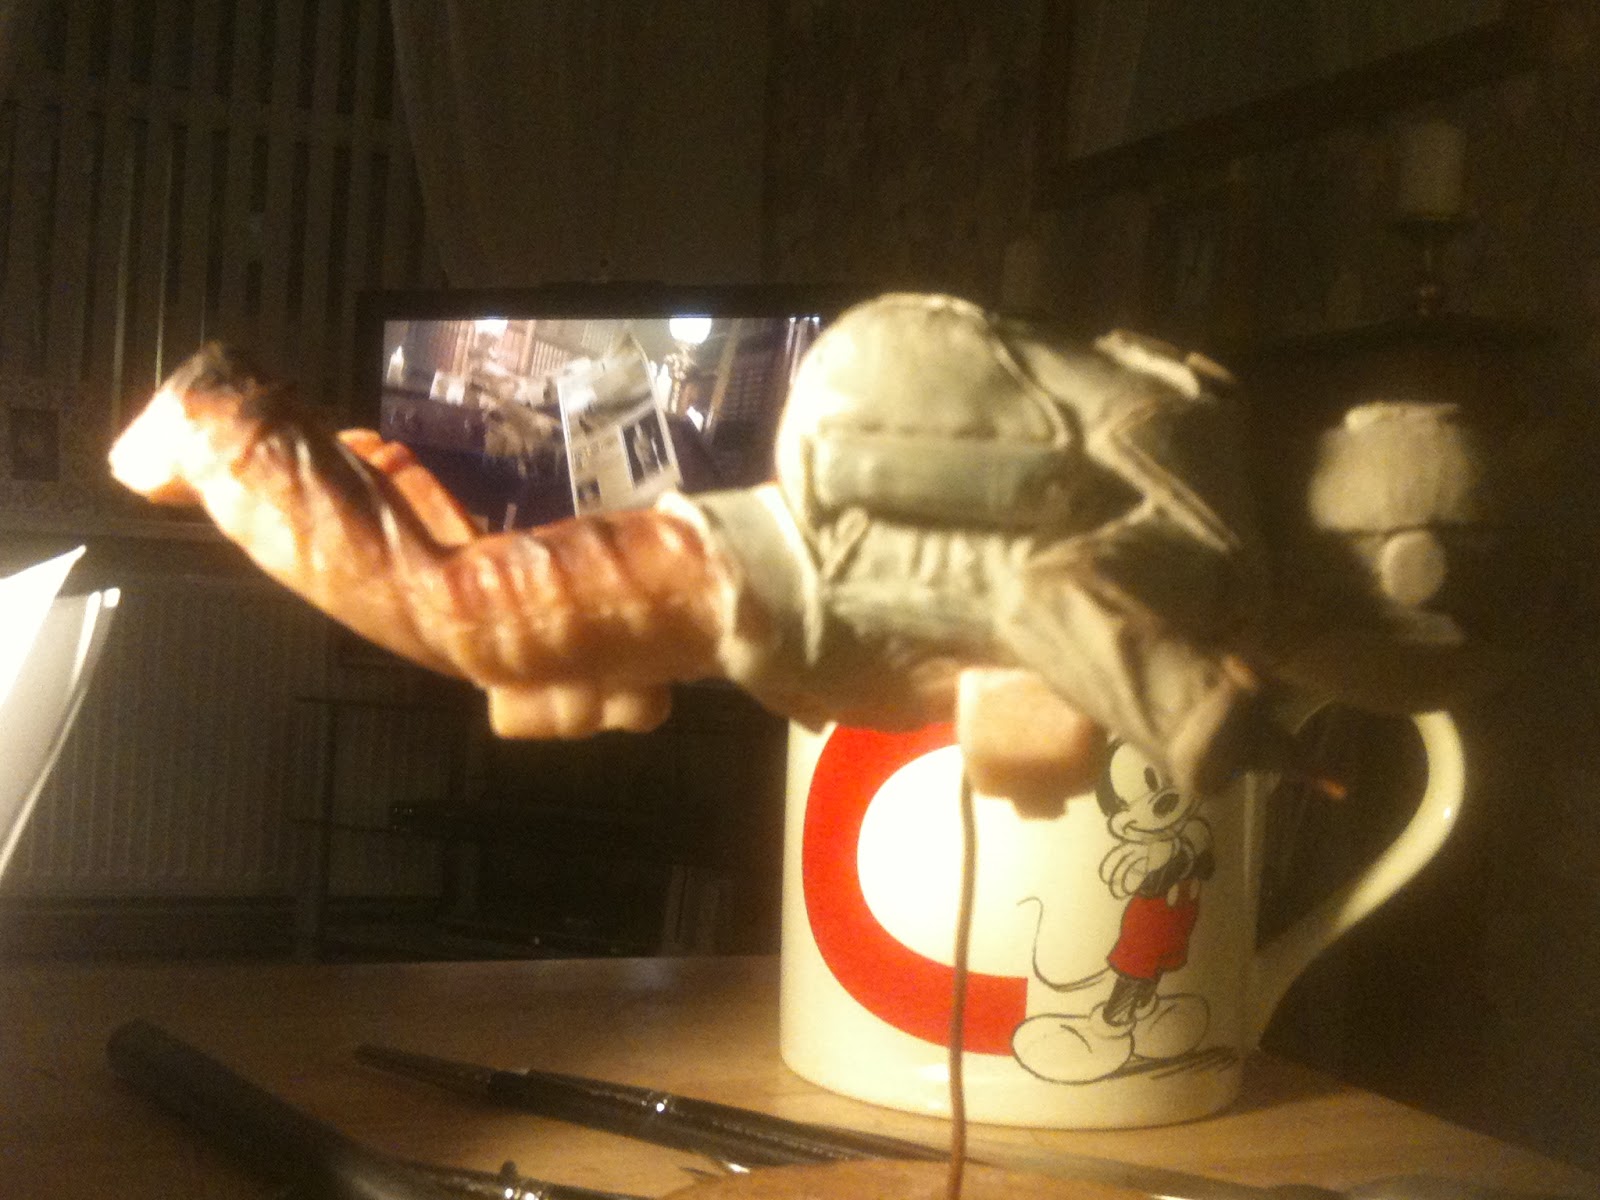
for the main sections of the sculpt I elected to break it down into legs, upper body and arms, helmet and parachute. I initially found the sculpt to be quite difficult as the proportions are larger than usual due to the pressure suit that he is wearing. Fortunately Sculpey is very forgiving before it is baked and I was able to play around with it until I was satisfied that I had got them right the following two photos show the right leg complete and the left leg being worked on. At this stage I had not started on his boots:


The upper body, arms, helmet and backpack were next. Unfortunately at the time I sculpted this figure I did not have this blog so I did not take photos of every stage. You will also notice that I had run out of one colour and had started to use grey Sculpey instead for some of the sections of his body, helmet and parachute. the next five photographs show the progression of the figure through to an almost finished stage for detailing and painting. At this stage I had not sculpted the hands or finished the boots.


Finishing the figure
For the finishing stages I completed the hands and boots and following a final bake to harden the entire figure it was a case of spraying it with my favorite grey acrylic car primer to identify any unwanted sculpt marks or finger prints left in the sculpey, fill and sand these to a good finish, then add details such as the tubing from his oxygen bottles, wires from his camera and communication equipment, switches on the front pack and wire on the front of the helmet. He was then completely painted in Humbrol white with the parachute in Vallejo white grey as per the reference photographs that I had of the suit. The visor was painted in gloss black to depict the reflective surface of the glass and then various parts were painted in gloss yellow and red. For the decals it was a simple case of finding the list of sponsors that adorned the suit, getting their logos from the internet and scaling them down onto one laser printer decal sheet and printing them out. the base itself I kept very simple by painting it a very nice baby blue and just in case any observer didn't recognise him I added the Red Bull Stratos logo to it. Unfortunately you will have to wait a day or two until I return to work for me to take the finished shots of him as he is displayed in my office.
Final finished shots
These are the finished shots of my sculpt. I'm really happy with how it turned out. I hope that you all like it too.


Do you still have this item? Is it available for purchase?
ReplyDeleteHi
ReplyDeleteI am very sorry for the late reply. I do still have the item however I make these sculpts for pleasure and as such don’t sell them after they are complete. I hope you understand and I am grateful that you consider this sculpt worthy of purchase.
Thanks