
The build.
essentially as I have already said the sub has been built and weathered, so the majority of this page will be dedicated to the construction and detailing of the diorama around the sub. The following four shots show the rough "mock-up" of the diorama that I made to ensure that everything will fit onto the compact base that I am planning on using:


The cobblestone road that this model will sitting on is going to be made completely from scratch with the aid of the silicone mould. The comprehensive instructions provided on the diorama debris web site are excellent and I will not waste time trying to re-produce my own version of how it is done. I will simply say, pop on over to the site, look at the products, read the instructions and get some of their stuff! I will however provide photos below of the various stages of the process that I used to make the cobbles:


To fix the cobbles to the base of the dio, I used white glue and once set, spread fine earth (Javis dark brown scatter) between the cobbles to give a more realistic finish. The whole base was then given a coat of spray matt varnish to seal everything into place. I then applied a wash of black oil to the entire surface to depict a heavily tarnished surface that one would expect to see in a place where heavy machine work is being carried out:


With the base complete it will now be a case of fixing the sub and stand into position and then painting the various workshop detritus that will adorn and compliment the base. I will also modify a figure that I have to make him look like a mechanic of sorts that is about to feed a stray dog.
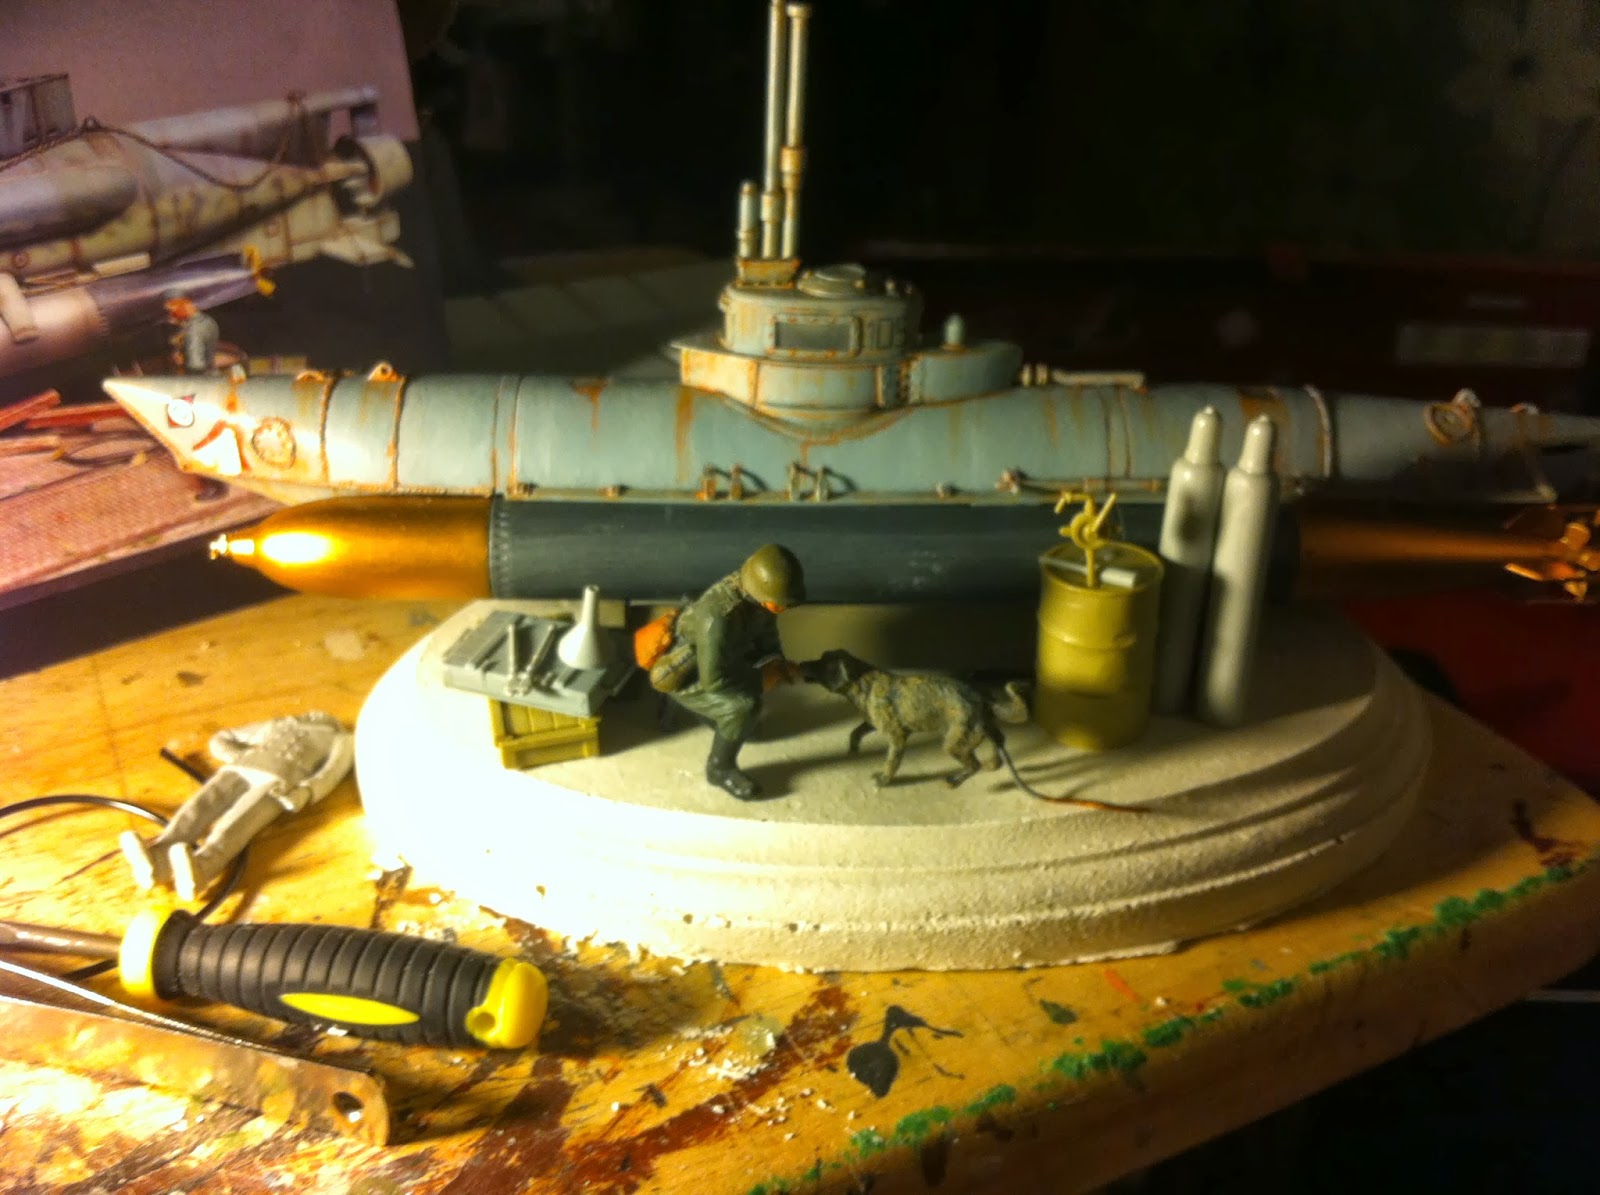
The base is now complete(ish) and I have fixed the previously completed sub and frame to it. The rest of the dio is now a simple case of completing and adding the various bits n pieces and adding them until the scene looks sufficiently "busy" to satisfy the eye:

The following shots are taken as each new piece is added to the scene. the majority of the pieces are from the spares box and I think are from Tamiya and Italeri, although some other manufacturers might have sneaked in. I Also decided to change the figure to a Navy officer in overalls looking down at the dog. The only problem that I had was that I did not actually have a navy officer in overalls in the figure spares box. I opted to use an old tamiya figure as the base for the figure. The trousers were made from milliput and the naval officer hat started life as a British officers hat that was filed and re-modelled using milliput. I am happy with the resulting figure as shown below. The final painting of the figure will be done just before he is mounted onto the base.


For the dog I also decided to do a little extra work on him; one of the dogs legs was cut and re-positioned in a raised pose in order to depict the dog urinating over a tool kit that is placed on the floor in front of the sub. I also added some clear stretched sprue which I will colour with some clear orange paint to give the impression of urine on the floor and tool kit.


I'm just as relieved as I am happy with the finished result of this vignette. Not only do I finally have a base and theme to display this wonderful little kit, but I have also used up some more accessories from the spares box. As I have previously said; the credit for the layout of this vignette must go to another modellor who originally came up with this concept to display a mini submarine and I think that my interpretation of his work will pass muster when compared to the original. I hope that you enjoy looking at this simple piece and finished photos will be added below once the oils used has dried sufficiently to allow a coat of matt varnish.
Well here they are, the finished shots of this little dio:


Nice one Craig! The cobblestones look fantastic! And the dog taking a leak is a fine touch as well.
ReplyDeleteI love the DIY cobblestones!
ReplyDelete